Prototype and Final Production
The Umbraculo bench was designed in three main stages. The first being the design phase, this phase underwent many design iterations until a final design was settled upon. Next came the the prototype phase where we utilised the 3D printer and the CNC machine to better understand our design as well as get a comprehensive idea of the processing required. The final phase is the production phase, going through an intense regime of processing and finishing of the designed bench.
The Prototype Phase
1. 3D Printing
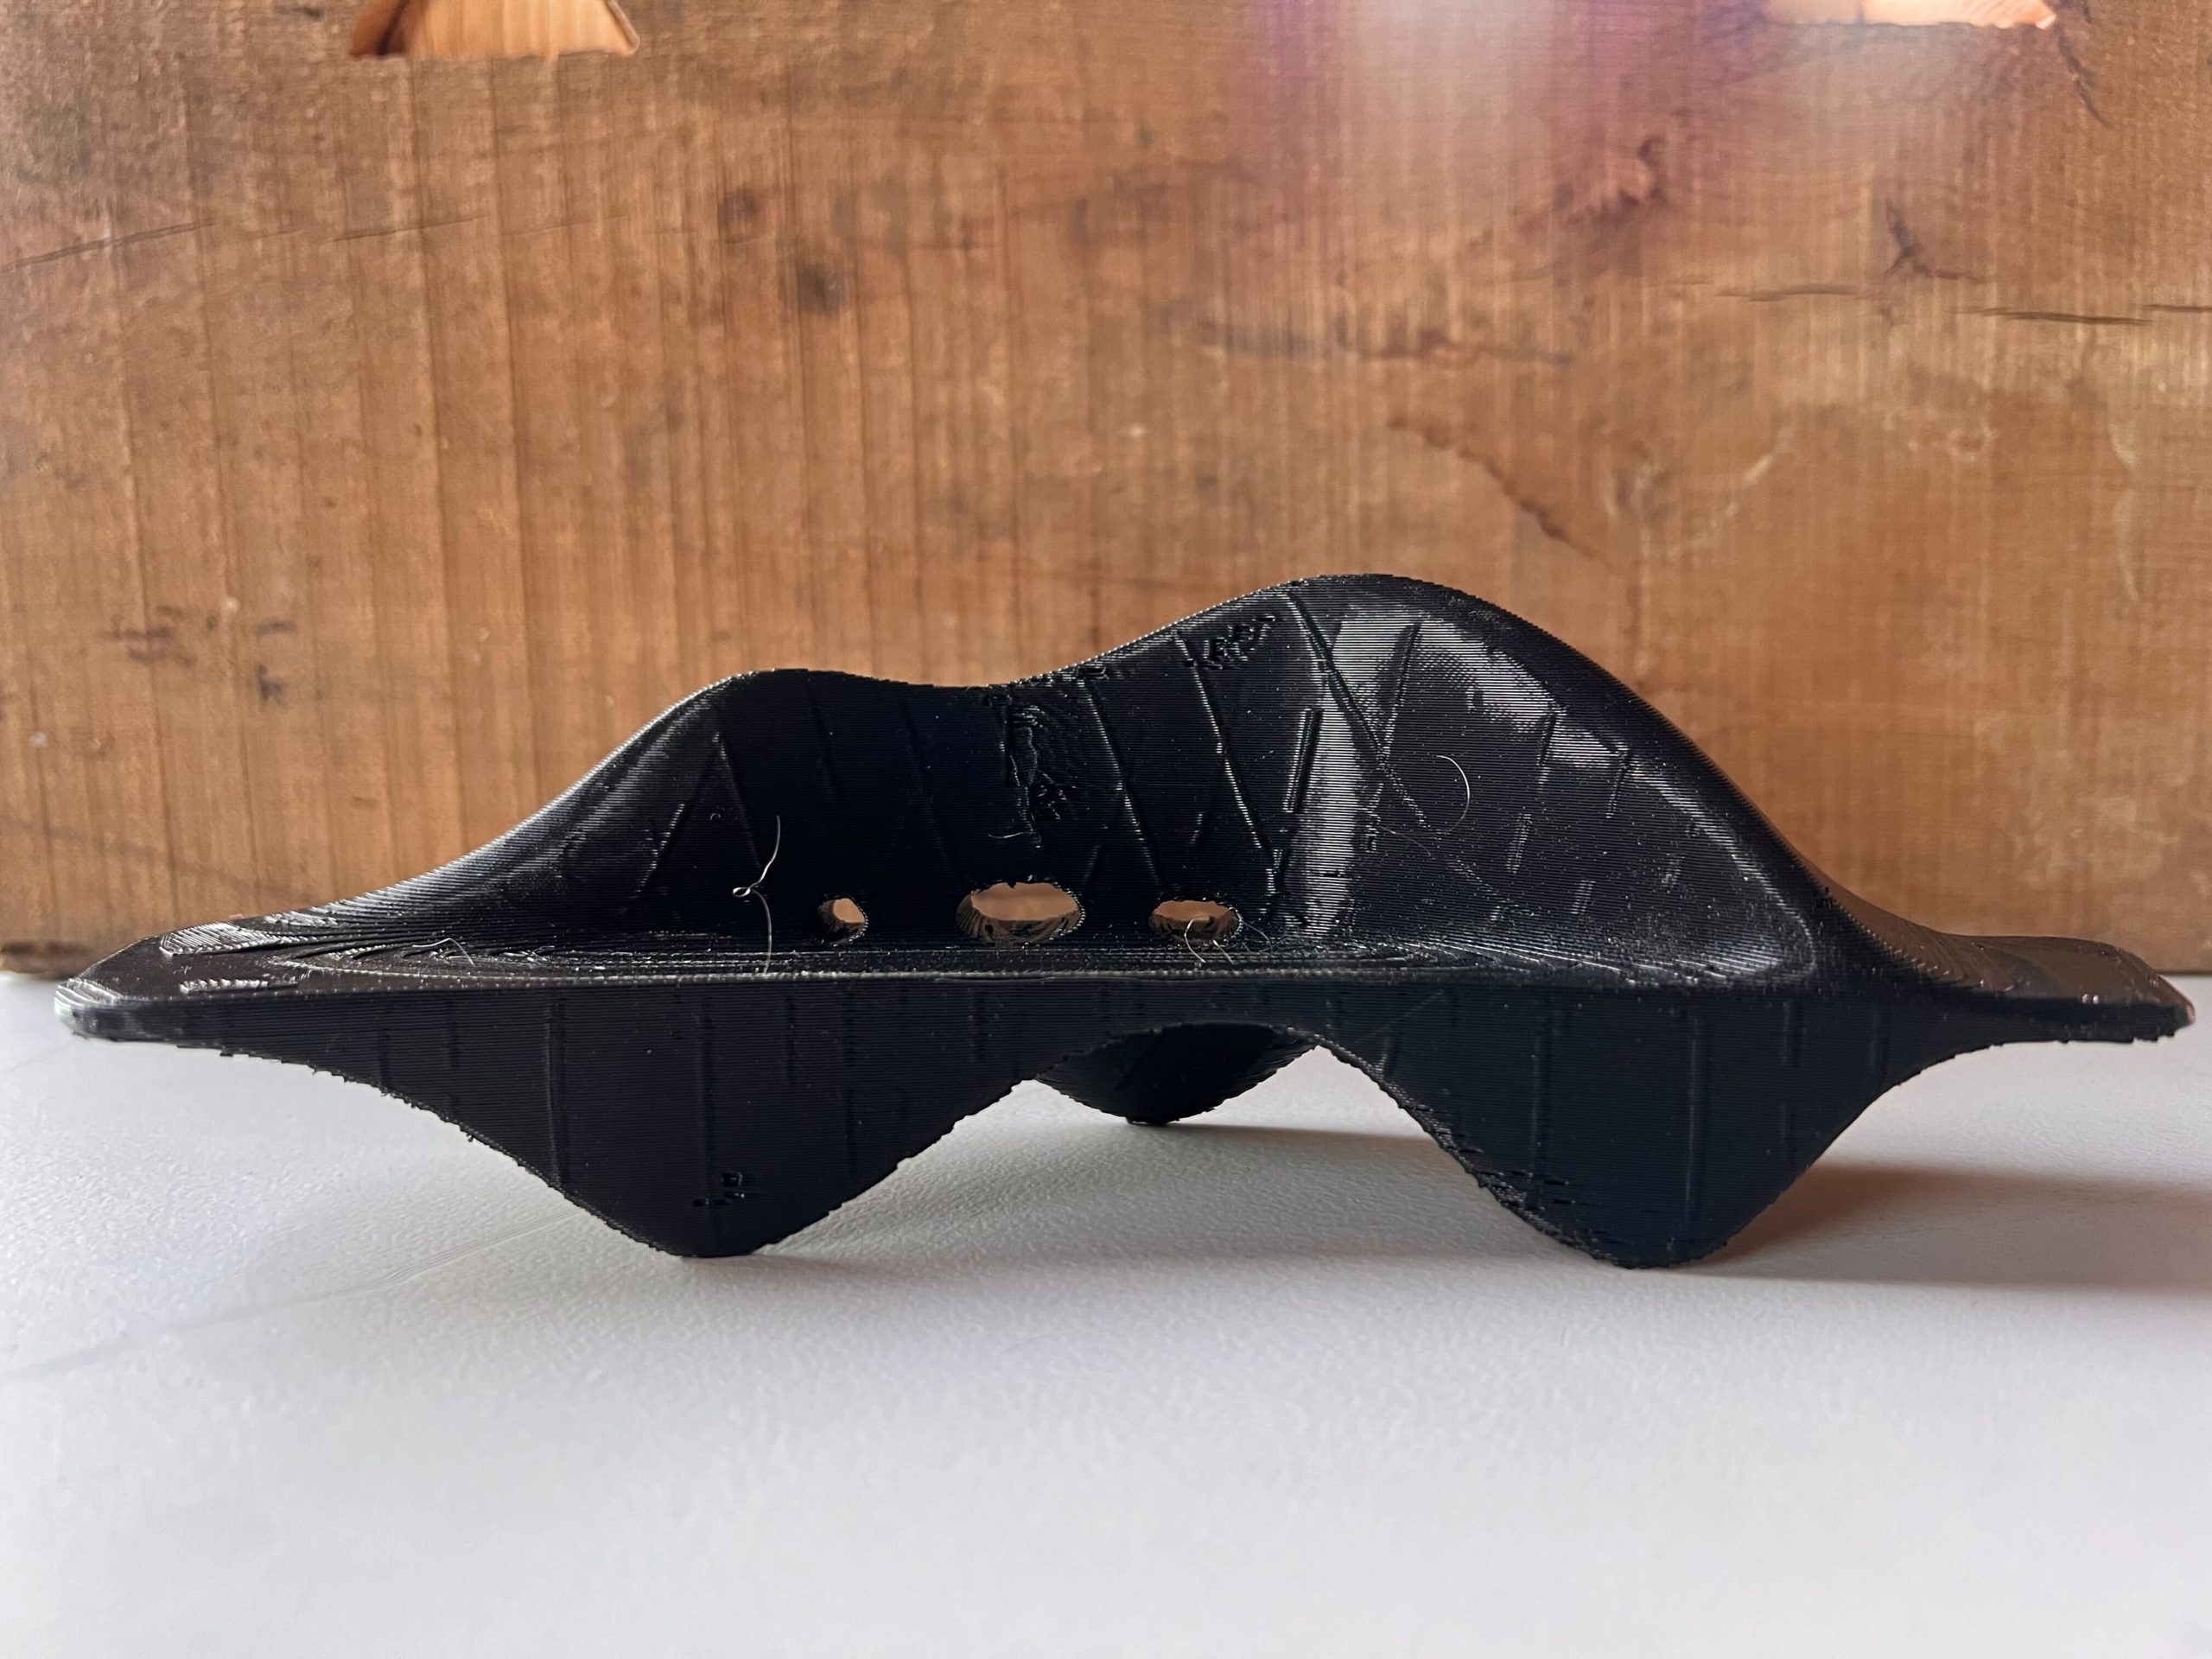
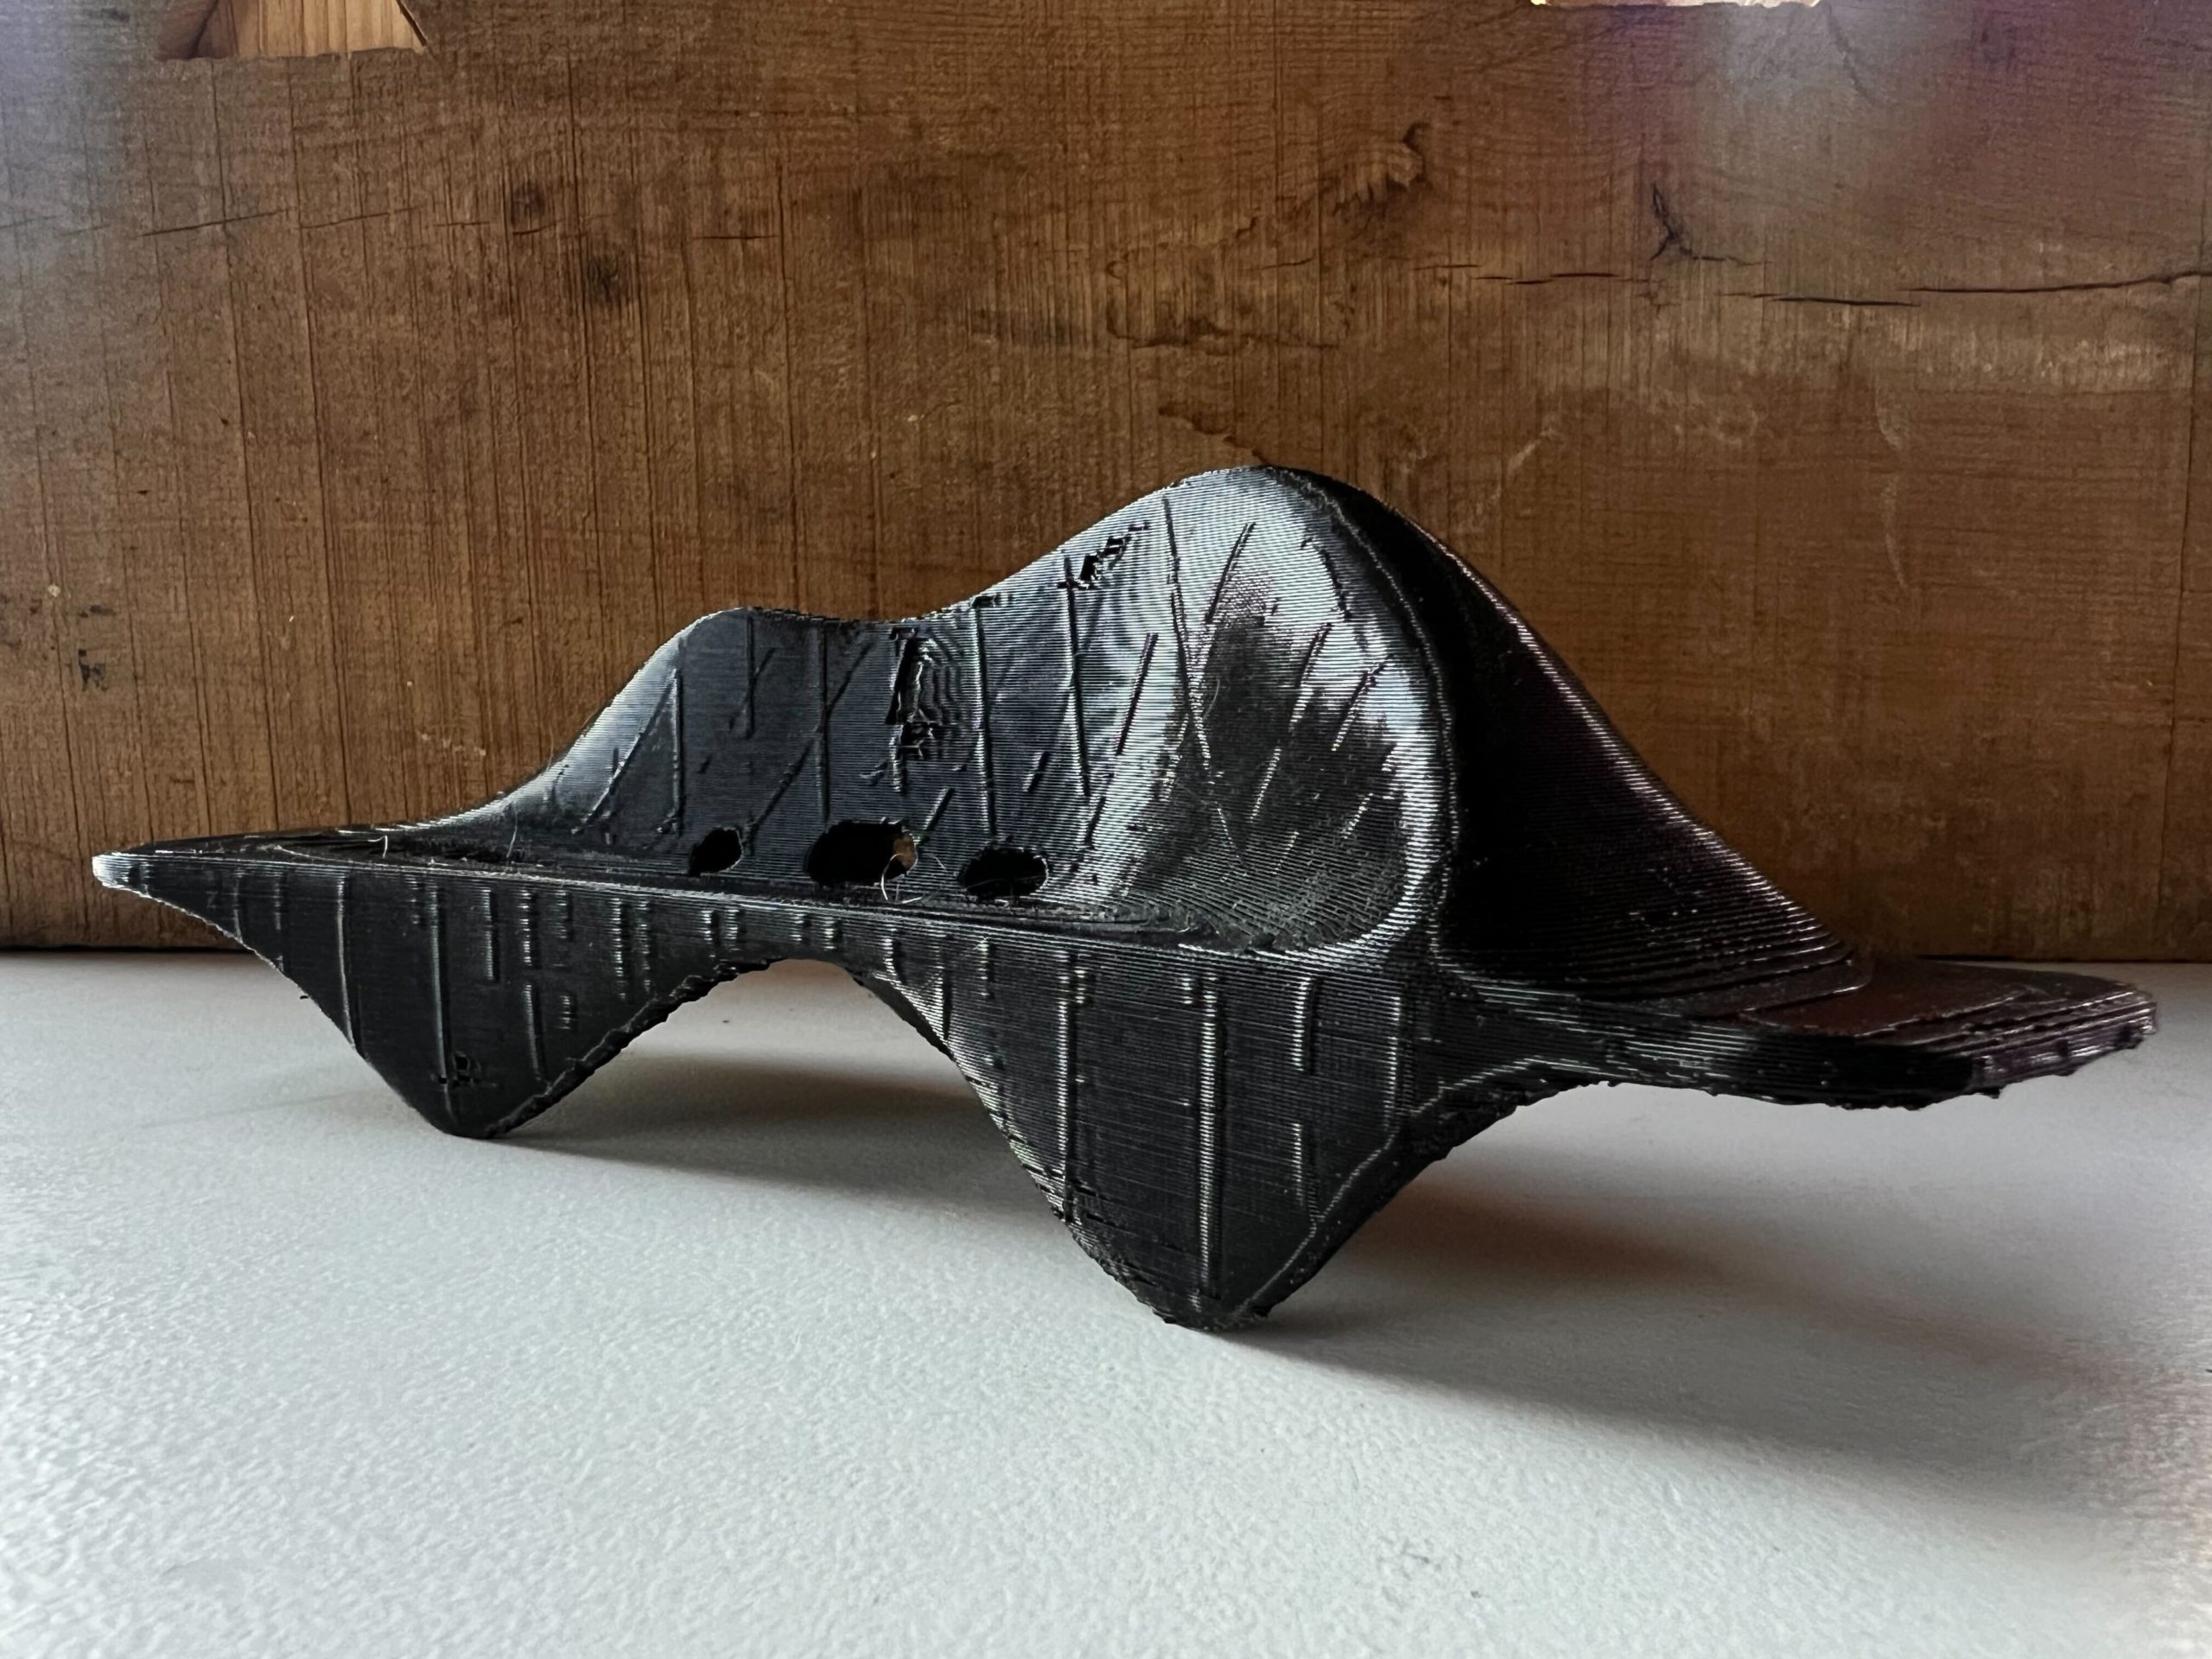
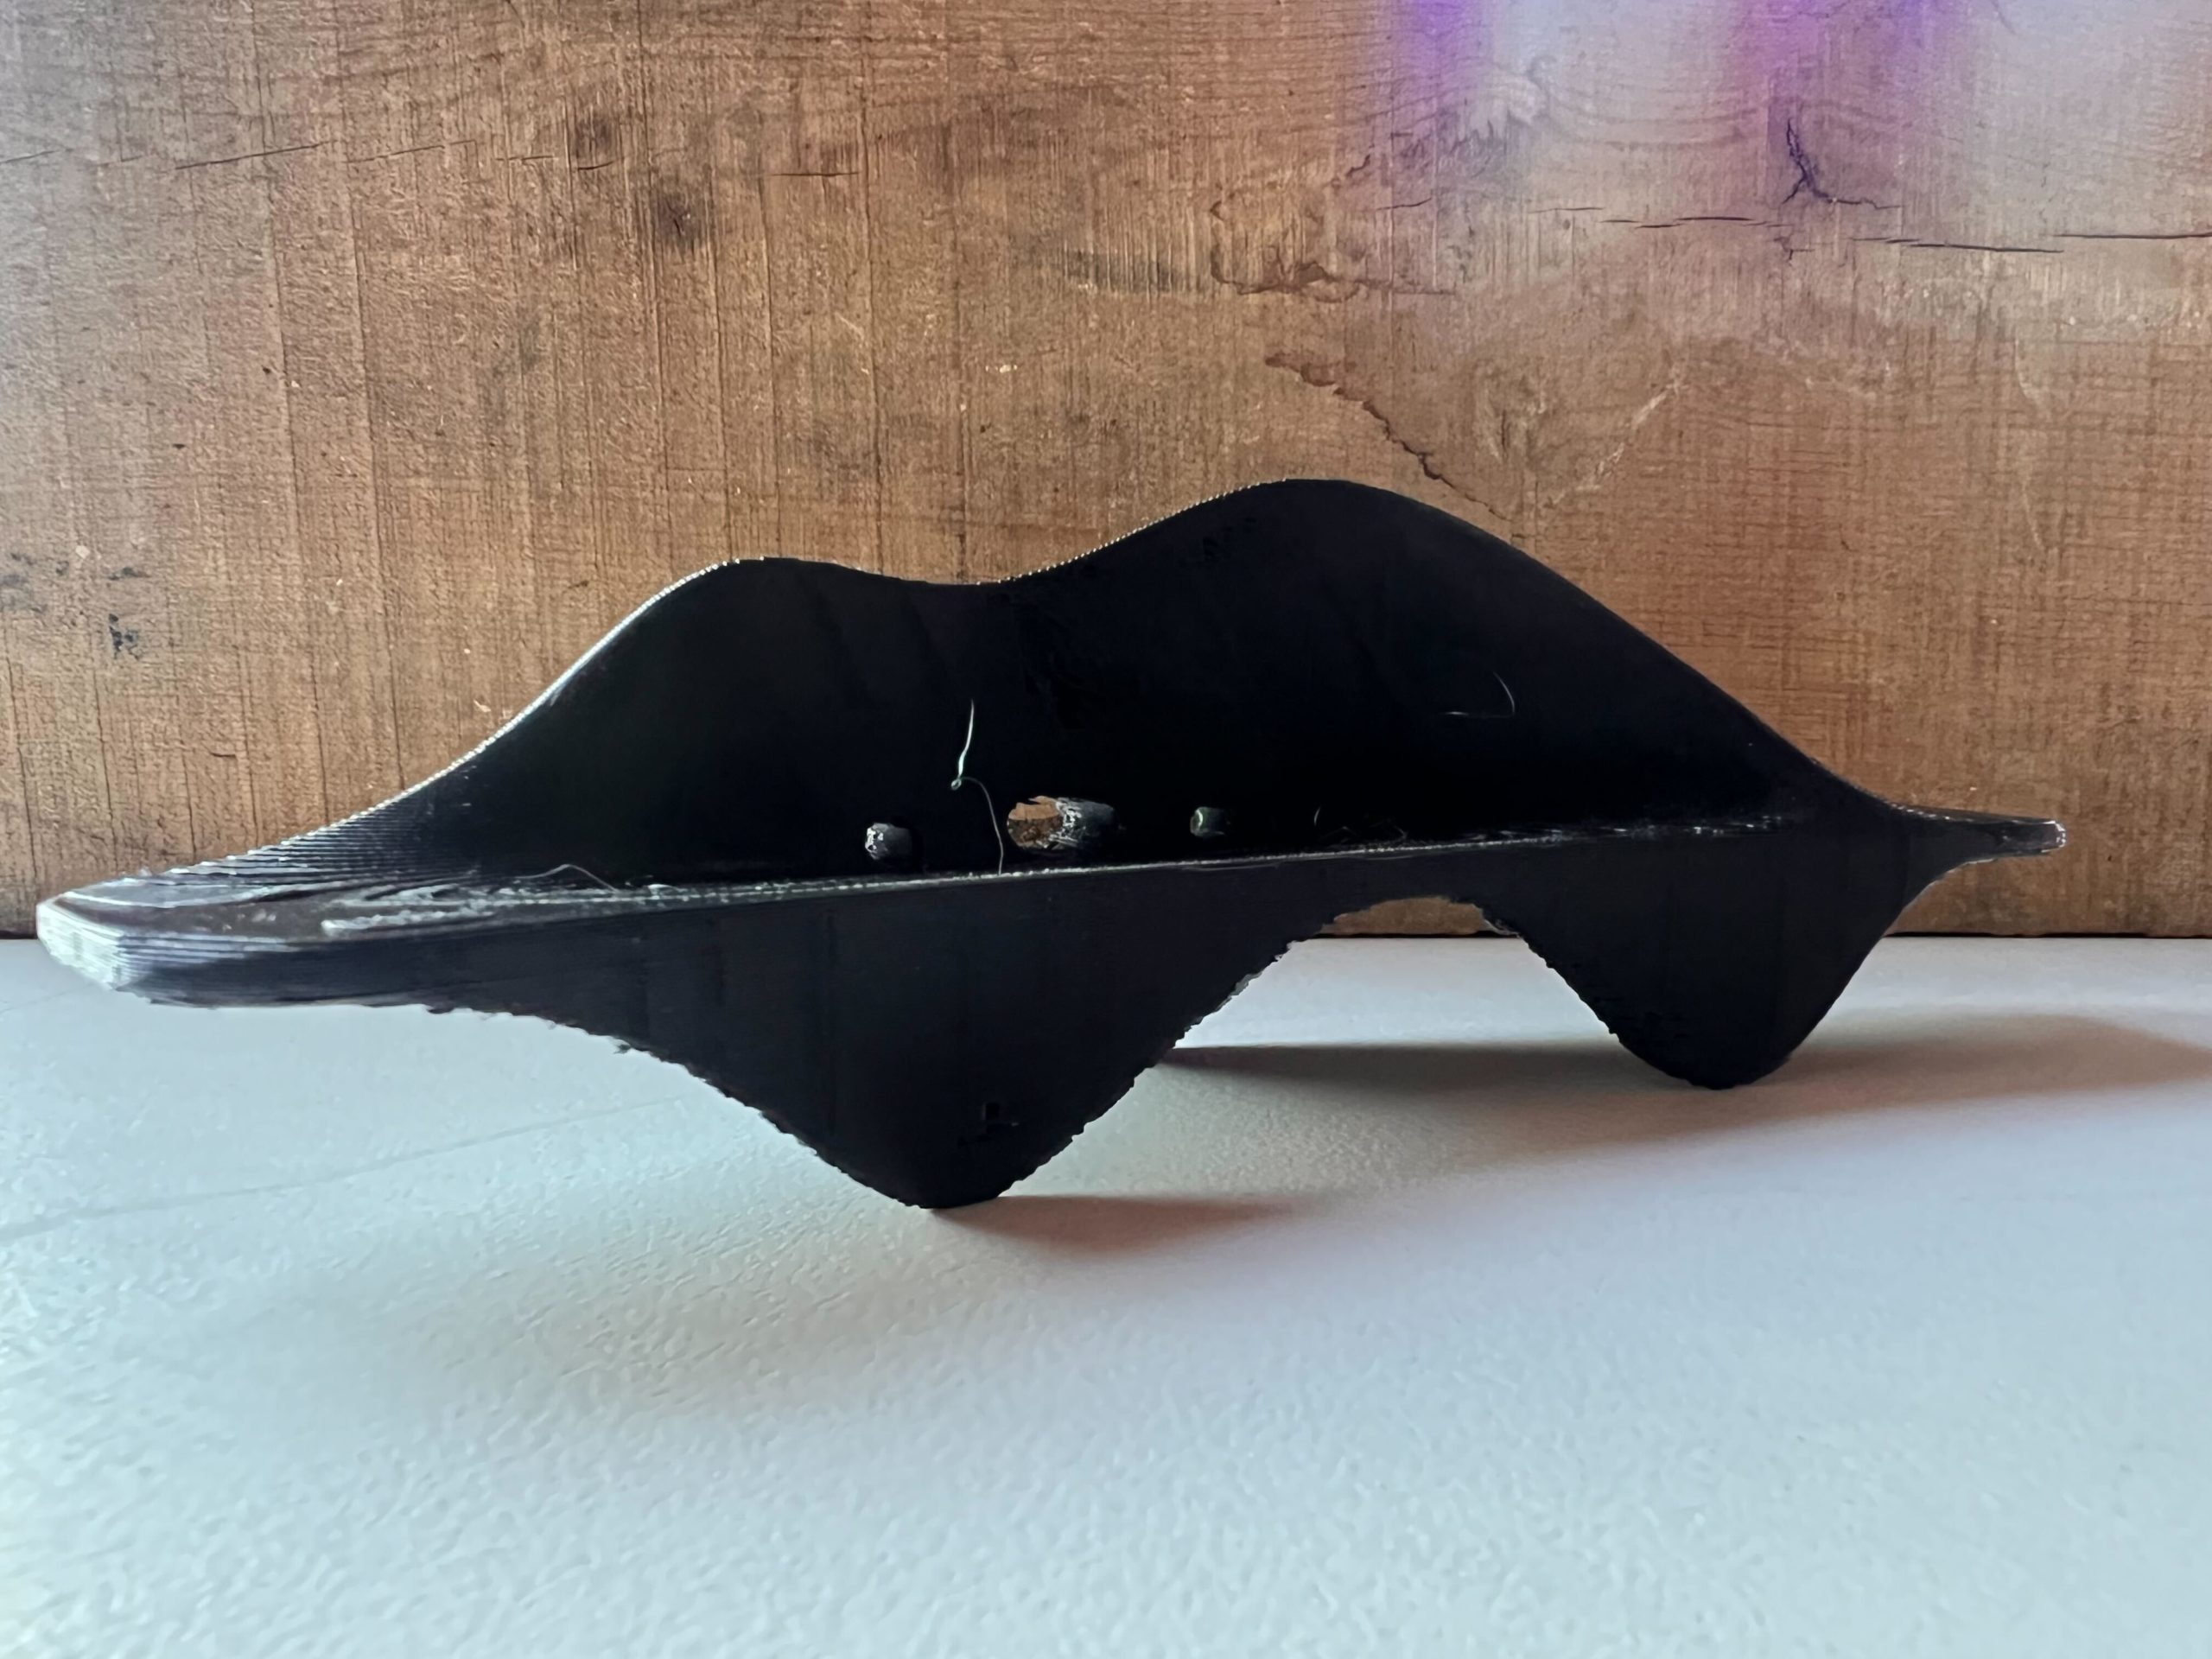
The prototype phase began with refining the design of the Umbraculo bench. This was achieved by 3D printing the design of the bench in a 1:10 scale. By printing the design in a smaller scale we were able to understand the stability and strength of the overall bench we would be manufacturing as well as physically see the design in real life rather than as an image on a computer. Once printed we were able to modify and improve the final design in terms of stability and structure while also altering the drainage of water that may accumulate due to rain.
2. Making a CLT Panel
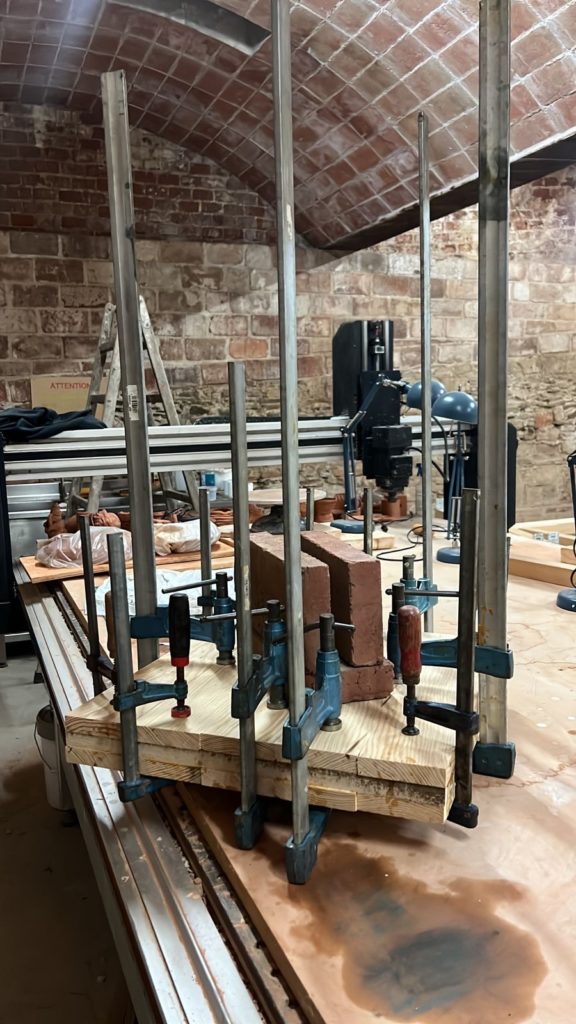
Once the design was finalised, we built a CLT panel of dimensions 50cm x 50cm x 6cm. The CLT Panel was made of 3 layers of 2cm thick planks of pine wood and were glued together using a polyurethane adhesive. Once glued the panel was clamped and weighed down by bricks so as to apply compression and was allowed to dry overnight. This CLT panel was then utilised to test cut a part of the final design. In this case a part of the front right leg of the bench was cut using the CNC machine.
3. CNC Machine
The CNC machine was used to test cut the front right leg of the final design. This was done to understand the time required to cut each layer of the bench as well as the bit sizes required for the roughing and finishing process on the CNC. Based on the testing it was concluded that a 12mm roughing bit and a 12mm finishing bit were to be used for the cutting of our pieces.
The Production Phase
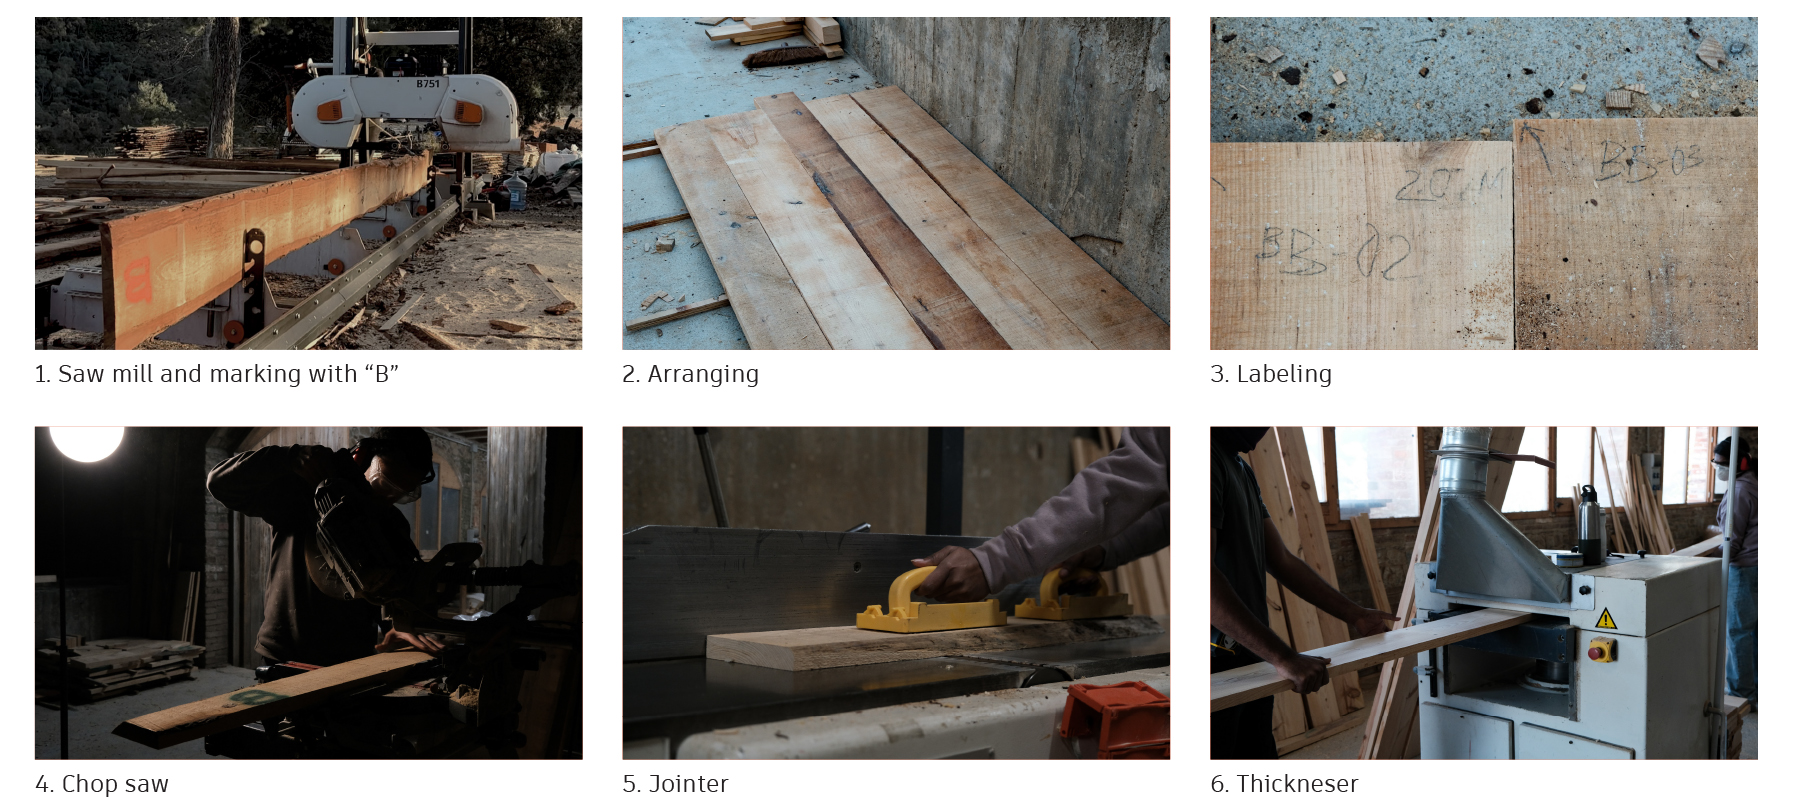
1. Timber Preparation Phase
The timber preparation phase was a sequence of processing the pine planks to make sizes required for CLT panels. The dried timber of 4.5m in length was cut to size on the saw mill to the largest available width based on the tree. The lamelas were then arranged in a sequence to attain the dimension of the CLT panel of 2m x 1.2m. They were then labelled as per the placement as well as their panel number and cut to the necessary length utilising the chop saw. Once all the pieces were cut to size they were planed and levelled using the jointer and thicknesser.
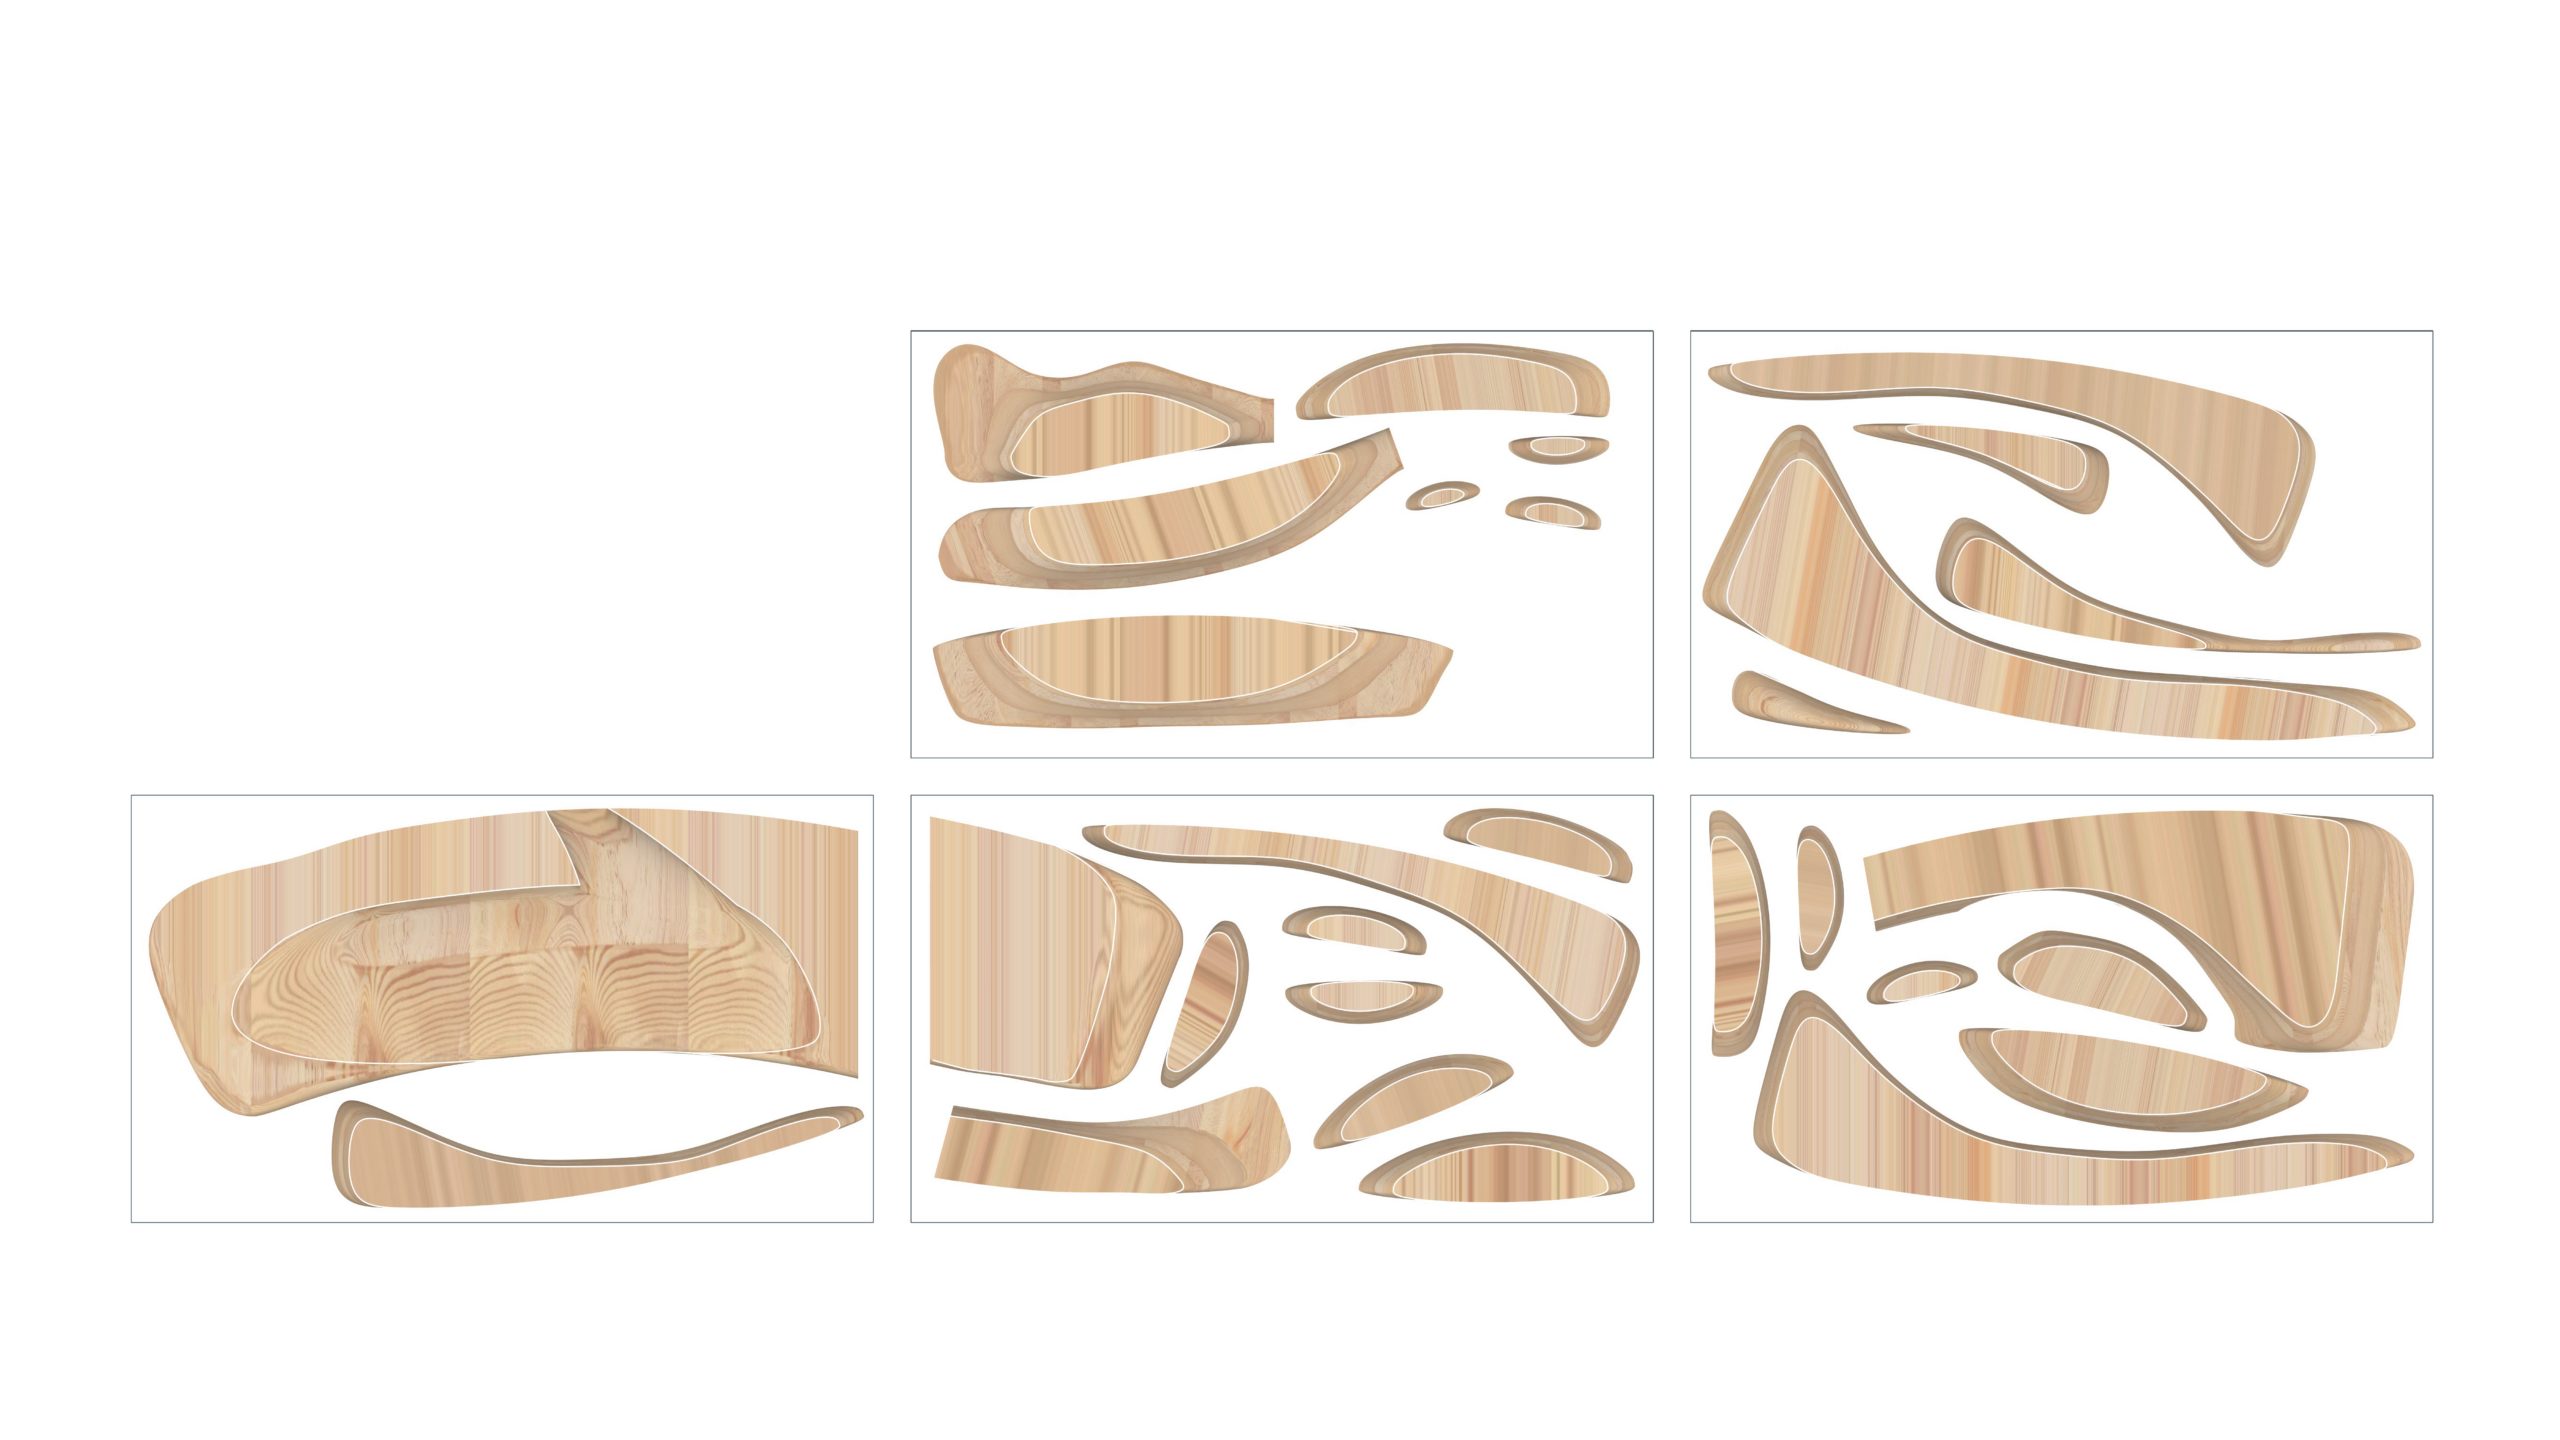
2. Preparation of CNC file
The CNC file was prepared for the cutting of the CLT. Each panel was drawn and the elements were arranged so as to maximise efficiency and minimise the wastage of the panels during the process of cutting.
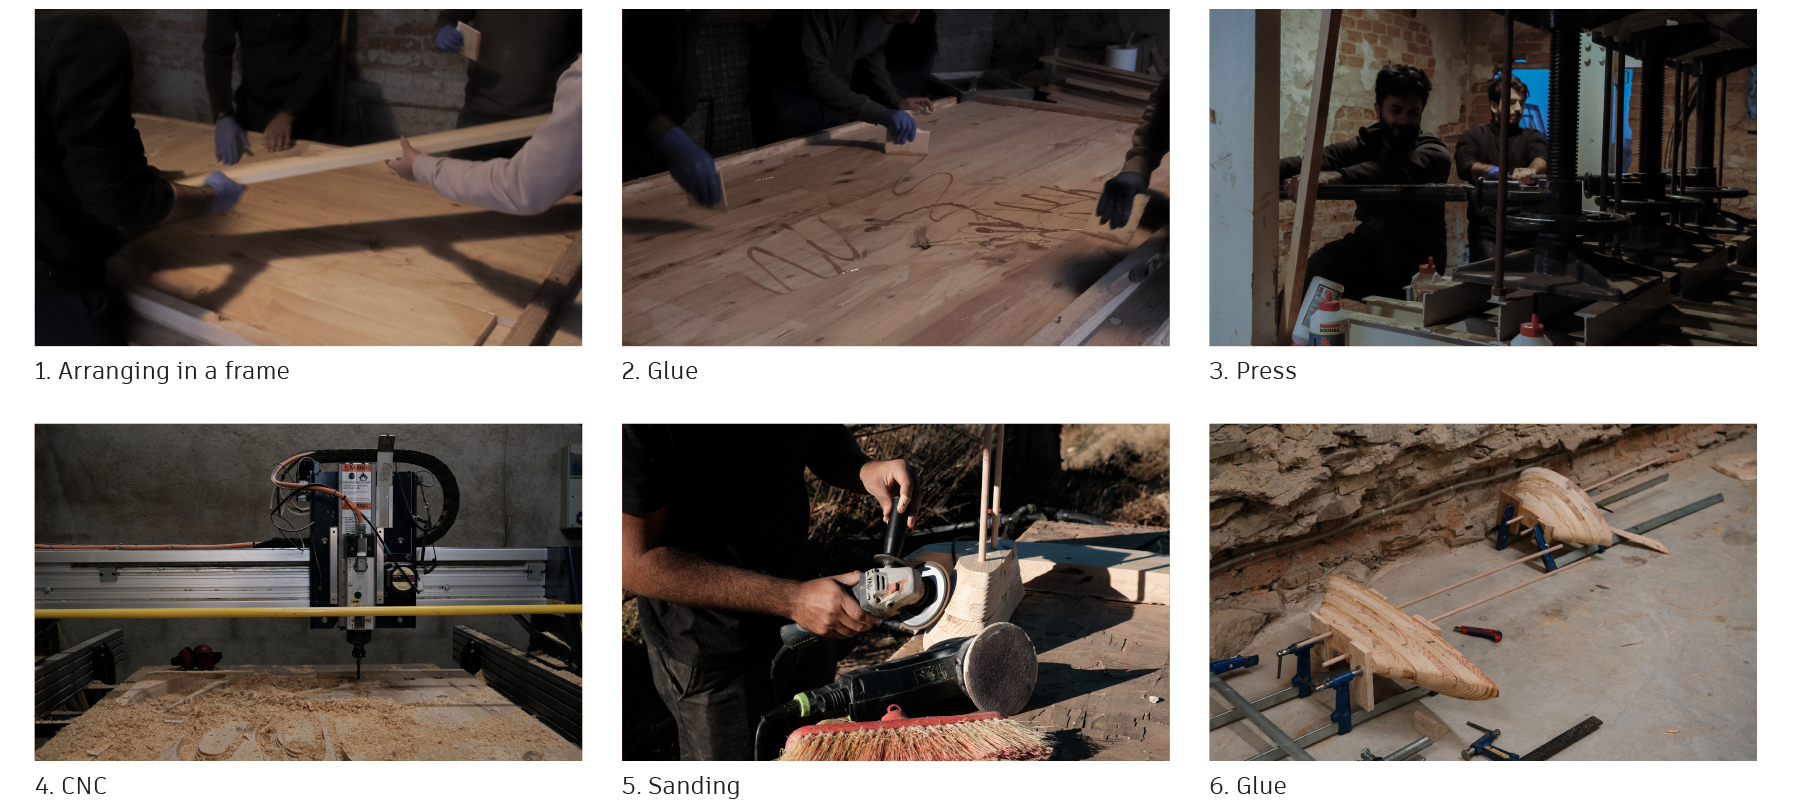
3. CLT Preparation, Bench Assembly & Sanding
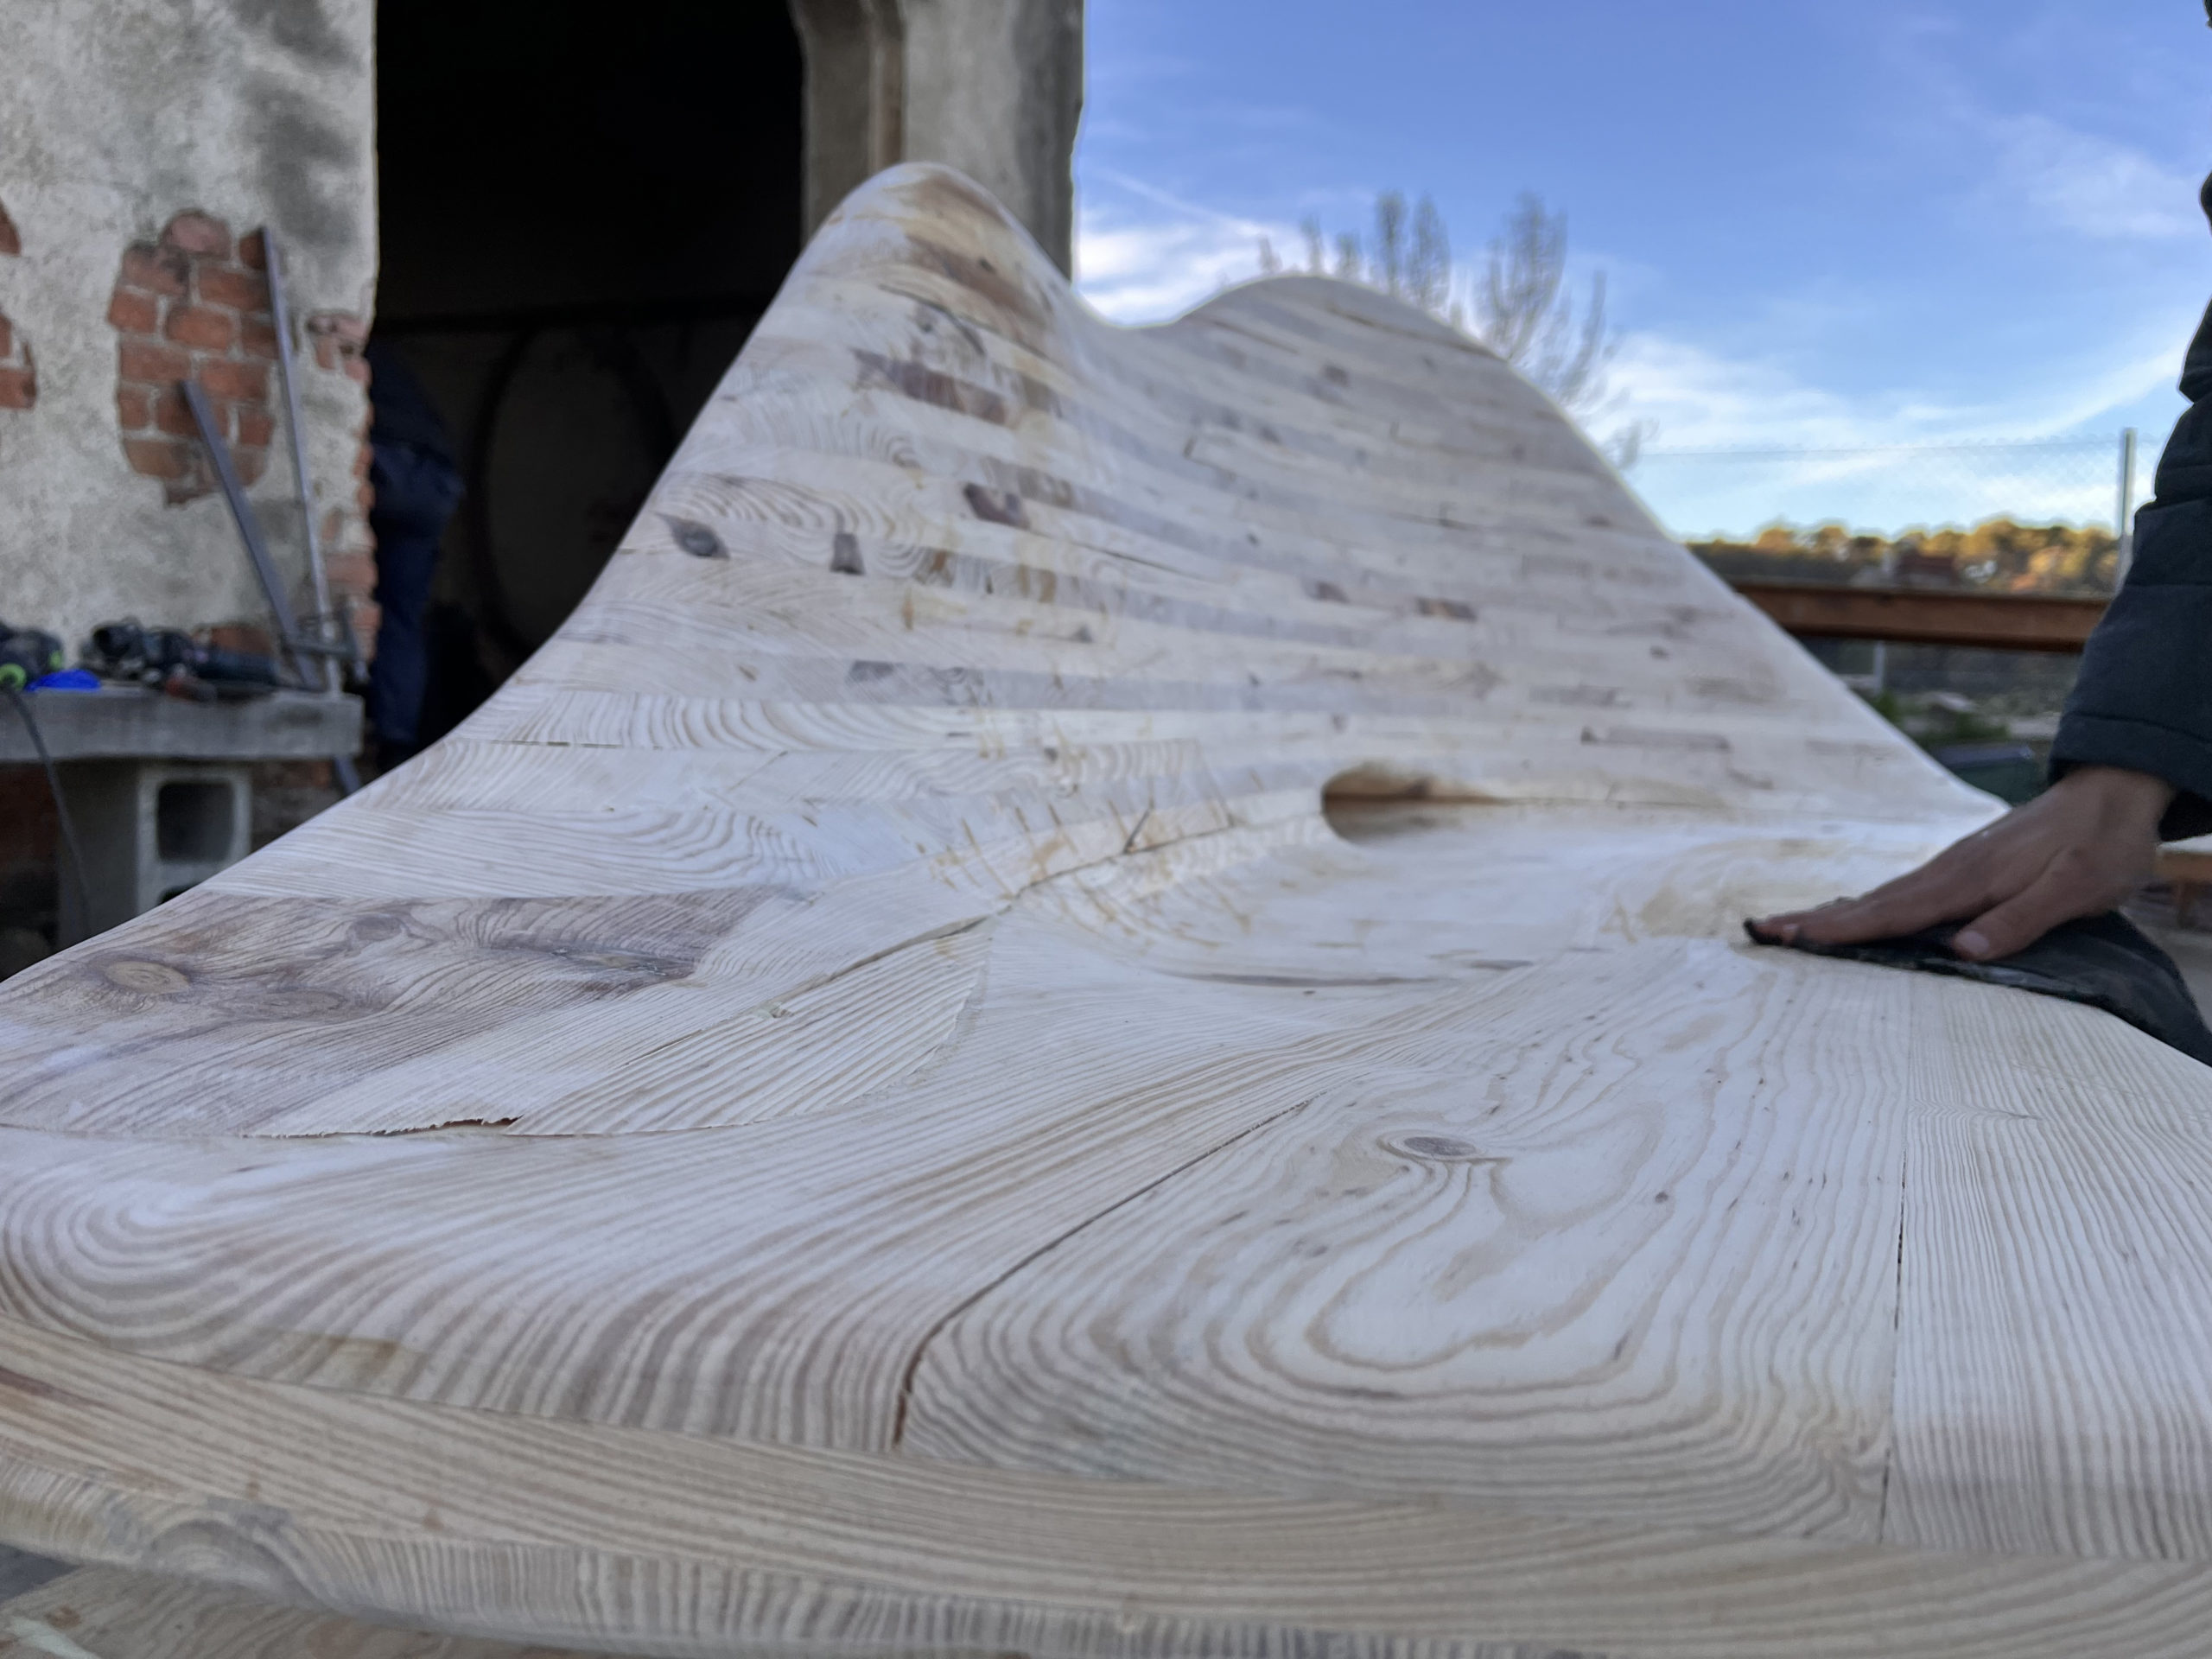
The panels of wood, were arranged in their CLT format using a fence that aids as a guide for alignment but also as compression on all the sides of the CLT panel. Once arranged and verified the first layer was placed and a polyurethane adhesive was utilised to glue the next layers. The panel was then placed under a mechanical press which provided the necessary compression and were left to dry for four hours. Once the panel dried, it was placed on the CNC. The CNC was pre-programmed to cut the necessary parts of the bench. The pieces were then connected to each other using the same polyurethane adhesive and dowels for alignment. Each piece was then sanded to clean and sculpt the bench to desired shape.
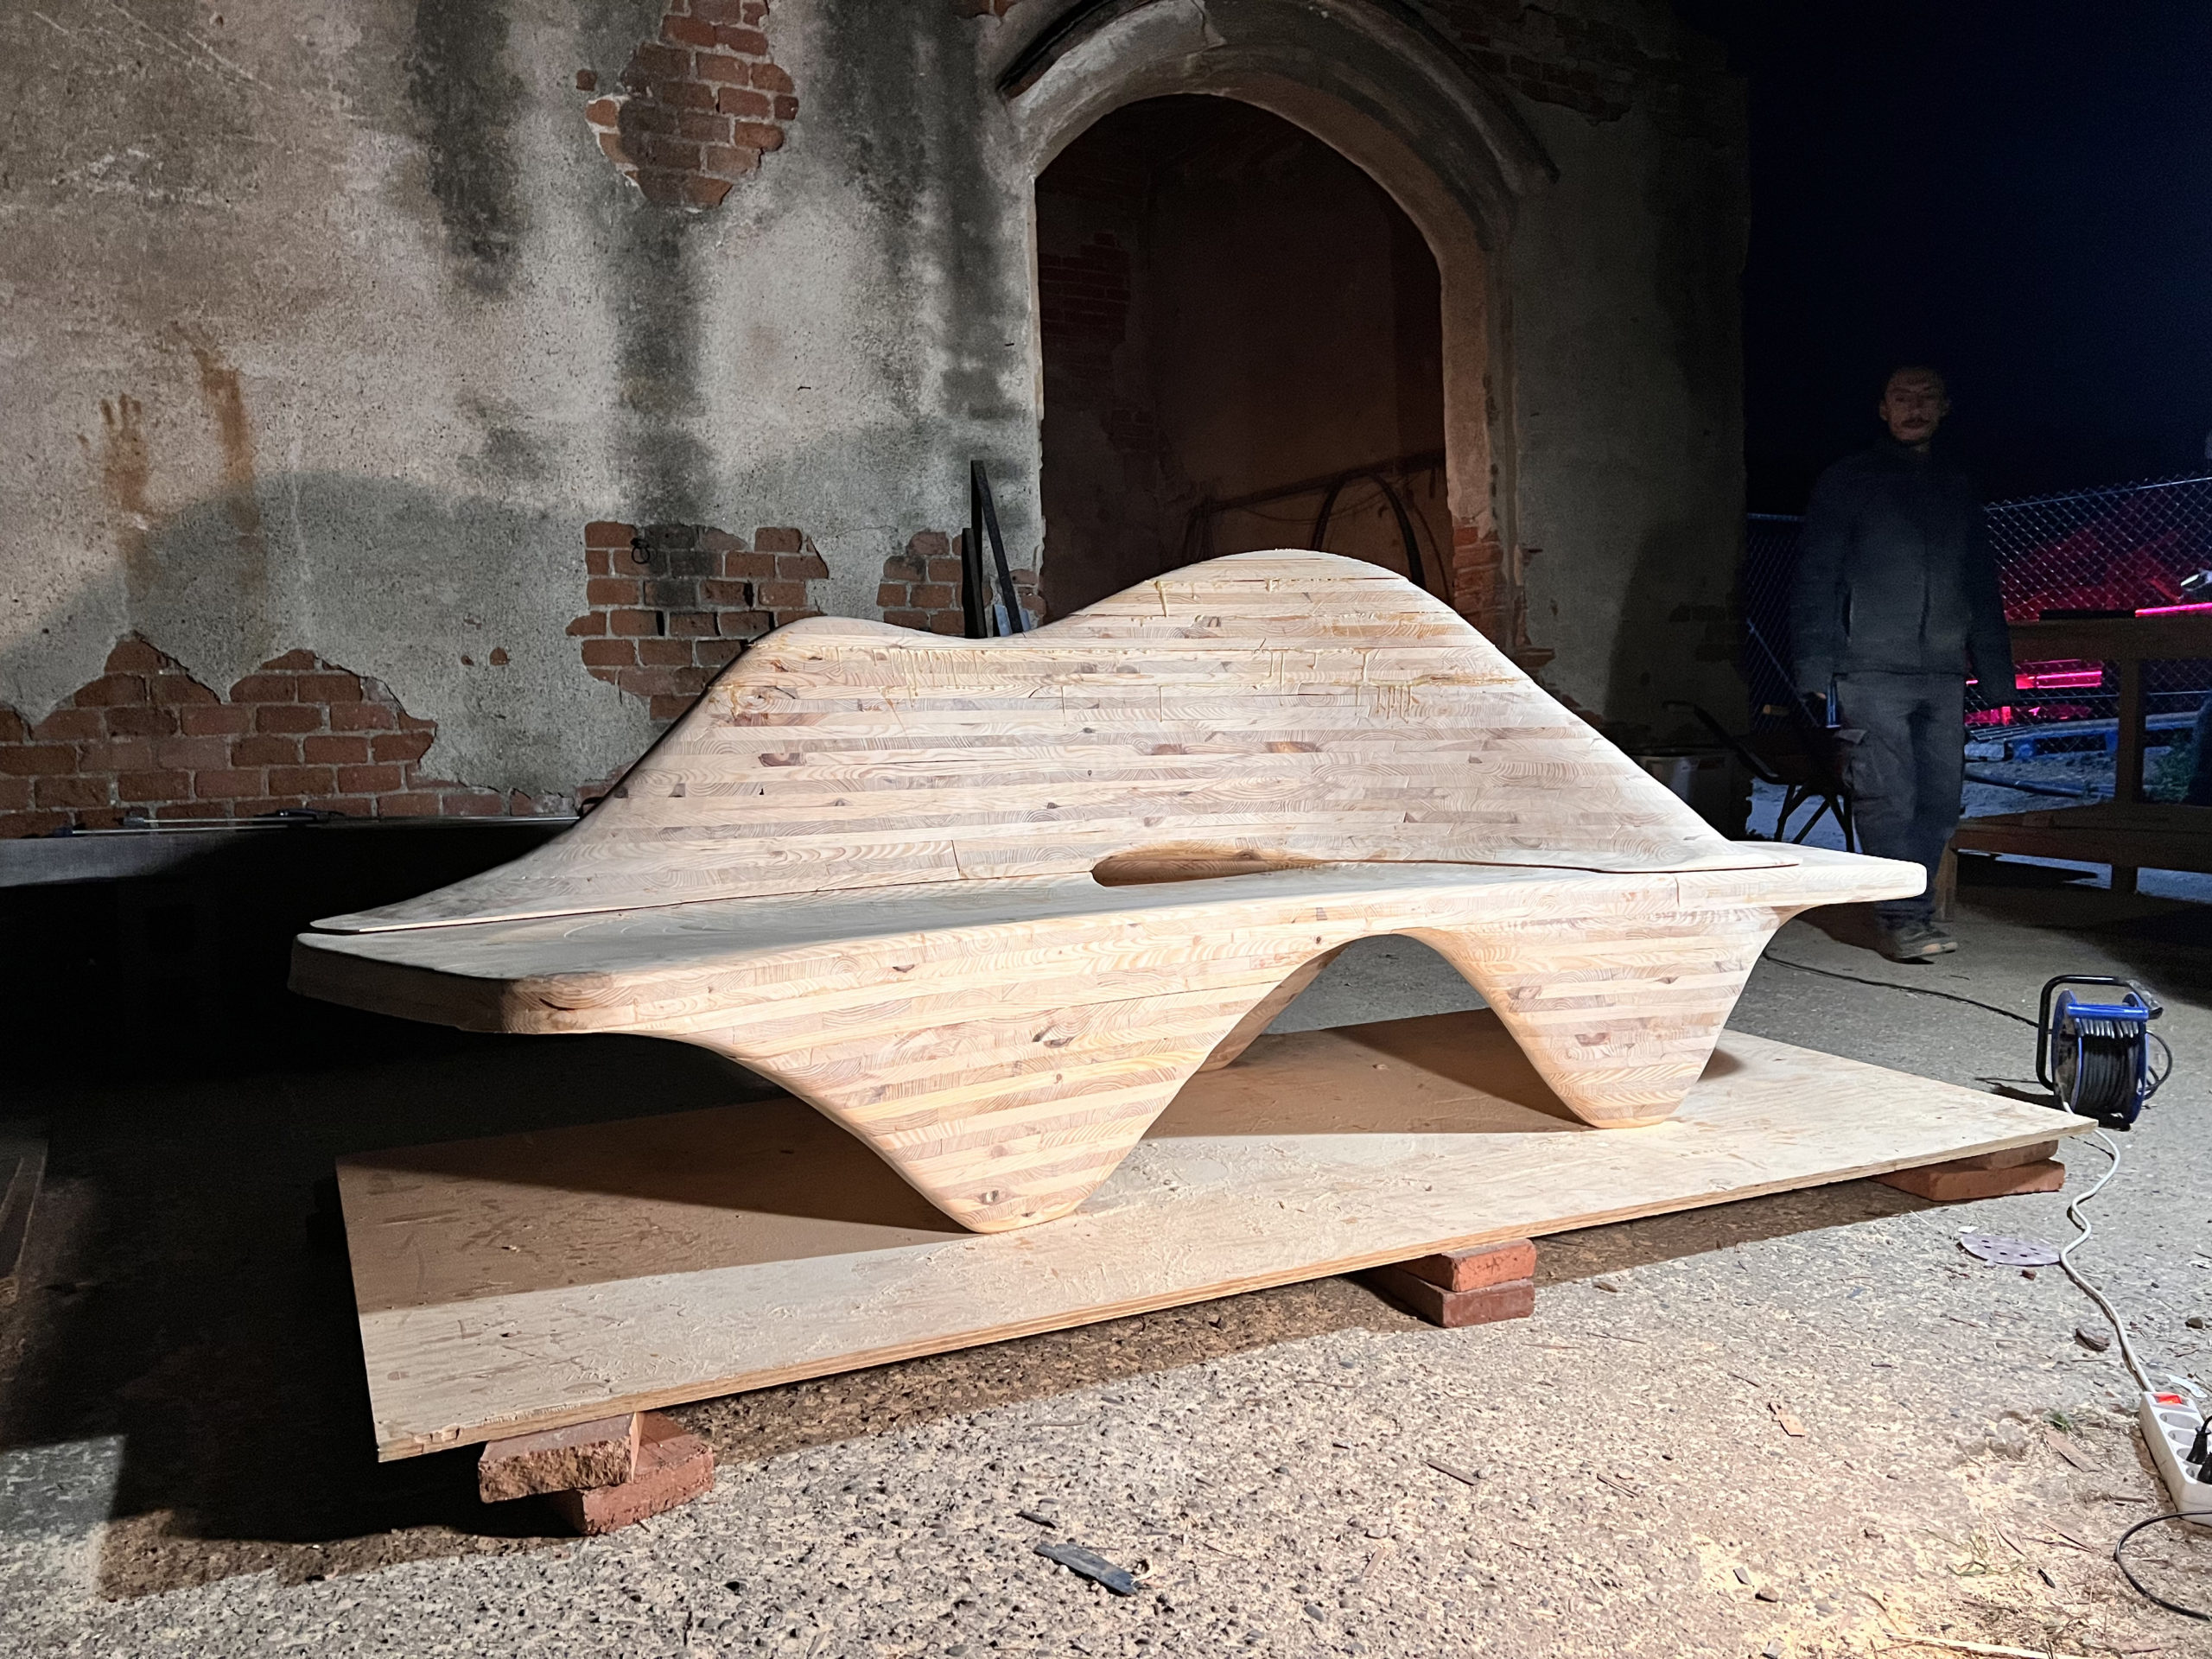
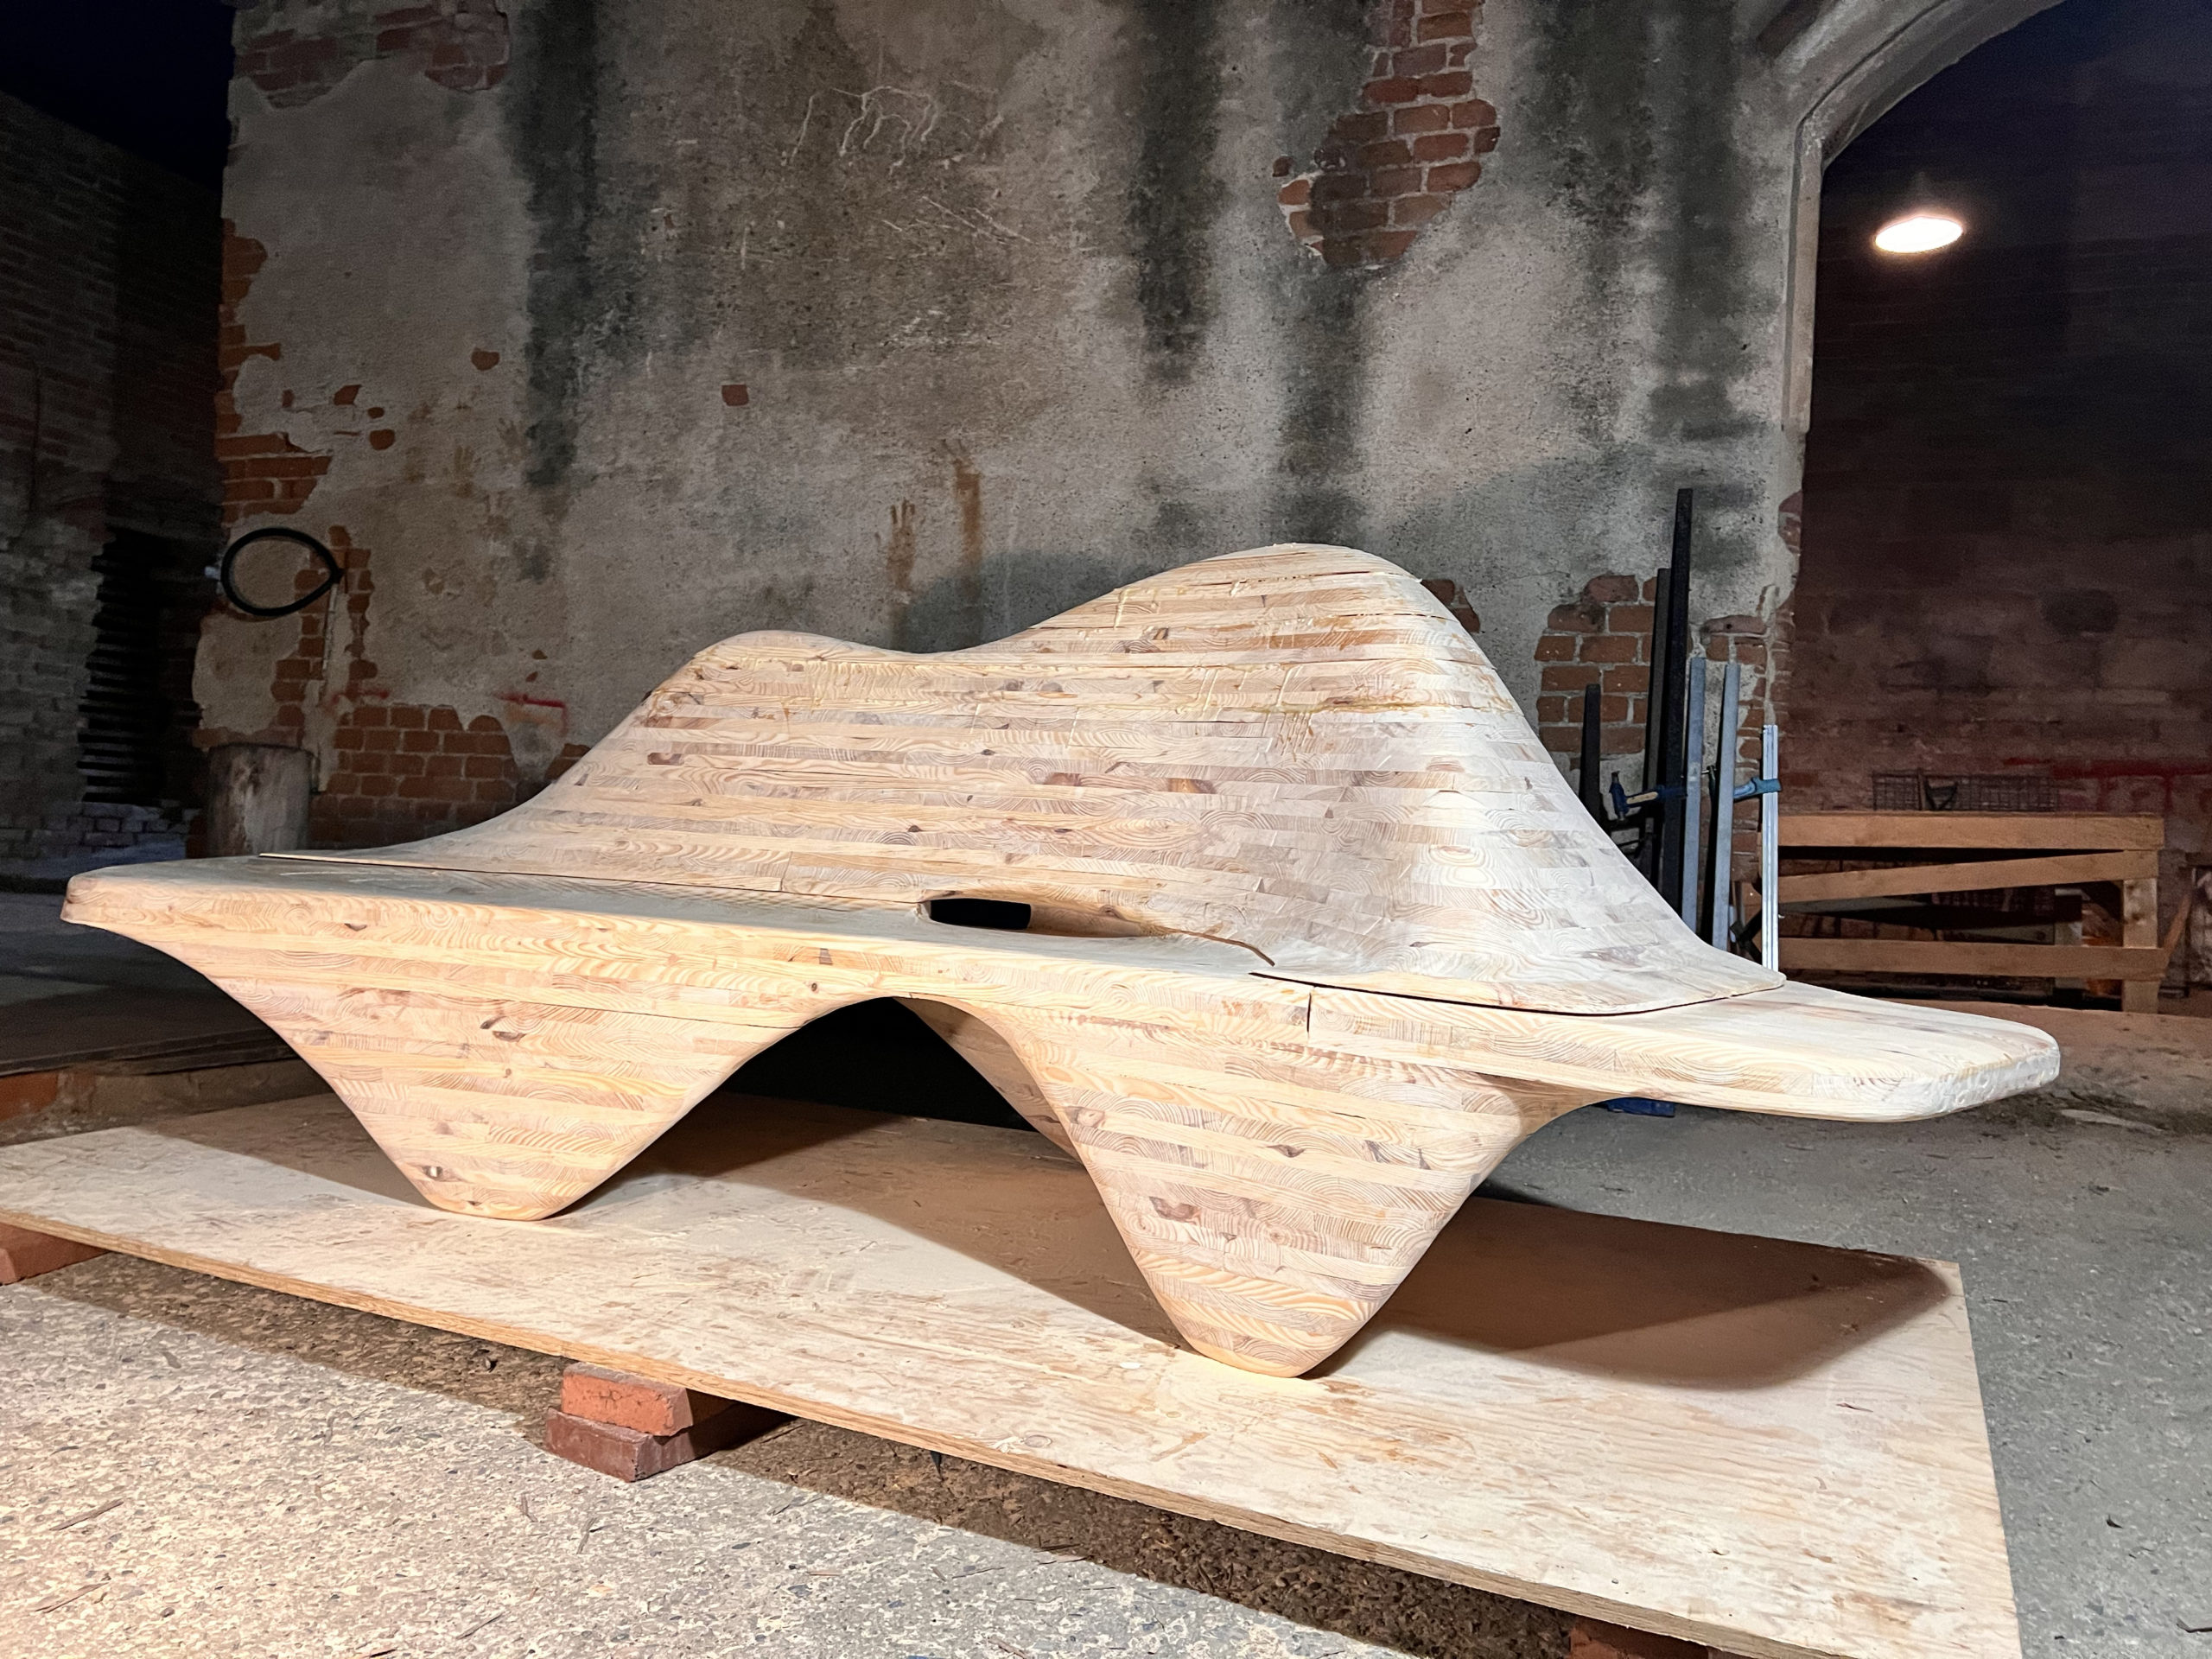
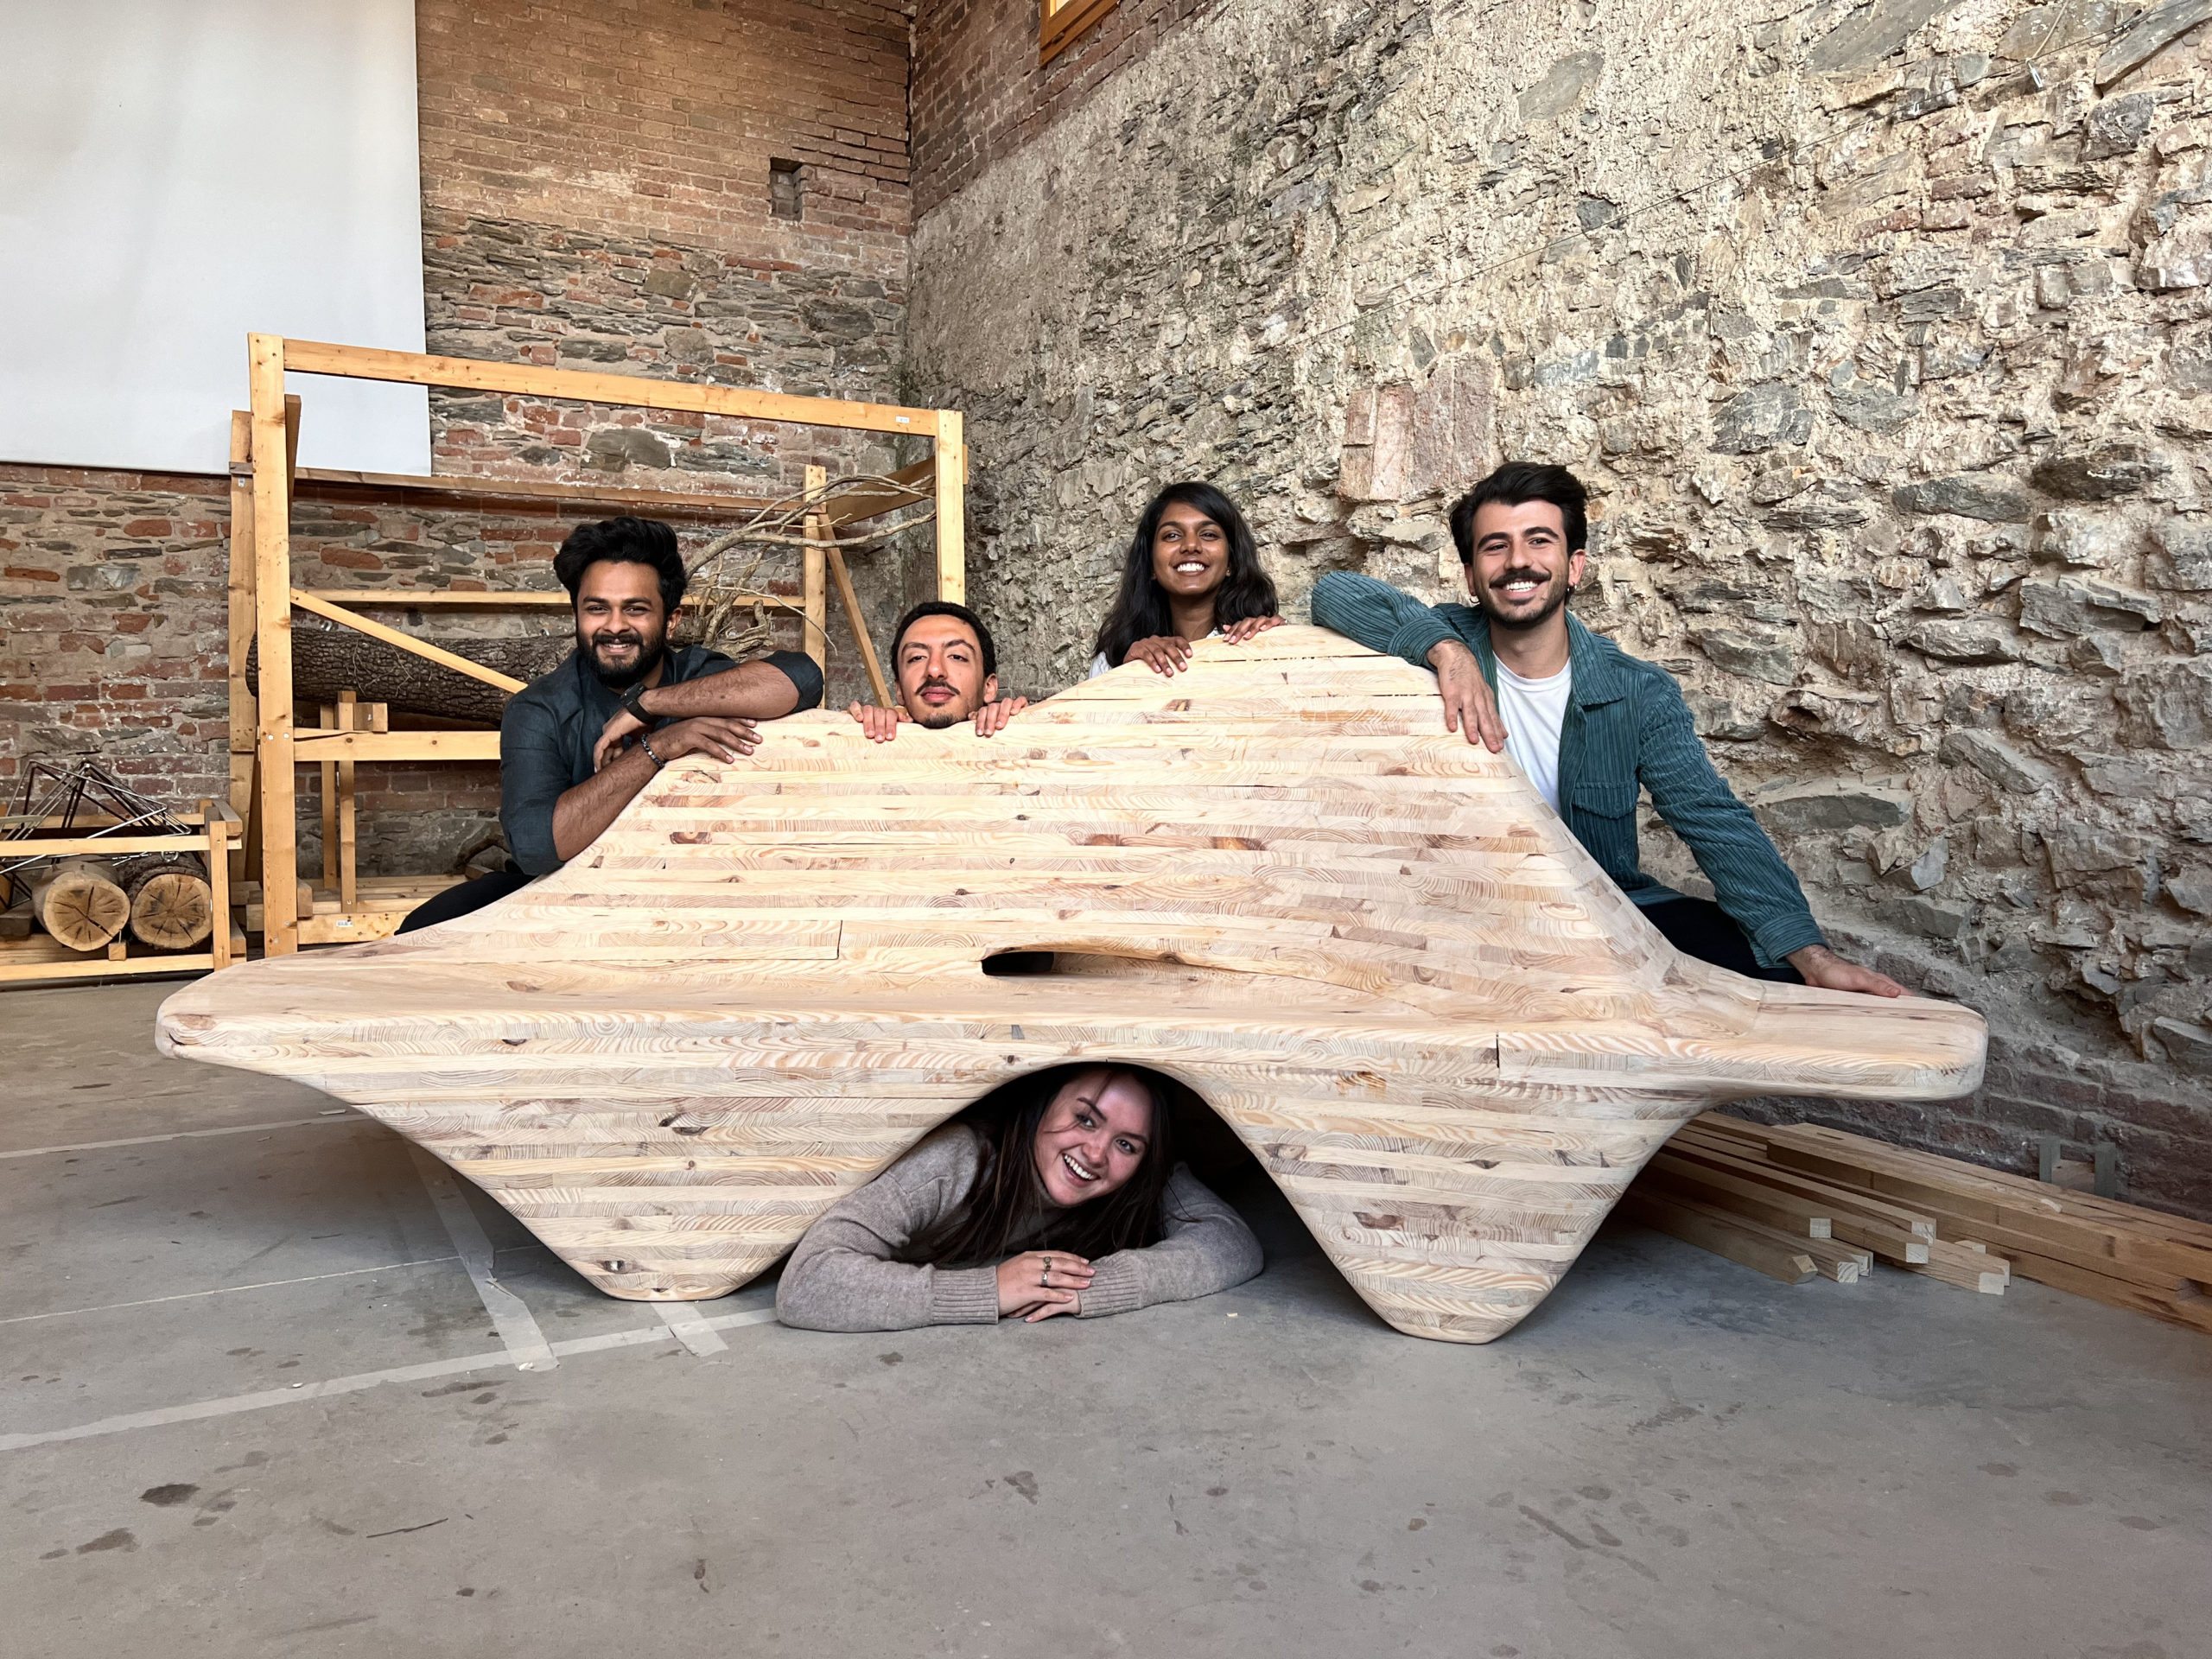
Final Product
The final bench is an organic shaped bench designed to showcase the materiality, ergonomics as well as to be a state of art design.