
Grasshopper fundamentals
MAEBB program 23/24
Grasshopper is plug-in within Rhino, it enables to create complex parametric designs by connecting components in a graphical interface. This tool allows for a new way of designing and manipulating complex geometries.
During the first semester, we had to submit weekly assignments. For our final assignment we had to send in a video made with Grasshopper.
Weekly submissions
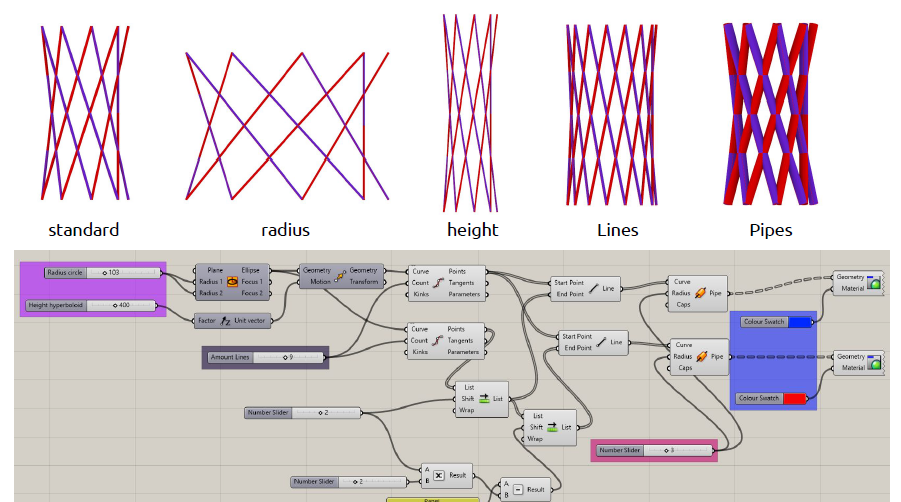
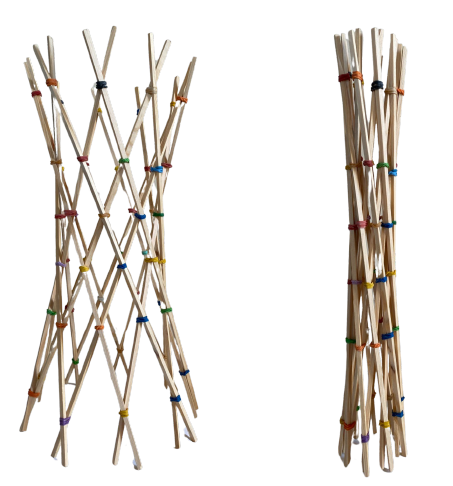
Week 1: Hyperboloid
Our first class was an introduction to Grasshopper, Functions and parameters and algorithmic Logic.
For my first submission, I made a Hyperboloid in Grasshopper. Because, I really like the shape of the Hyperboloid, I decided to also make one in real life. In the pictures, you can see the Hyperboloid that is generated with grasshopper. You can see 5 different hyperboloids. The hyperboloids changed shape, because the parameters have been adjusted. Finally, you can se a picture of an hyperboloid that I have made from wooden sticks.
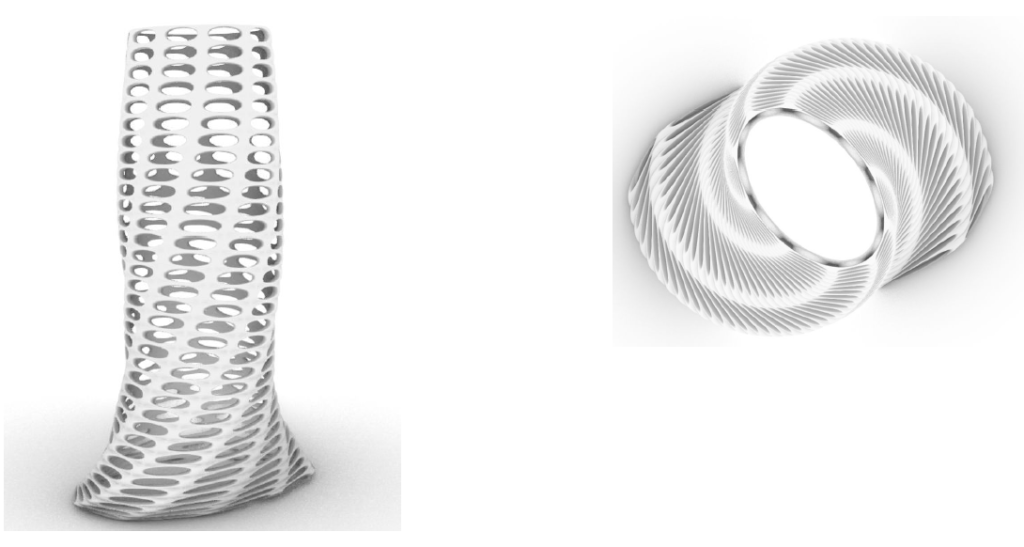
Week 2: Twisted Towers
In the second week we learned about, data, lists, numbers, data matching and data management. For my weekly assignment I made 3 different towers, that change, because the parameters have been adjusted.

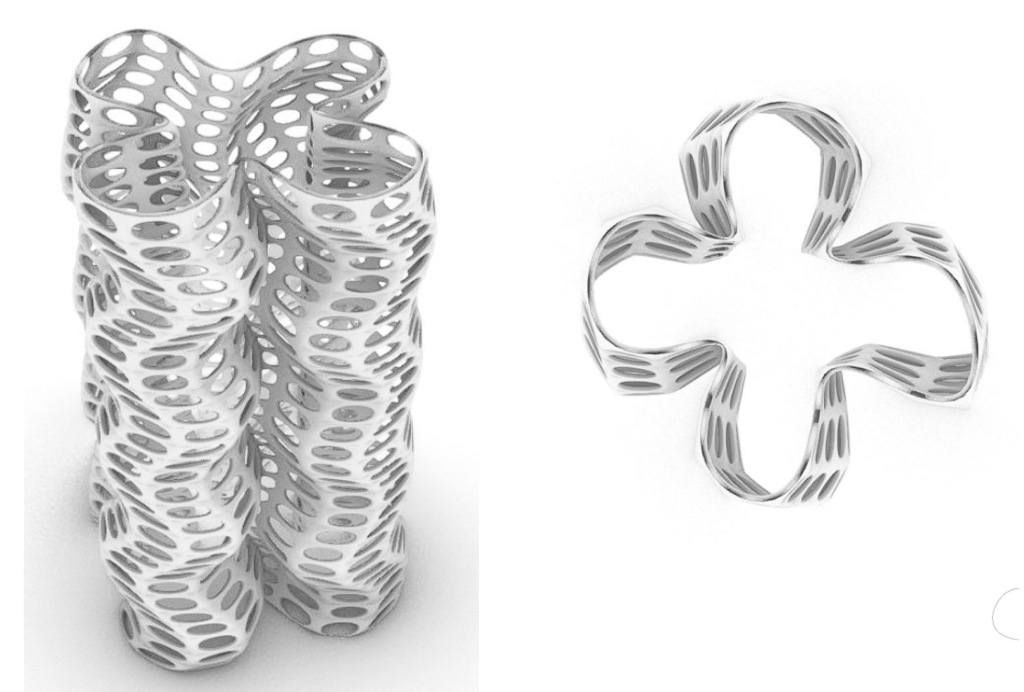
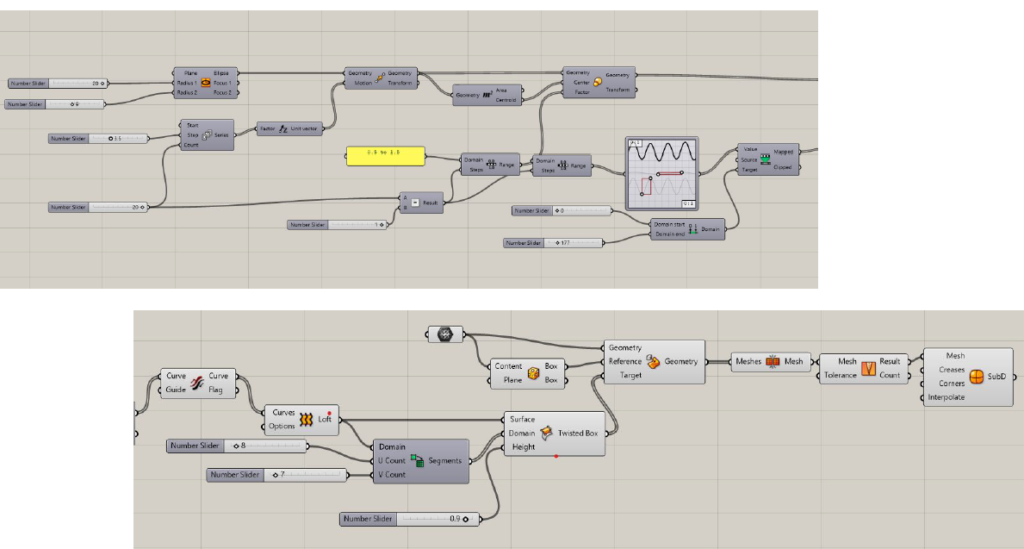
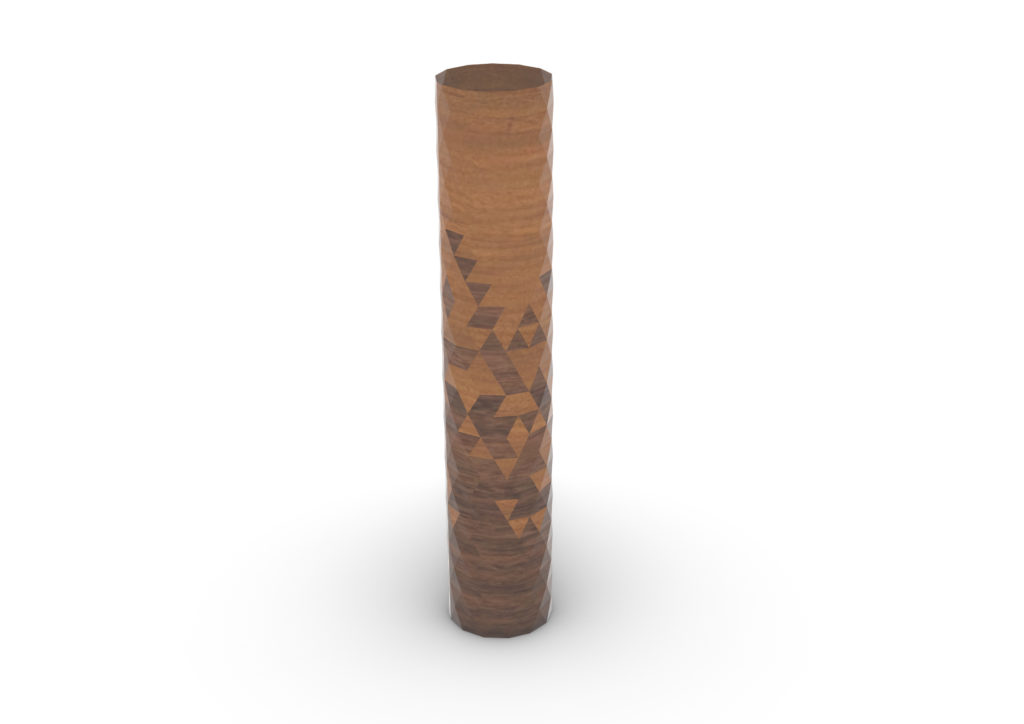
Week 3: Jittered Towers
The base for the Jittered tower is an ellipse, which has been moved and made into a tower with the loft command. The next step was adding the triangular panels to the tower. The panels have been scaled vertically. (The panels in Jittered
tower 1, have not been scaled.) Eventually the panels have been coloured
and ordered randomly with the jitter command.
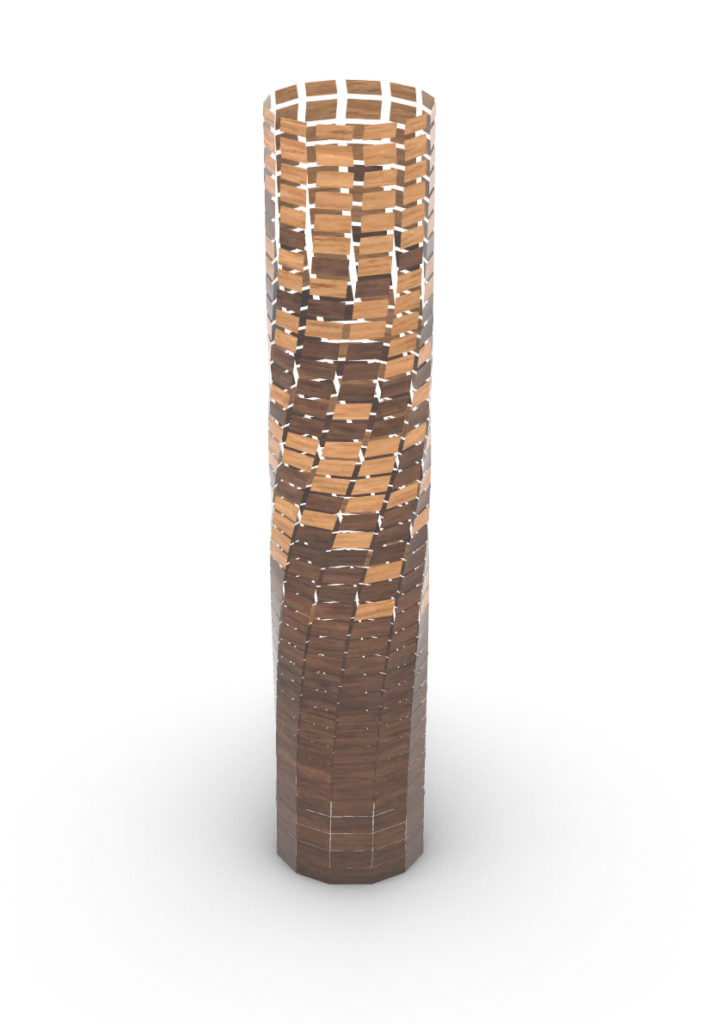
In Jittered tower 2, the triangular panels have been replaced for quad panels. The domain of the panels have been
changed from 1 to 0.85. Also, a rotation has been added to the tower.
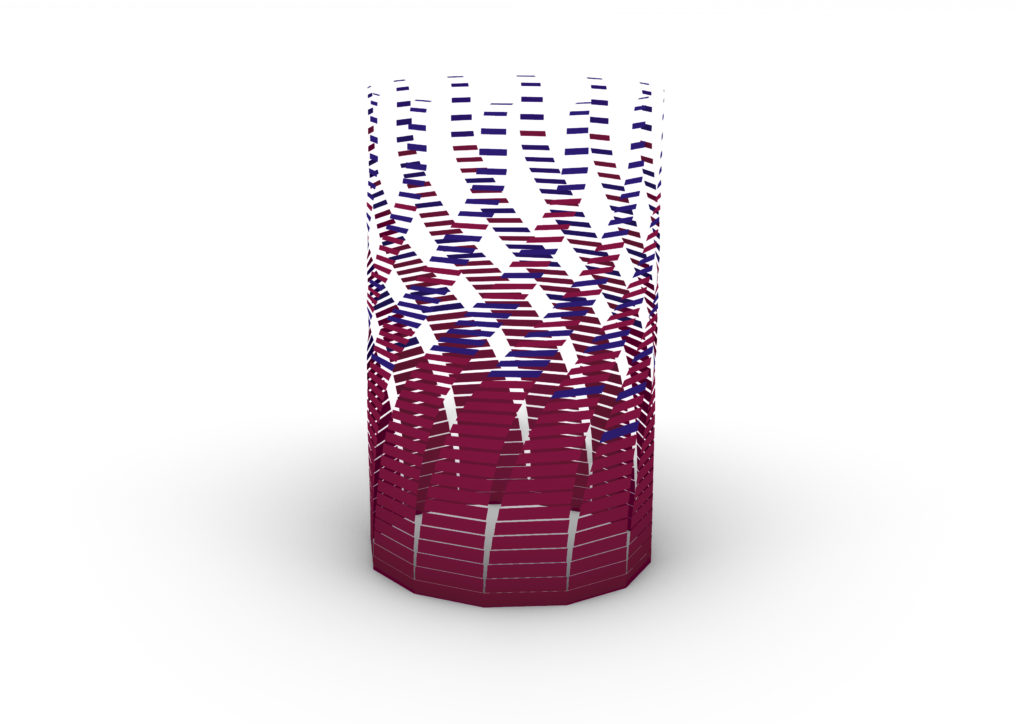
In Jittered tower 3, the radius of the ellipse is bigger than the previous towers. The domain of the panels has been
changed from 1 to 0.3. Also, the Jitterd and the seed have been adjusted, which creates a different colour pattern.
Week 4: Wavy Furniture.
I decided to CNC mill the Wave Panel script that we made in class. I really enjoyed using grasshopper to make
something physical. The process went pretty well. The only thing is that The Cnc mill cut the waves pretty rough, so I had to sand the panel for a long time to make it smooth.
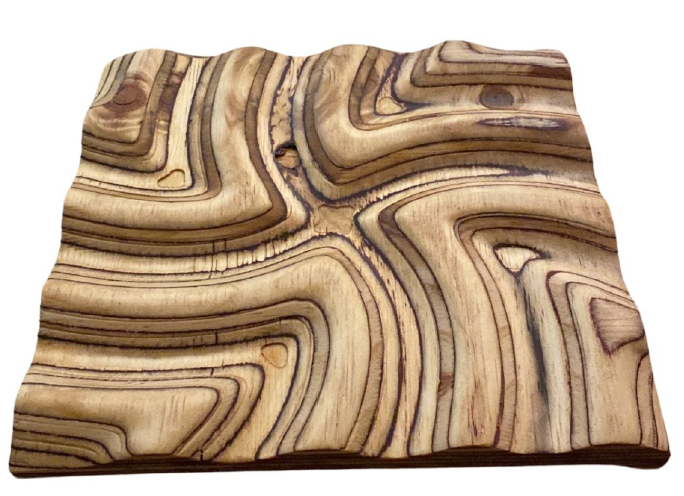
For my Assignment I wanted to make a script for a box with a wavy pattern. That I would be able to CNC mill. The box would be made out of 6 pieces 18mm plywood. That our cut in 45 degree angles. So the waves would flow into each other.
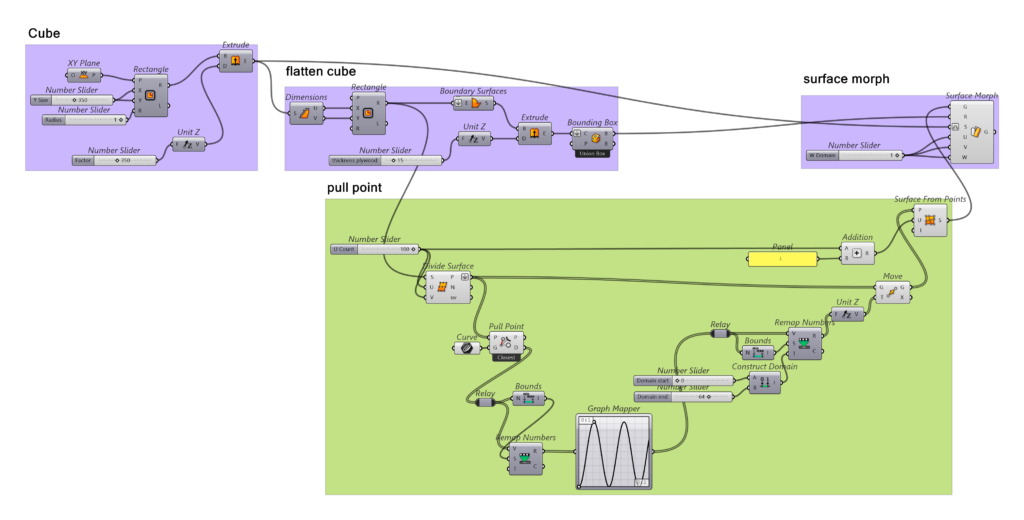
Work method:
Step 1: Generate a rectangle and extrude it.
Step 2: Make a rectangle with the same dimensions as the extrusion, if it would be flat
Step 3: Pull point the divided surfaces from the curve that has been created in Rhino.
Step 4: Use graph mapper to make a wavy pattern.
Step 5: Make a surface from the pulled points.
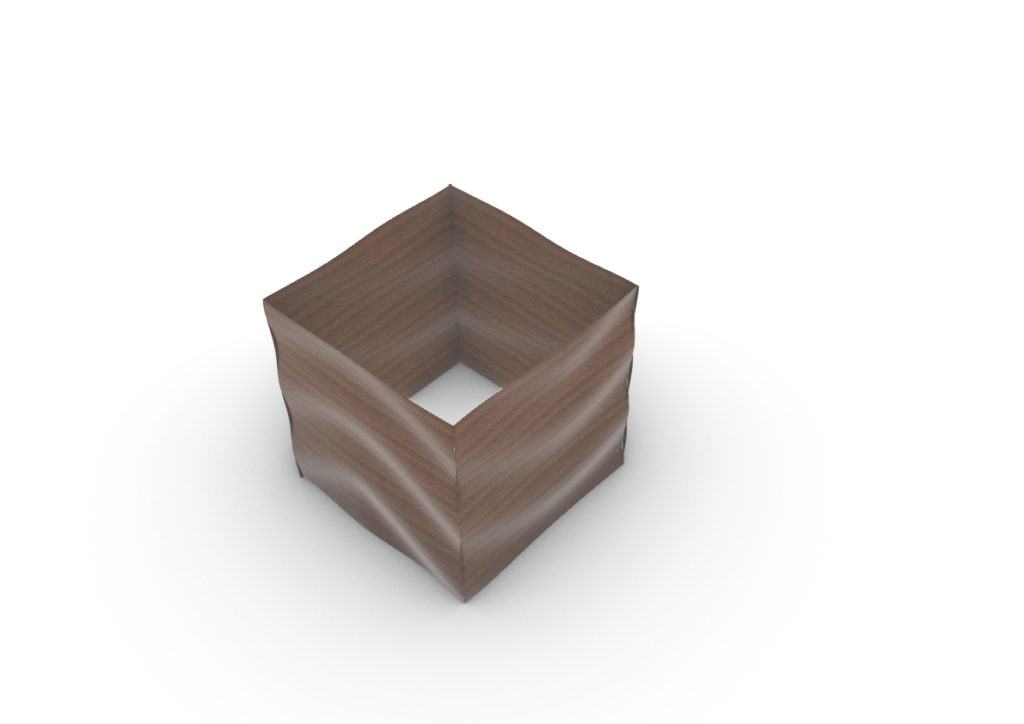
I tried different ways of making a wavy pattern for a cube, but I failed. Overall, I learned a lot from this process.
Week 5: Voronoi Panel
Step 1: Create a plane surface
Step 2: Populate geometry ? Voronoi
Step 3: evaluate surface and create 2 circles, position the circles with the MD slider
Step 4: Populate Geometry and add to voronoi
Step 5: Explode the voronoi, Use clean tree
Step 6: use nurbs curve to make the corners curved
Step 7: Offset Surface
Step 8: Scale the voronoi from the centre and use clean tree
Step 9: Use command boundary surface
Step 10: Extrude in Z direction
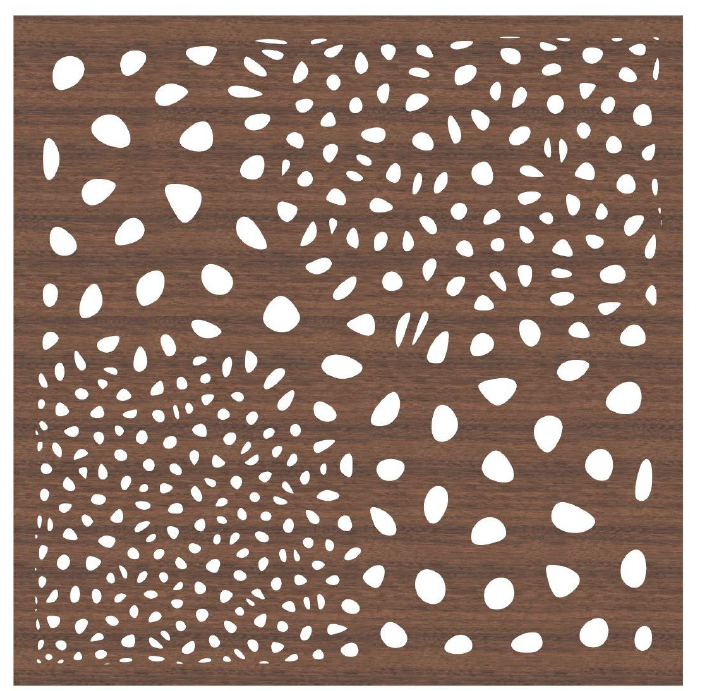
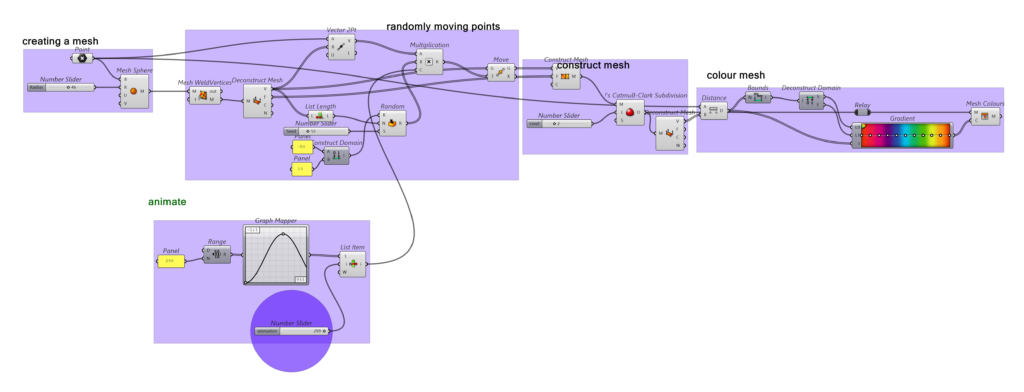
Week 6: Coloured Mesh
Step 1: Create a Mesh Sphere
Step 2: Mesh weld ? deconstruct mesh
Step 3: Move the points randomly by multiplyingvector 2pt -10 en 10 of the whole list length
Step 4: construct the mesh, use Catmull-Clark subdivision
Step 5: Deconstruct the mesh
Step 6: Take the distance of mid point of the sphere and the points of the latest deconstructed mesh
Step 7: Create a numeric domain with bounds, deconstruct the domain
Step 8: Add gradient and finally mesh colours, to colour the mesh.
Step 9: Add list item to multiplication
Step 10: In list item, connect graph mapper
Step 11: Finally add a numberslider of 299 to get 300 different frames.
Final Submission: Form by Mathematical Functions
For our final project, we made a video, where shapes are made with different mathematical functions. We experimented with different camera positions, angles and tracks. The work represent what we have learned during the course.
