
During the first term of my stay at Valldaura Labs I was primarily doing the video documentation of the Design Studio Project and had the chance to experiment with all sorts of tools and machines capable of realizing my personal ethereal ideas into actual objects. The 3D printer was my favorite machine to experiment with although I’ve also done some laser engraving on plywood along with the table saw to create a multi-purpose game board.
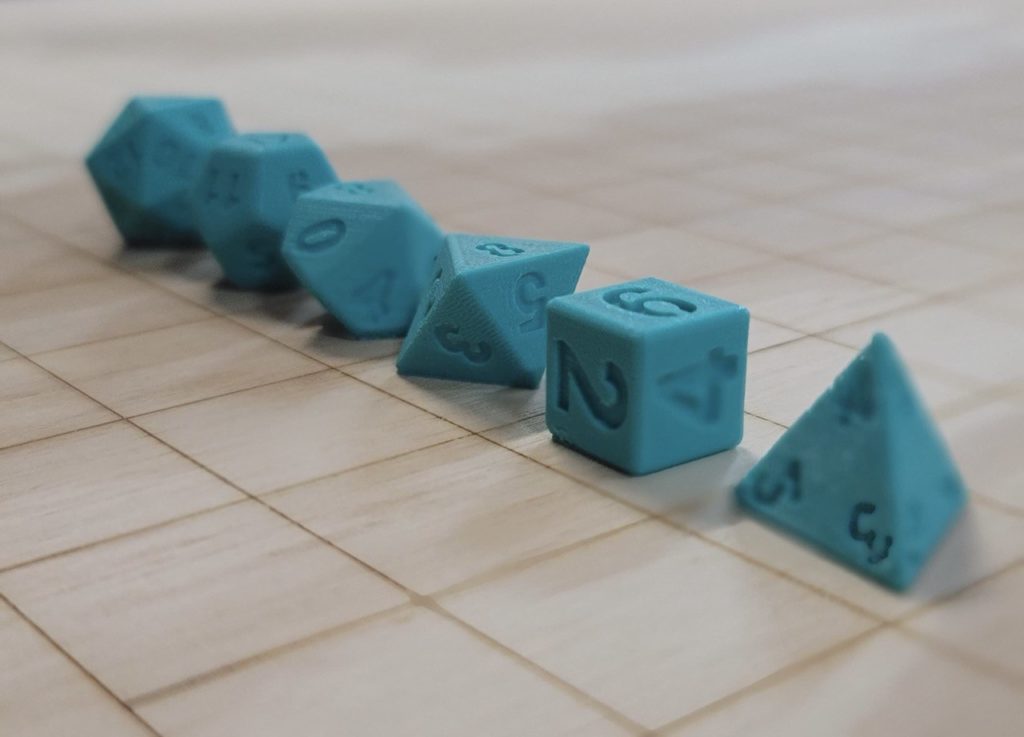
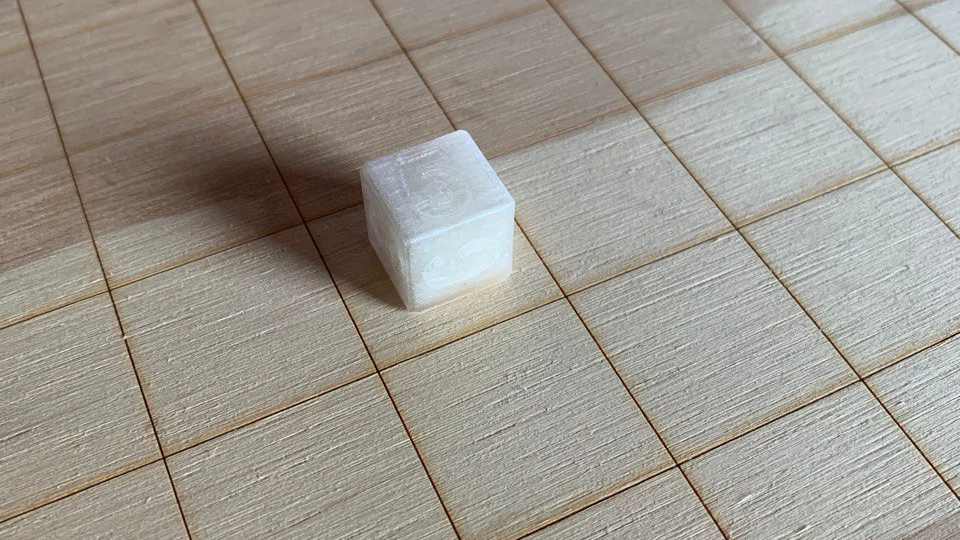
To get started with the 3D printer, I decided to try something relatively simple — model and print a 6-sided die (D6). To get the printed model to a decent quality I needed a couple of tries. The first one I printed out of a translucent PLA (polylactic acid) plastic which, in hindsight, was a bad idea as the transparency of the material made the numbers on the sides of the die hard to read. As for the quality of this print, I set the infill to 30% and set the layer height at 0.15mm. This resulted in a very lightweight die with a decent quality of inset numbers that took about 20 minutes to print.
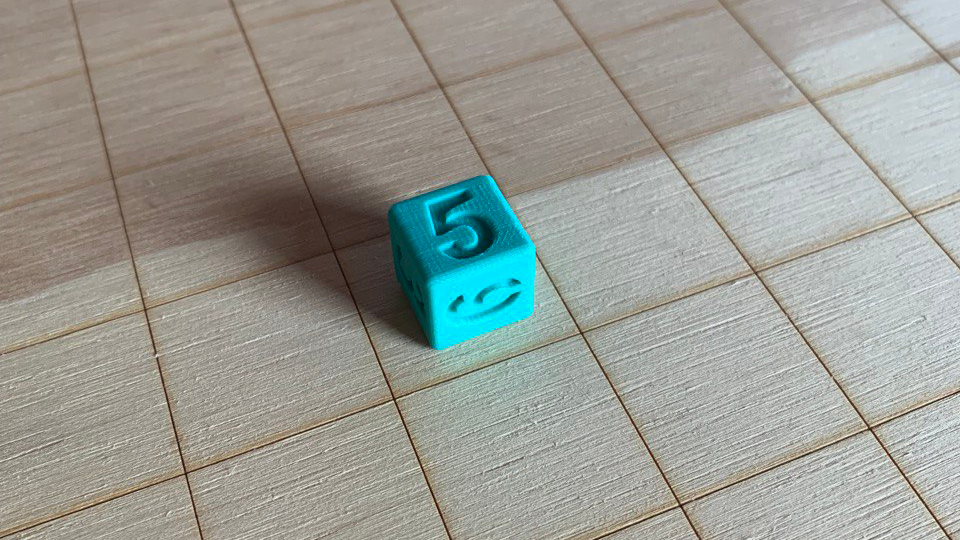
When printing the second die, I decided to change the color of PLA to emerald green and to decrease the layer height to 0.06mm and ramp up the infill to 70%. This doubled the production time but in the end the detail quality, weight and readability of the die turned out optimal.
I took a liking to the green emerald color and decided to use it for all of subsequent dice experiments. The layer height and infill settings also stayed the same for all the subsequent prints.
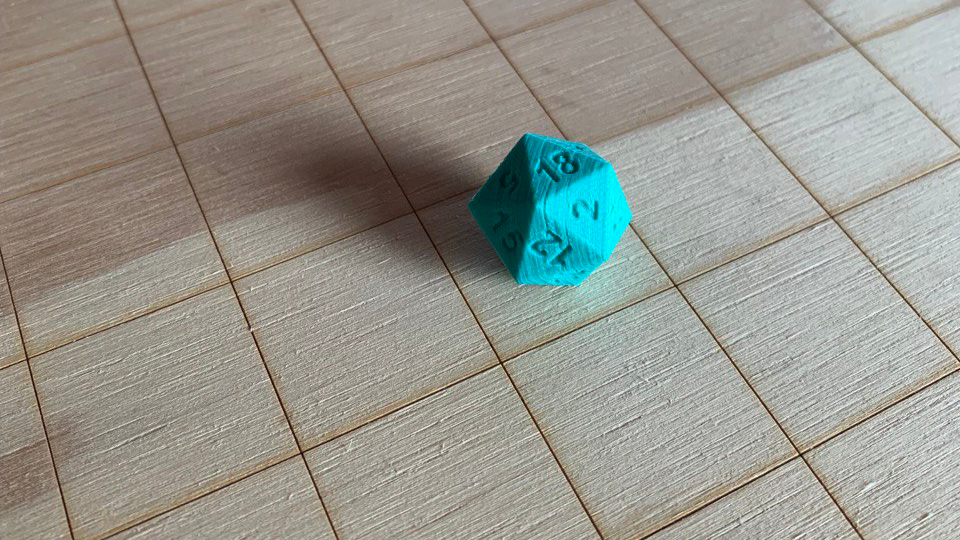
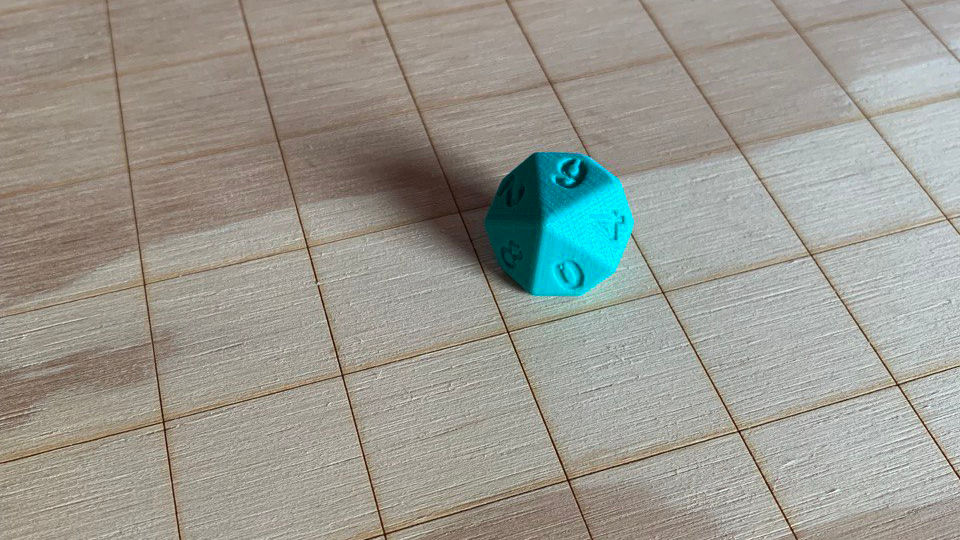
To challenge myself further, I tried to print the next die with 20 sides (D20) next. The pilot version turned out a little rough around the edges as it were. The details such as number insets on the sides were a bit too small for the printer to handle properly (the die had a diameter of 18,5mm) and the fact that some of them had to be printed at an angle didn’t help either. The sharp-ish edges made it a bit difficult to roll the die as well.
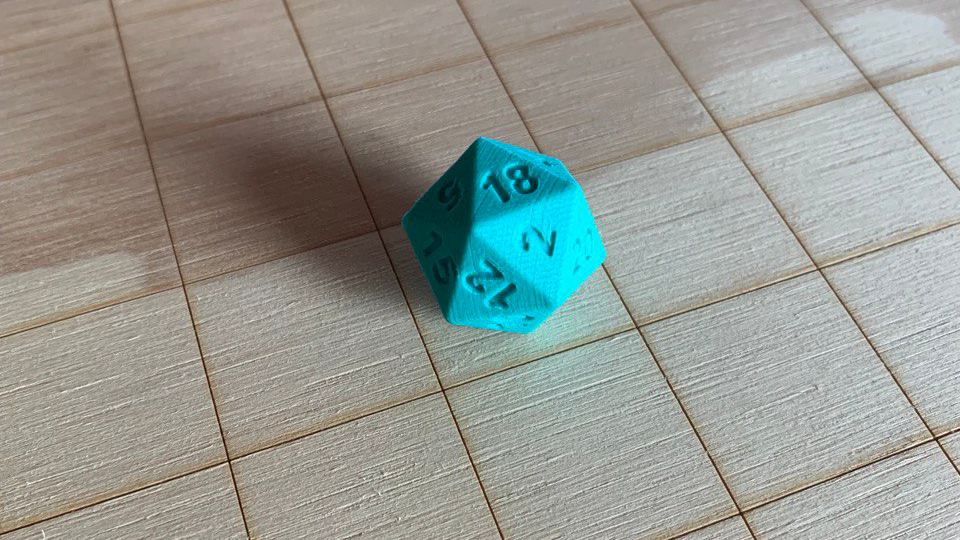
By increasing the diameter of the die to 21mm and by filleting the edges with a radius of 1mm, I was able to achieve a decent detail level and good rolling capability.
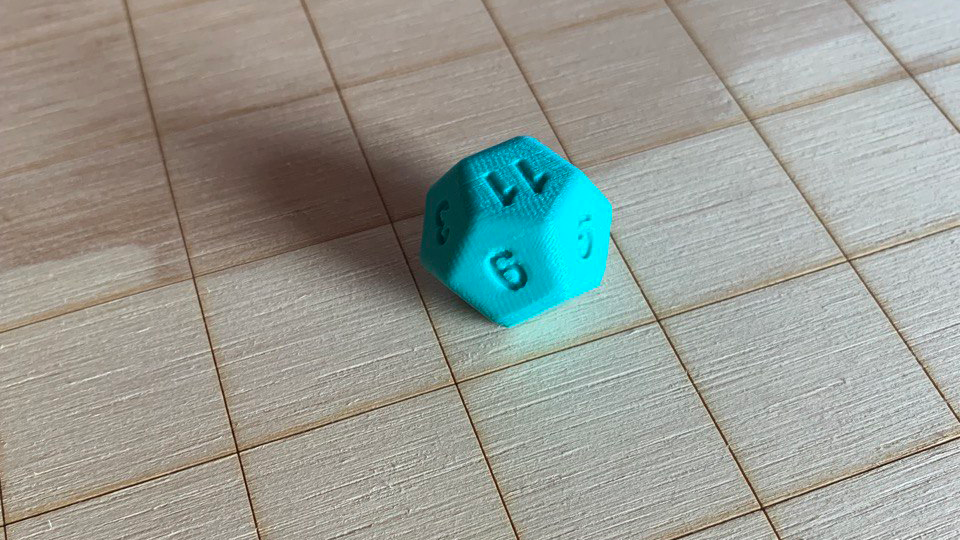
The next die I created had 12 sides (D12) and, in my opinion, it turned out to be the best of all in just the first try. The spacing between the number insets and generously filleted edges (with a radius of 2mm) were perfect for both rolling and holding in hand.
The 10-sided (D10) die also turned out pretty well in just the first try. Its “spinning-top” shape allowed for smoother edges and nice spacing between the edges and the numbers. It rolls well and is pleasant to the touch.
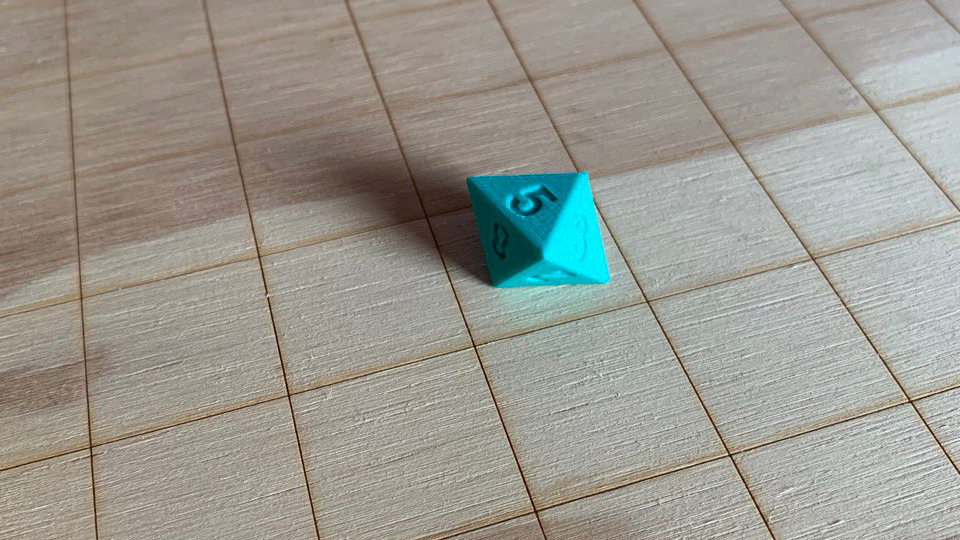
Similarly, the 8-sided (D8) die only had to be printed once for a decent result, although the edges, perhaps, turned out a bit too sharp for my liking. In the next iteration, I would increase the edges’ fillet radius from 1,5mm to at least 2mm.
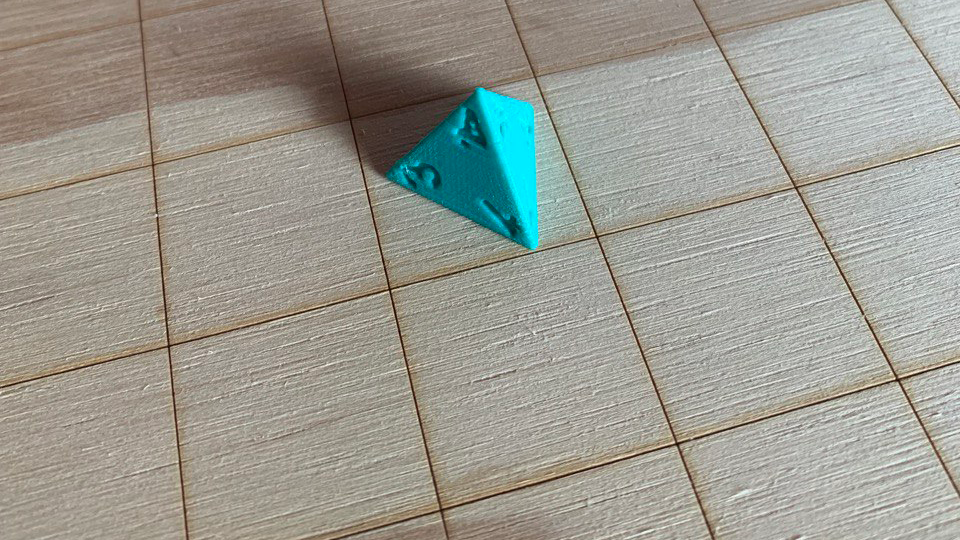
The 4-sided die (D4) gave me some trouble, though. With the first one I made a mistake in scaling it, causing it to appear too small and of very poor quality.
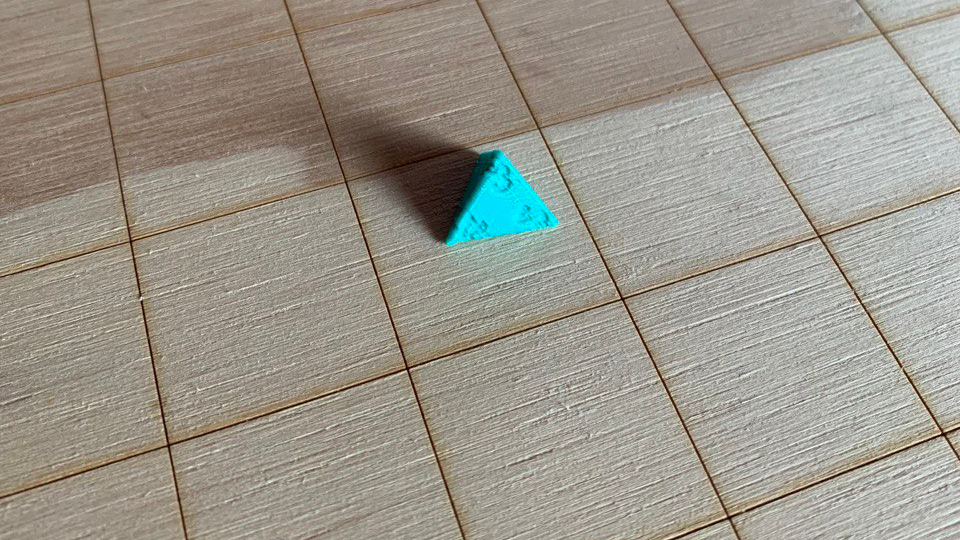
The second one I printed was a little bigger but it was still too small for proper edge filleting as the numbers were etched too close to the tip of the die’s pyramid shape and the edges had to be made quite sharp. The resulting “resolution” was also questionable.
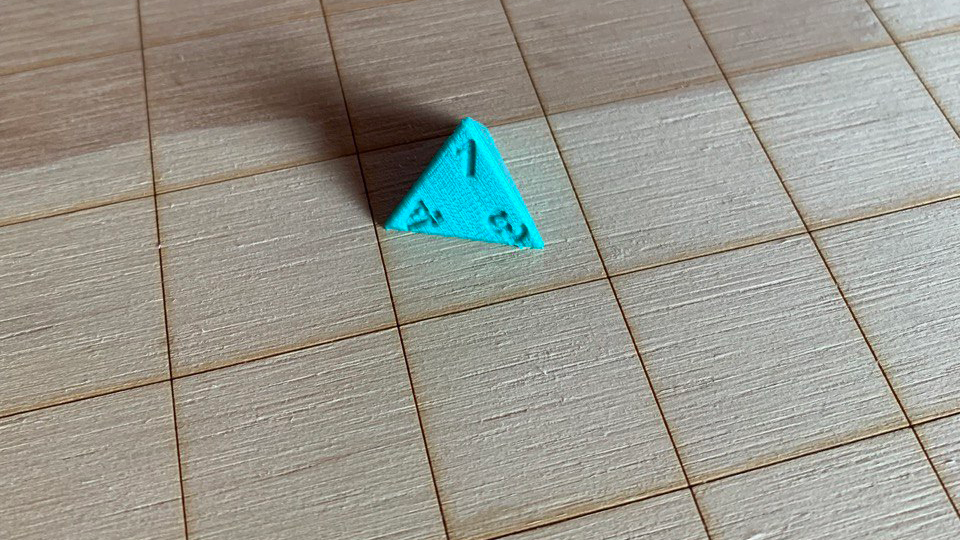
The third try produced adequate results. With only a slight increase in size, the die ended up featuring finer details and better rounded edges with the radius of at least 1mm. Perhaps, in the next iteration, I’ll increase the die’s size more confidently in the hope of achieving an even better result.
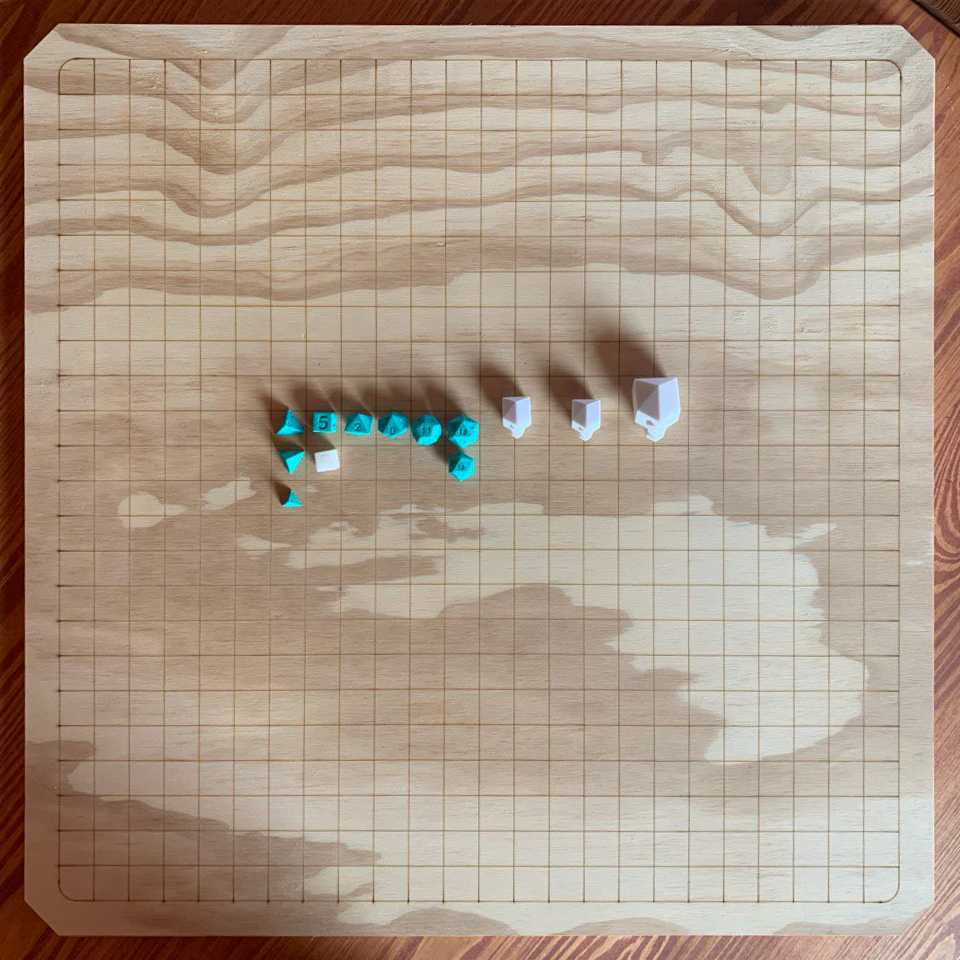
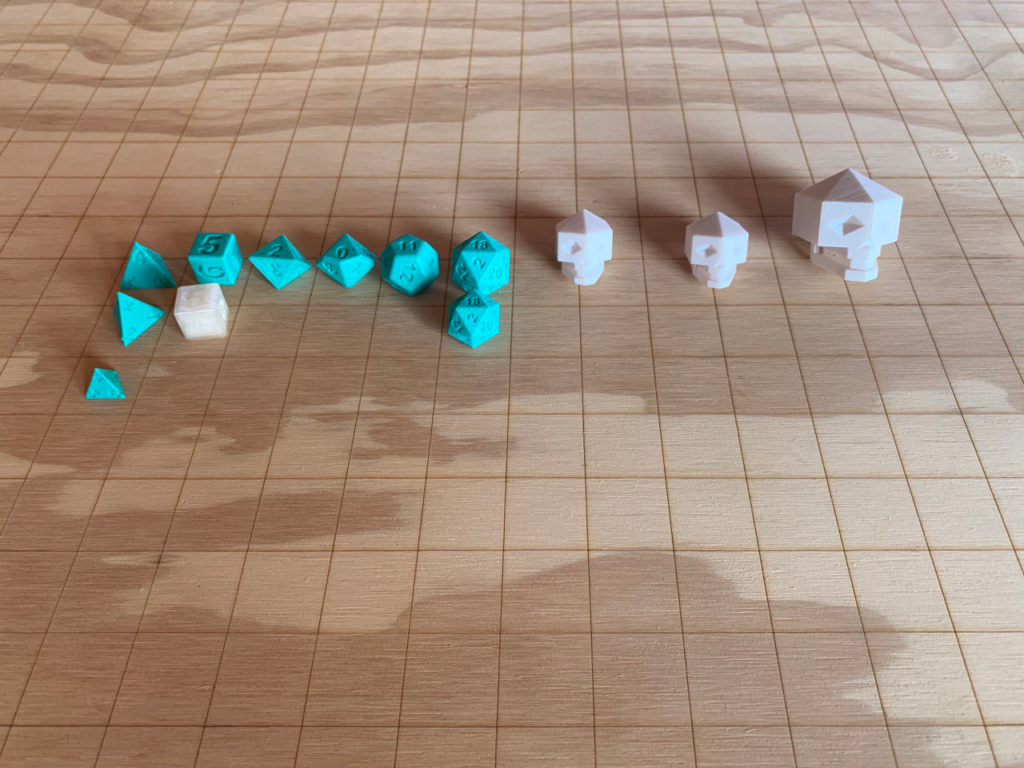
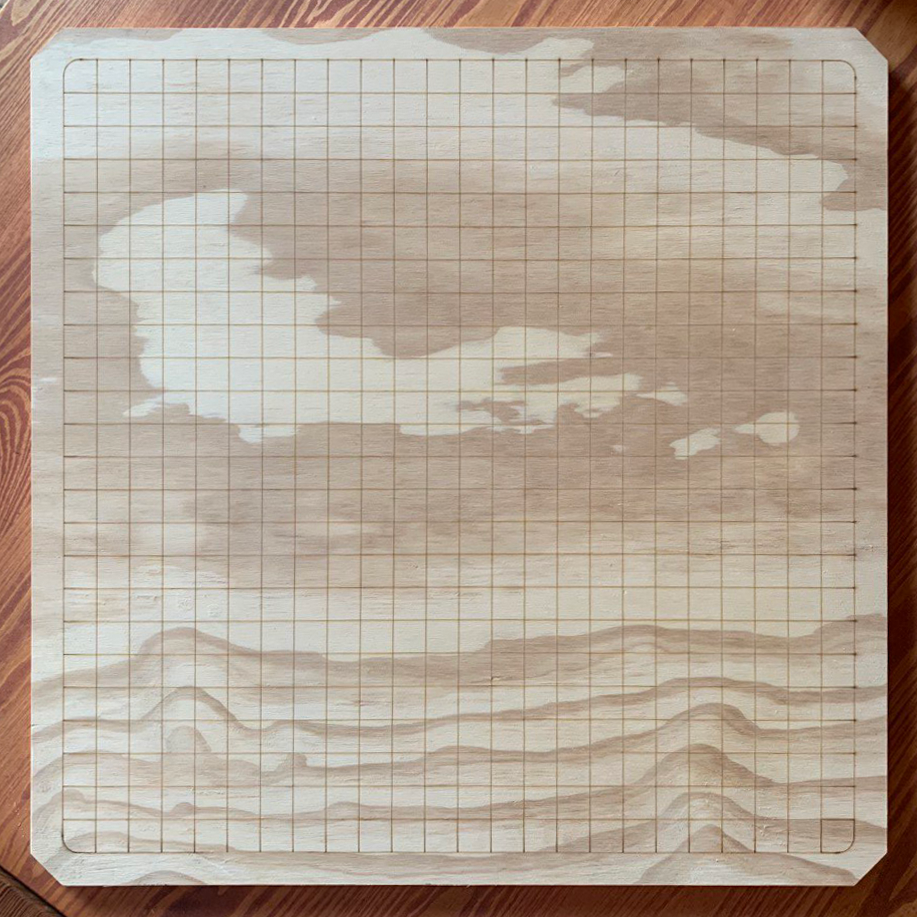
For the board, I prepared a simple grid that I drew in Rhino 7 and got my hands on a nice piece of plywood with interesting-looking patterns. After a couple of tries, I managed to laser-engrave the grid onto the plywood and then cut off the unneeded parts of it with a table saw as well as trimming the corners. The pattern upon which the grid is superimposed reminds me of a stormy sea, a lucky occurrence. At some point down the road, I hope to apply some nice-looking varnish to it. I’ve already done a couple of tests but haven’t been able to home in on the perfect solution as of yet.
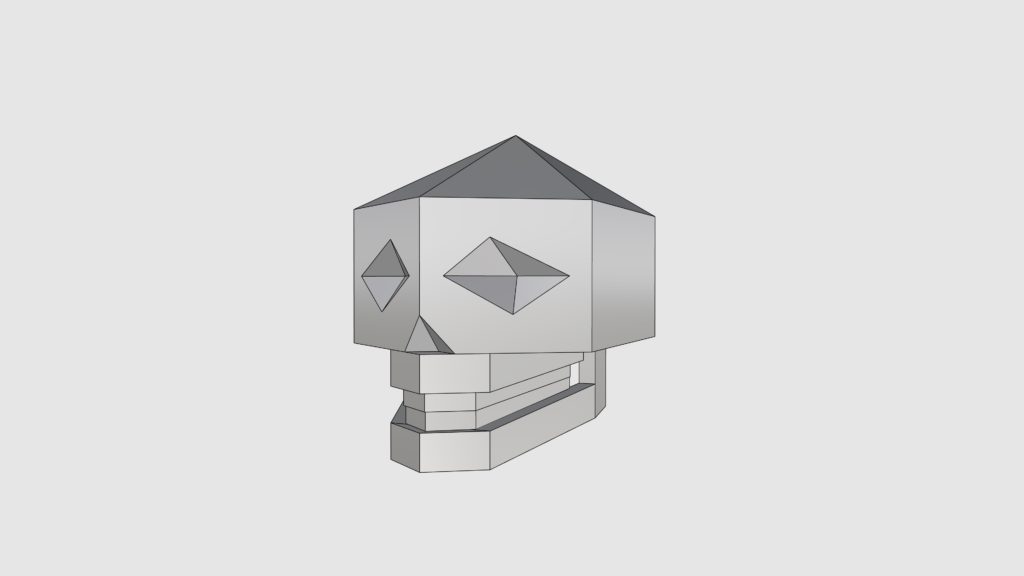
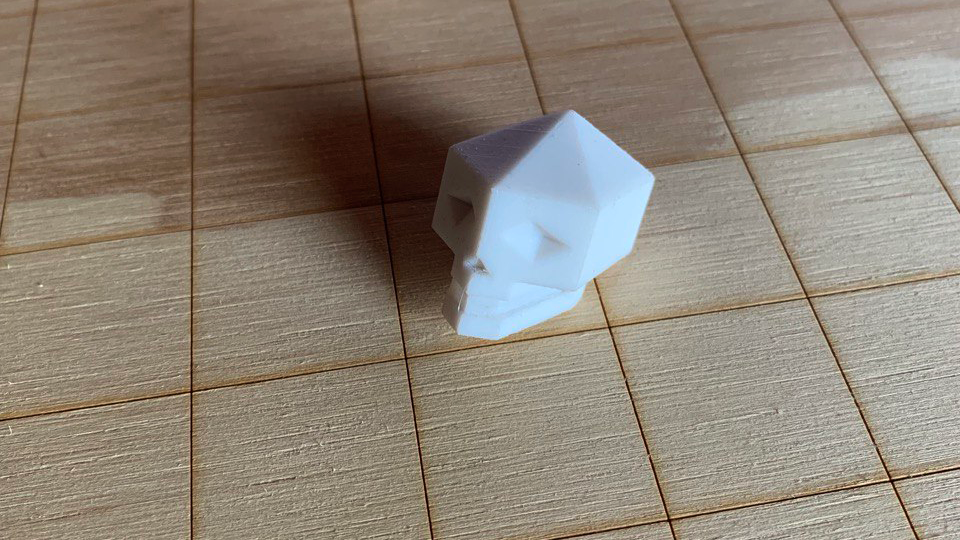
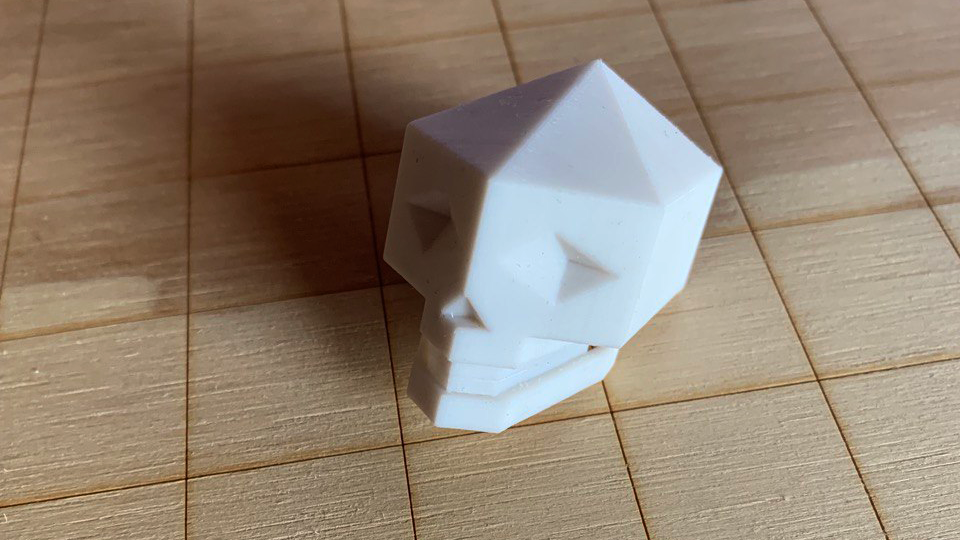
Producing the stylized Skull proved to be a challenge of a higher order compared to churning out dice. It was my first experience dealing with geometries that needed the so-called support bridges to print properly. Not sure whether there were problems with the printer or with my settings, but both the PLA and PETG (polyethylene terephthalate glycol) polymers were printed with errors as the printer was working too fast when printing the bridges, thus preventing the hot plastic from cooling off in a timely manner. This resulted in plastic debris getting piled up as the nozzle was damaging the prints by dragging the plastic gunk with it in the process. To successfully print out the skulls, I had to decrease the printing speed from 100% (60mm/s) to 35%-40% and then adjust it mid-print for different parts of the models as needed. The smaller skulls took about 2 hours to print while the big skull took 10 whole hours to get printed. The quality of smaller prints was inadequate, so I had to try a bigger one but even that one has some issues. In future, I want to figure out how to make the supporting bridges perfectly without them undermining the final quality of the print.

As the result of these experiments, I’ve learned a lot about the various nuances of turning 3D models into tangible models by using a 3D printer, while also figuring out how to use the laser cutter, prepare the source files for it, and how to operate a table saw. The opportunity to work on such projects really motivated me to start working with industrial grade machinery and I’m eager to continue this journey in the coming months. I’m confident that my experience of working with different materials, shapes big and small, and with fine detailing, will prove useful in projects to come.
