The project “Log seats” explores the idea of using cut-wooden logs as playground elements for secondary school students to help create better playground environment.
Objective
The main aim of the project was to fabricate a seating element in the secondary school playground of Colegi Mare de Déu dels Angels in the city of Barcelona. The project Log seats was developed over a period of one whole term through iterative cycles of material prototyping , height variations and patterns of log combinations. The main material used for this project is Pine tree wooden logs that are harvested from last year.
Process
Logs from our forest, chosen last year were sectioned using a chainsaw, sanded and prepped. Then based on the design, the logs were laid out, positioned and marked, cut down and drilled. Finally assembled and finished.
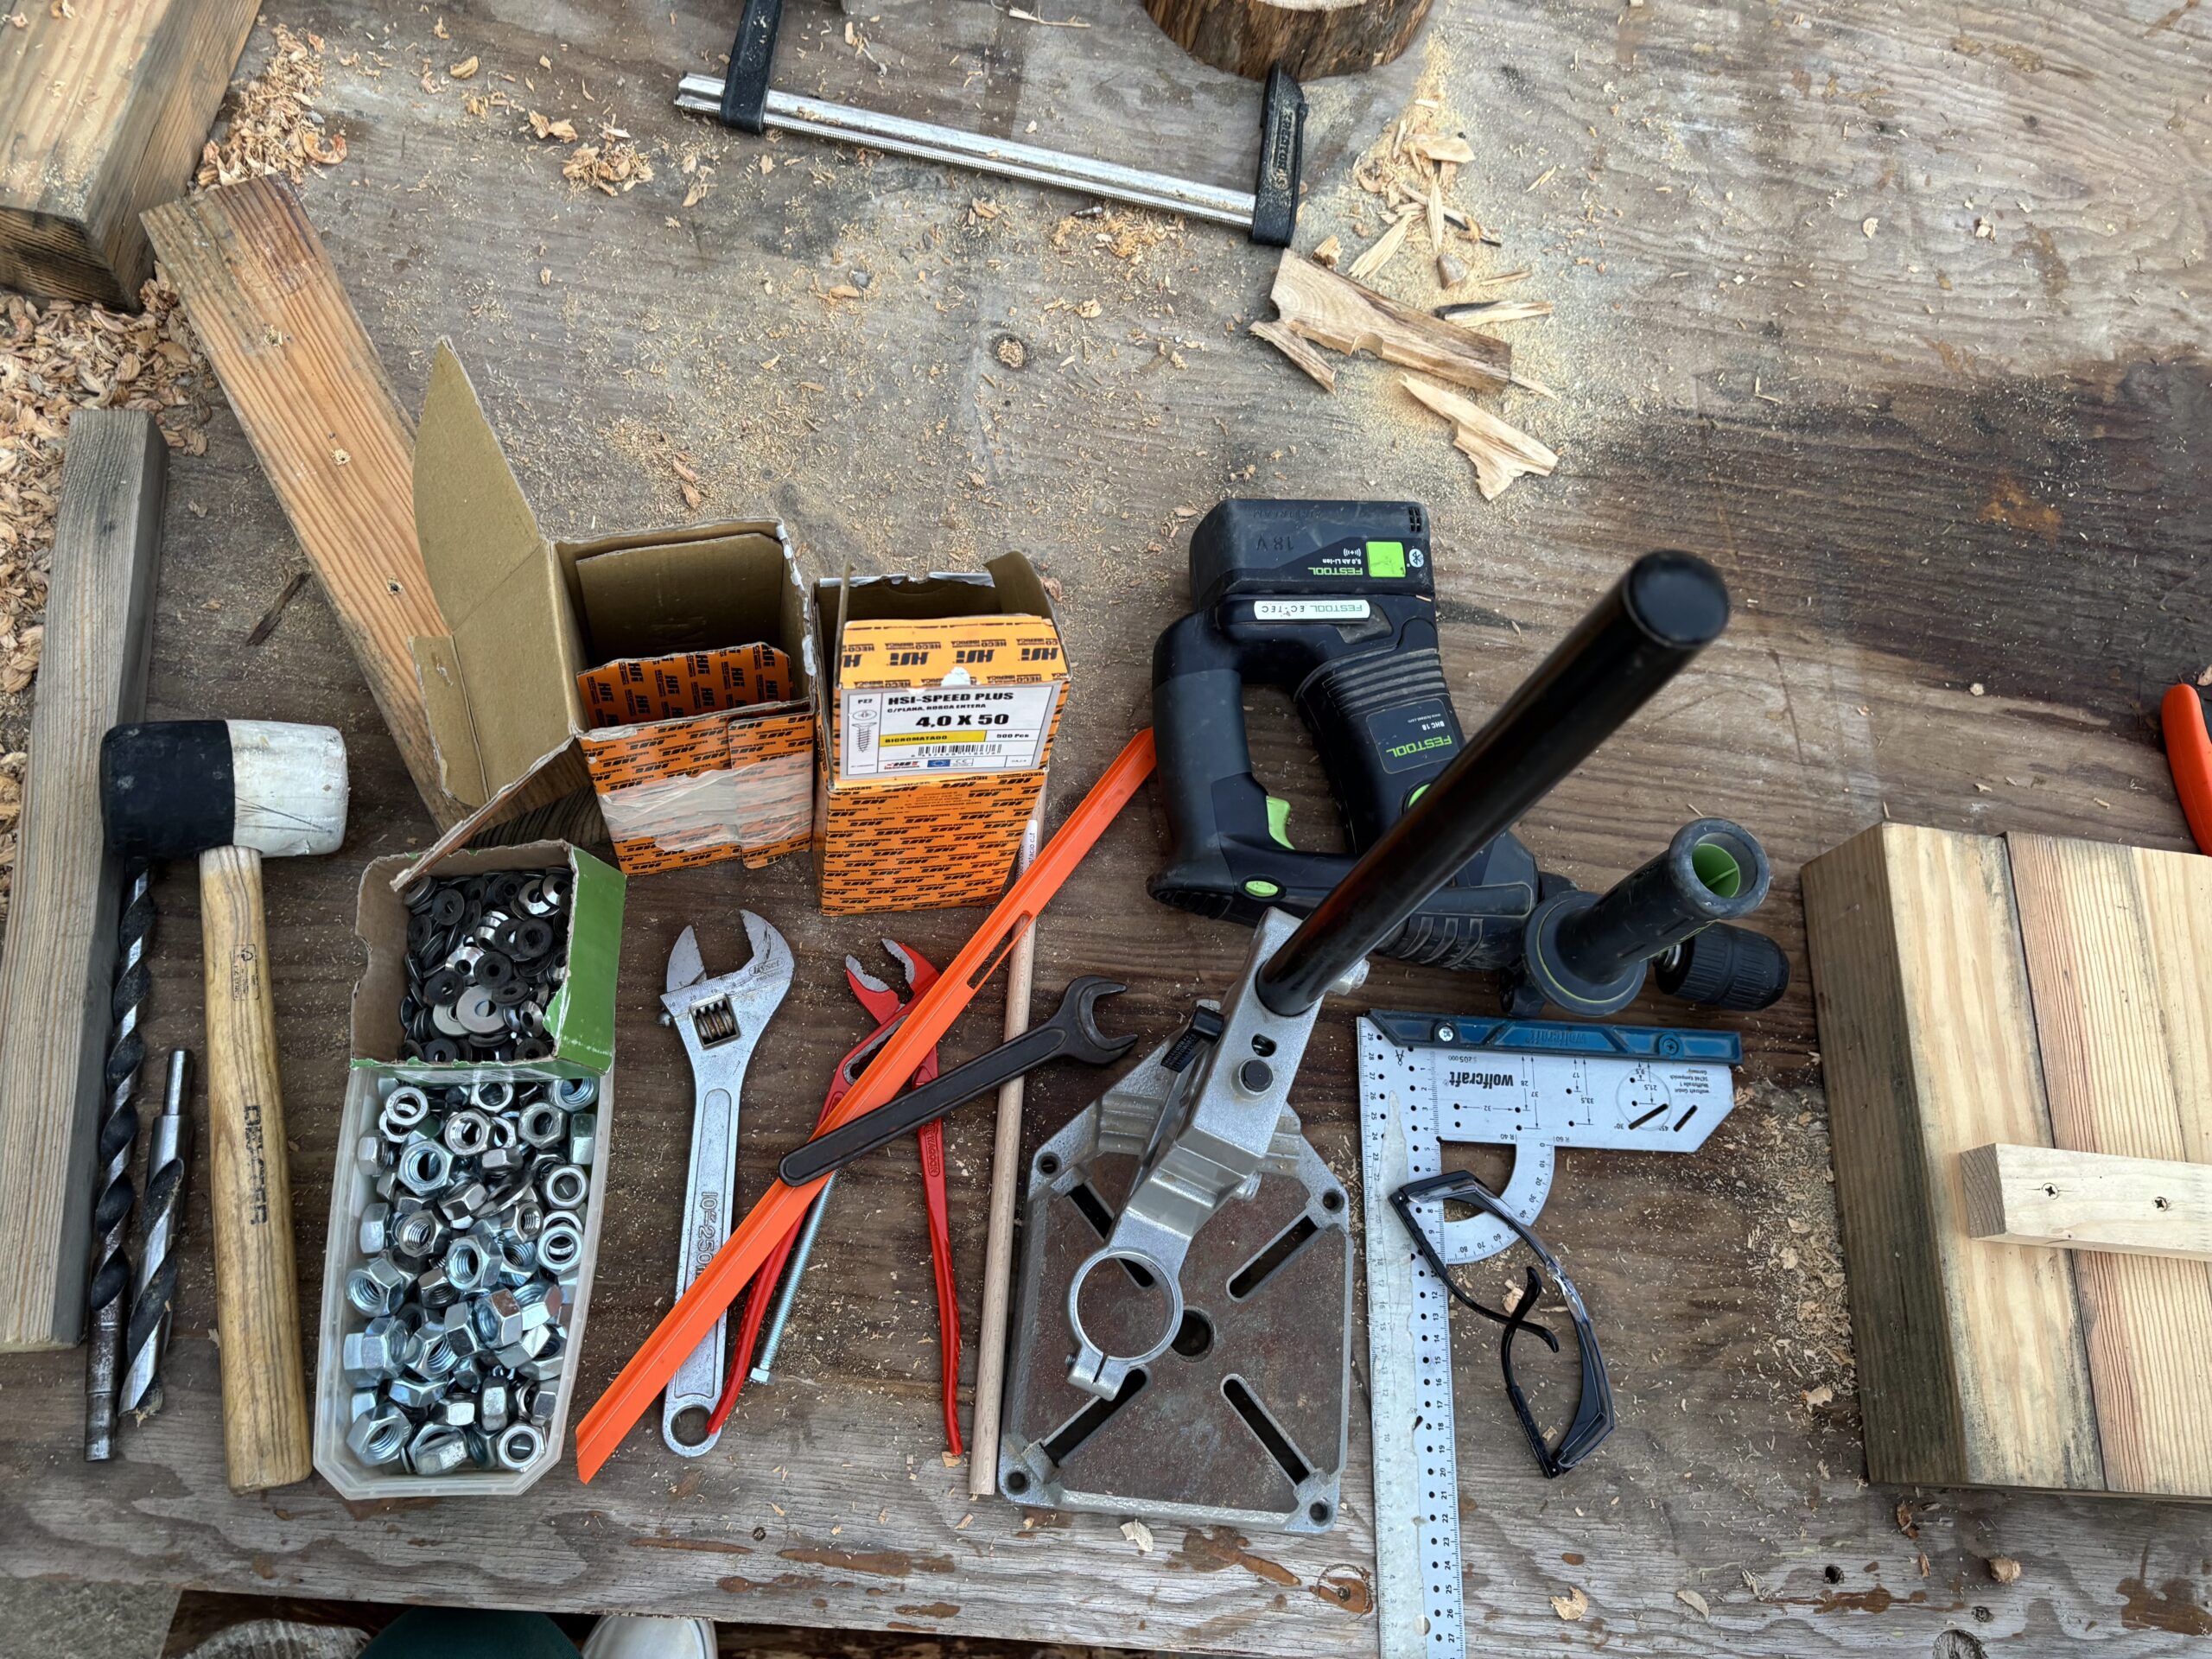
Inventory of tools
- Chainsaw
- Chisel
- Hammer
- Putty knife
- Wire brush
- Hand sander
- Hand Drill(16mm, 40mm)
- Stand Drill
- Hand Planar
- Table Planar
- Band Saw
- Angle Grinder(Rasp attachment)
- Threaded steel rods(12mm)
- Washers
- Bolts
Material selection
Tree trunks were selected from the first as part of forest management course. Last years trees were chosen, as they would have seasoned a bit, to ensure somewhat dry wood. Trunks of roughly 20-30 cm diameter were chosen and chainsawed.
Processing
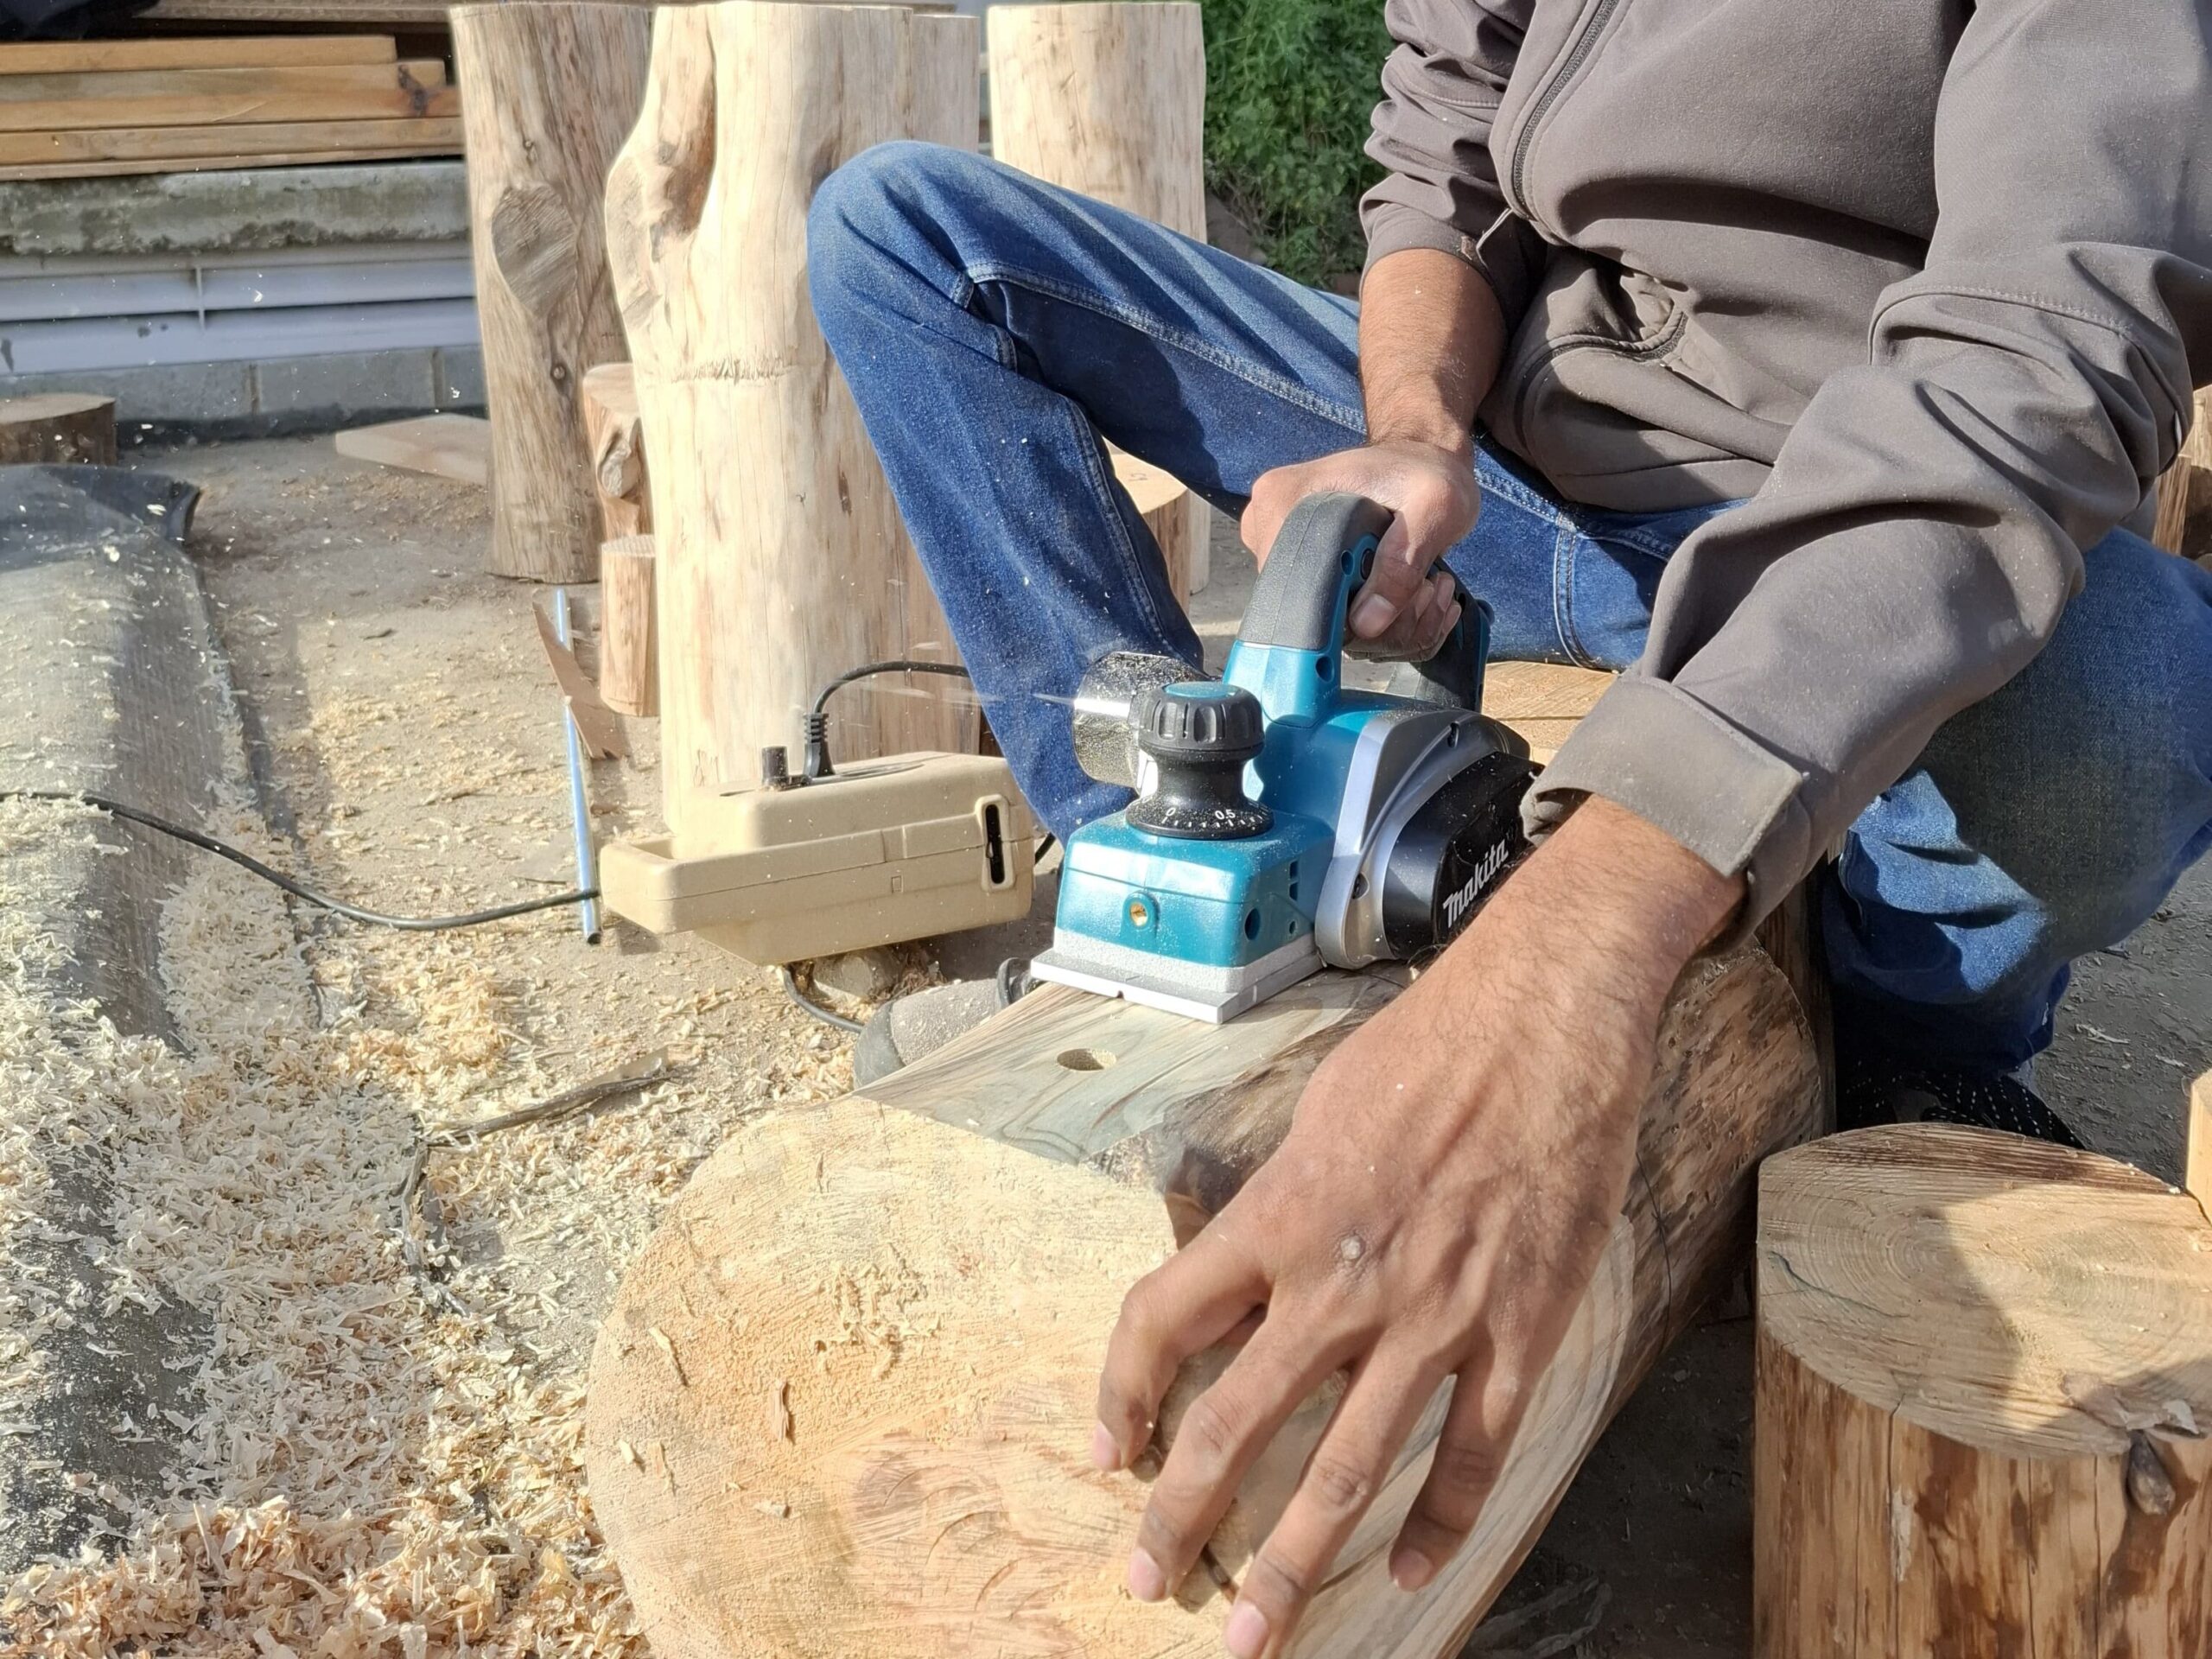
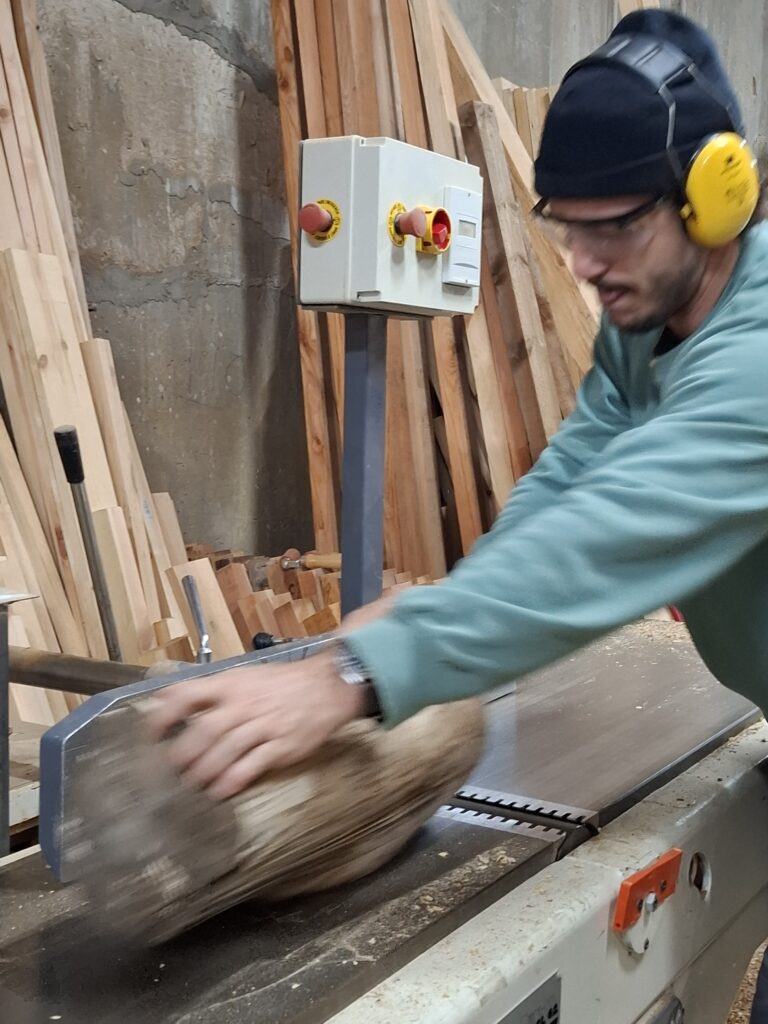
Chosen pieces, cut to 20, 60 and 80 cm heights, were cleaned by chiseling the outer bark, and sanding to remove unnecessary surface features. Sides of the trunks were slightly planed using a hand planer to ensure that they fit in evenly and neatly.


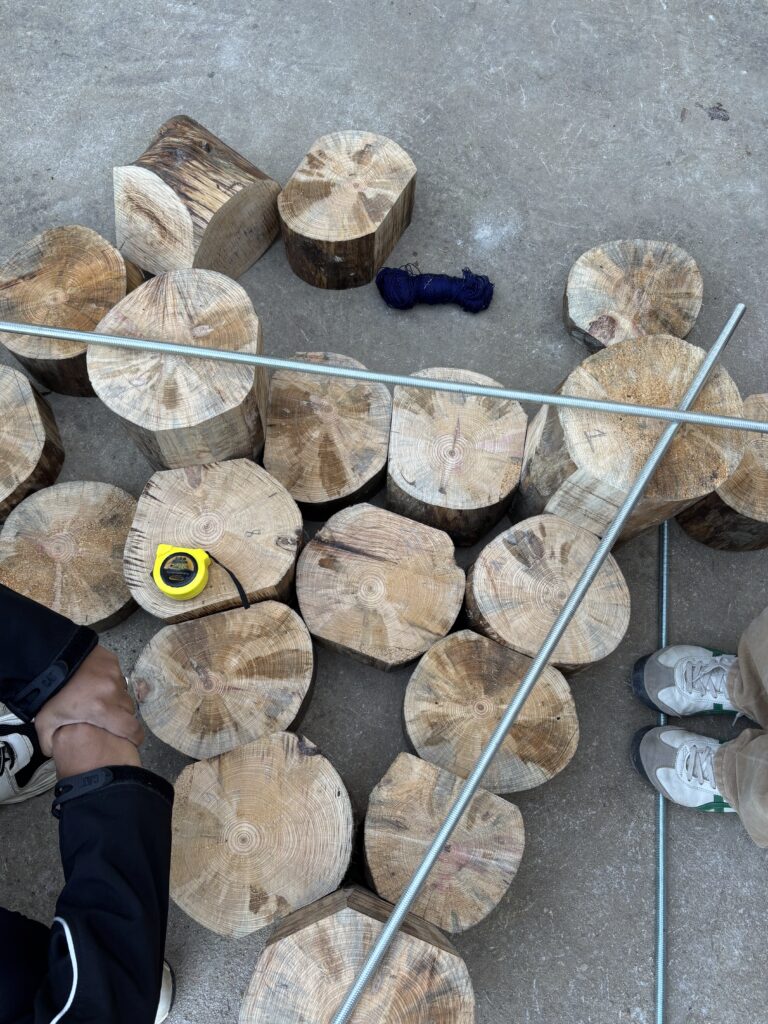
Positioning and arranging
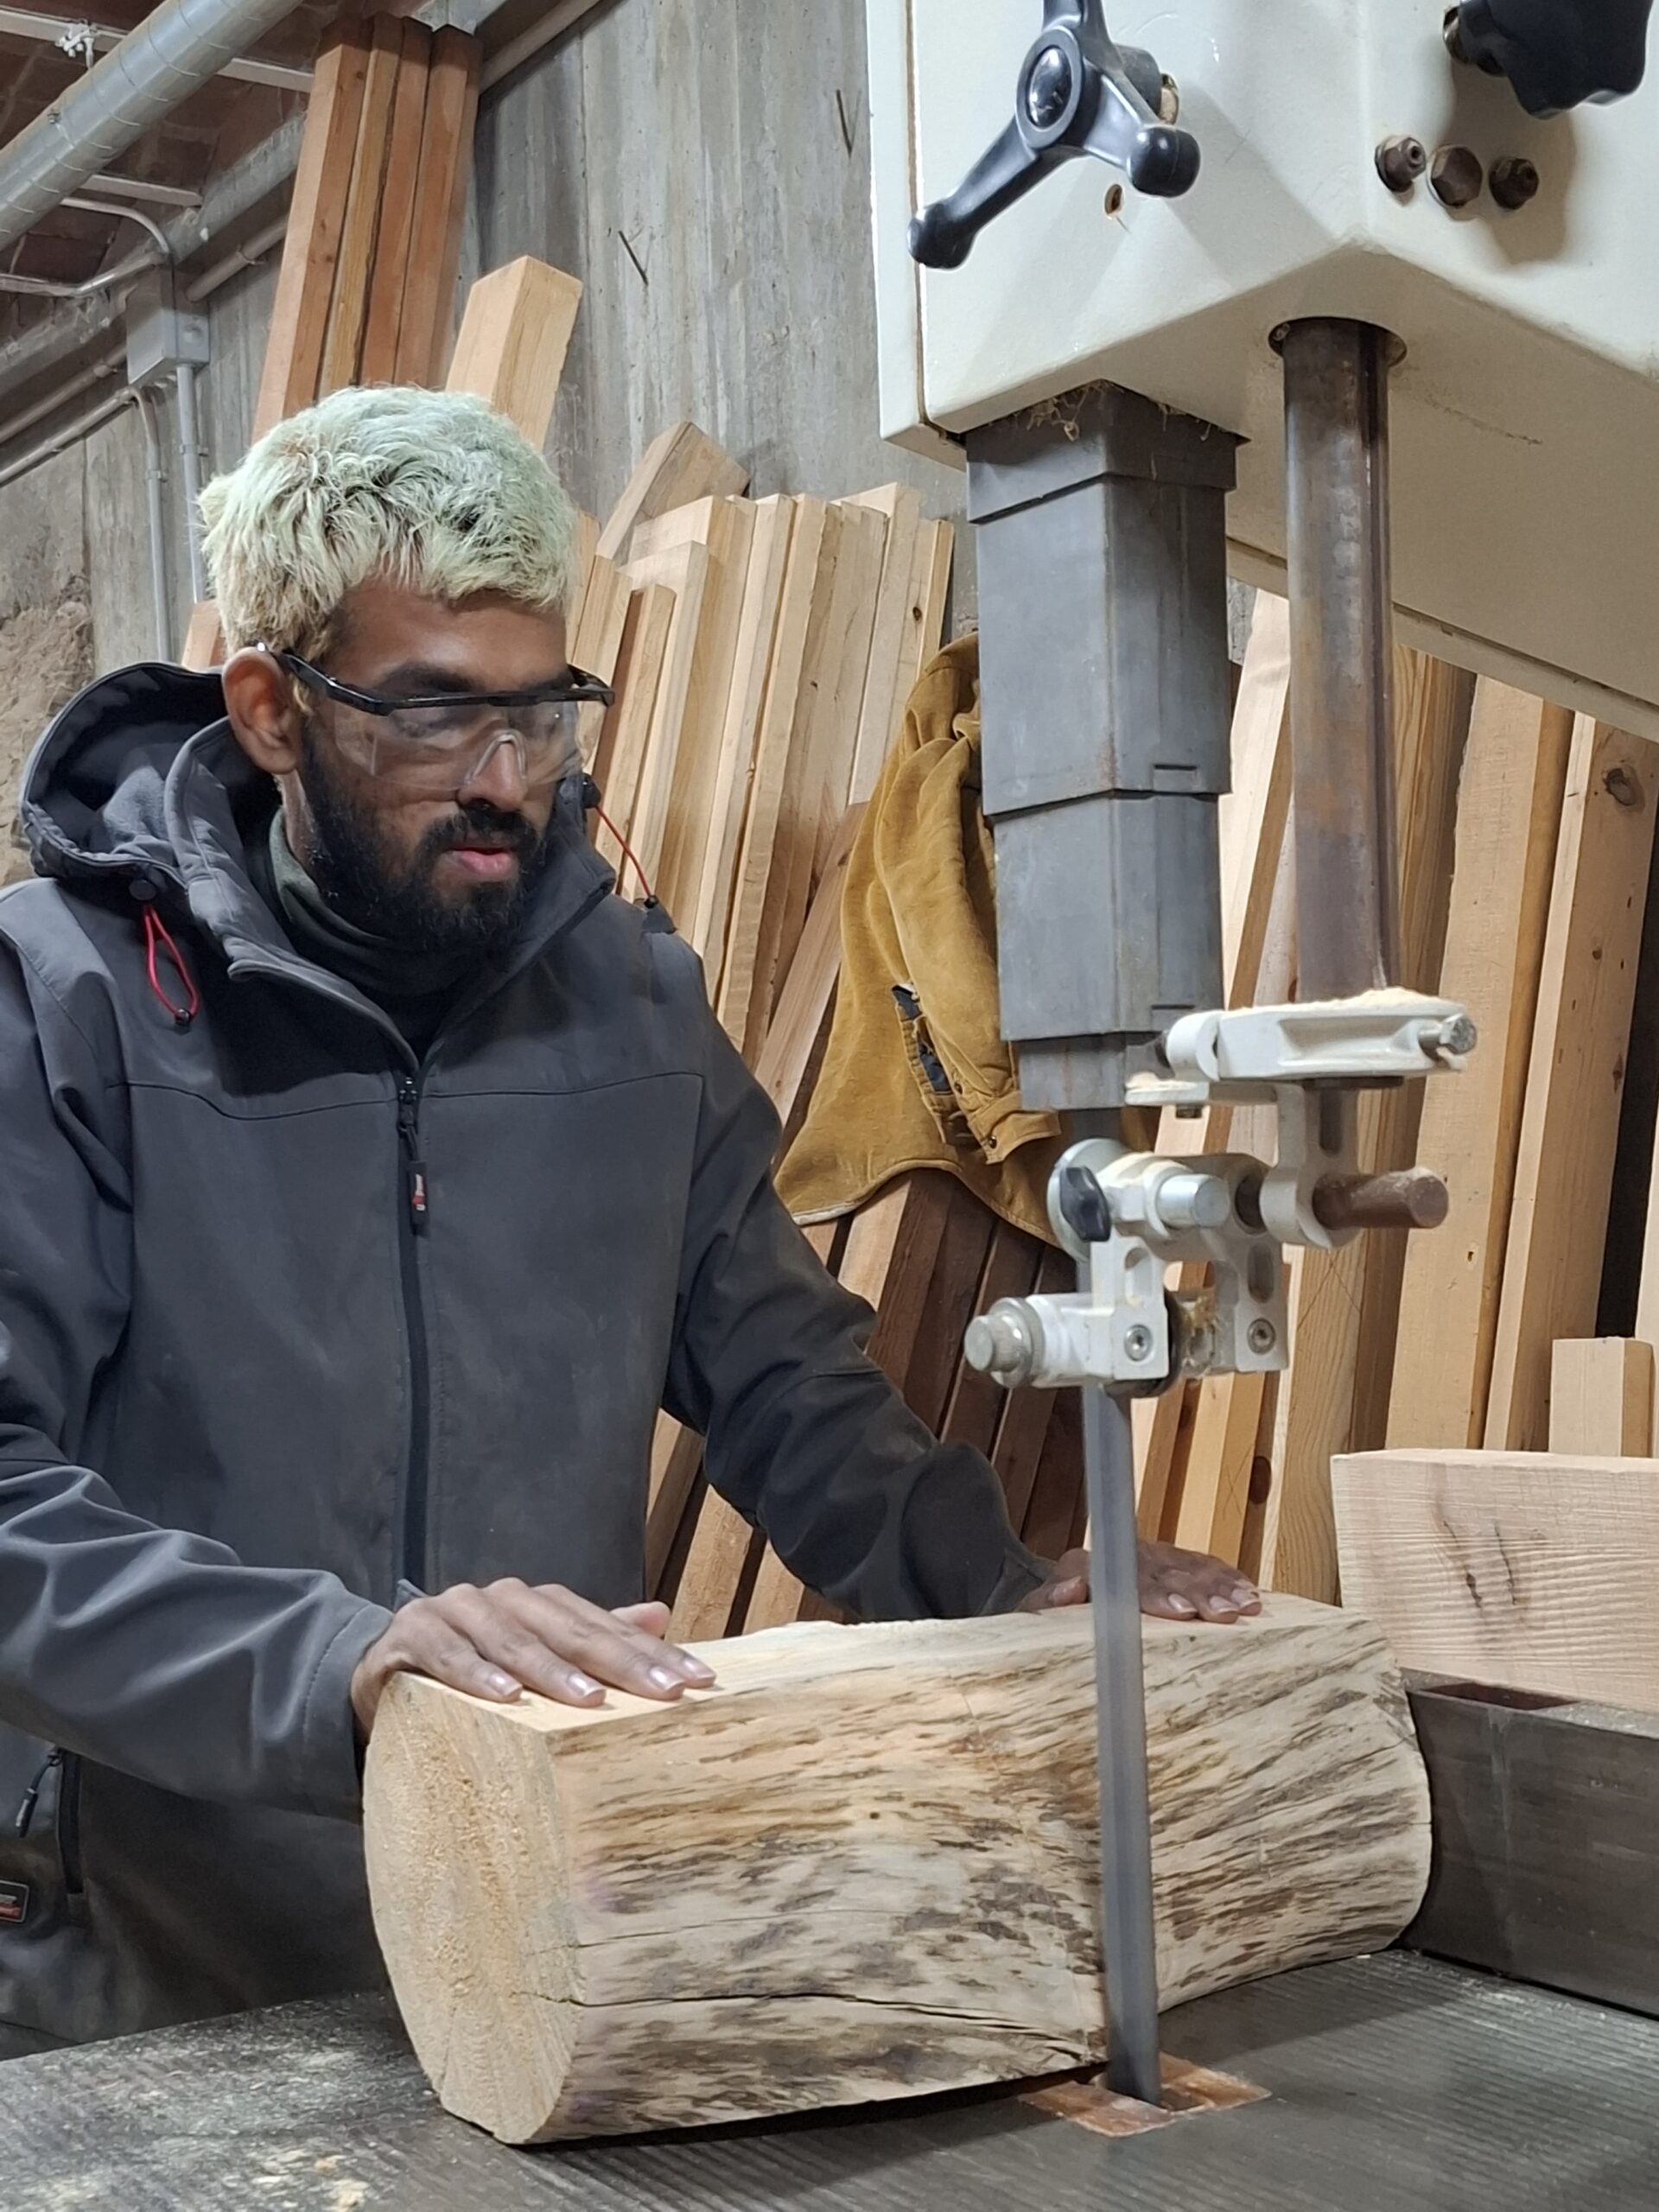
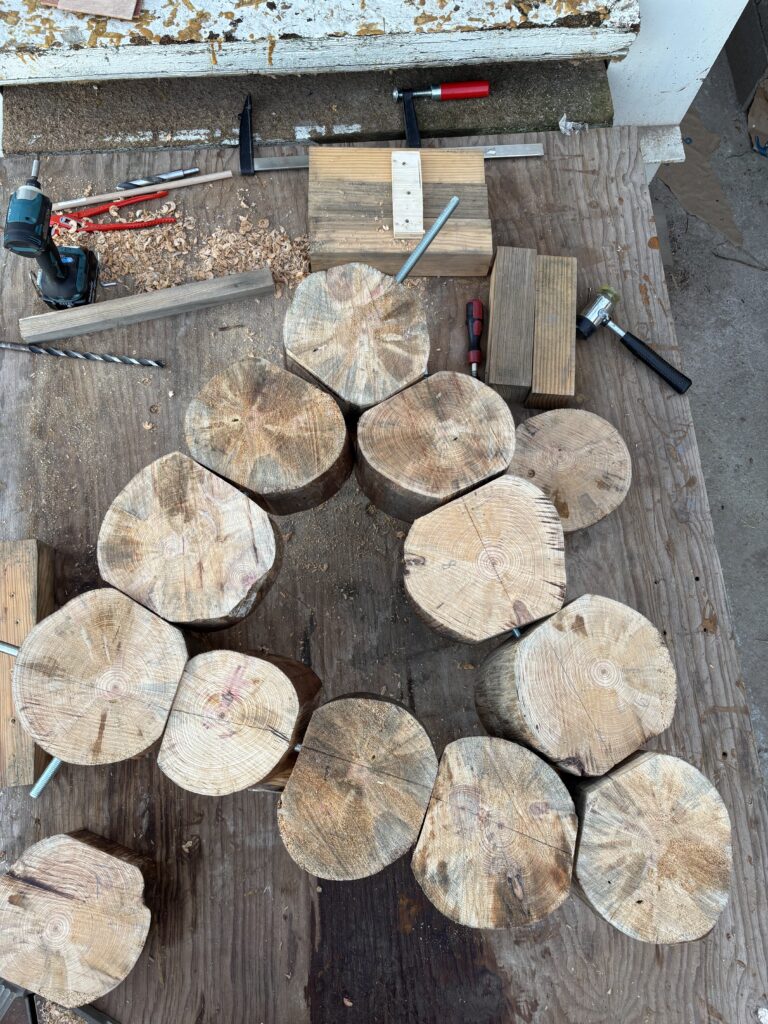
Blocks were further cut. using the bandsaw and positioned based on the design. Heights for drilling and planing were marked and pieces were further processed.
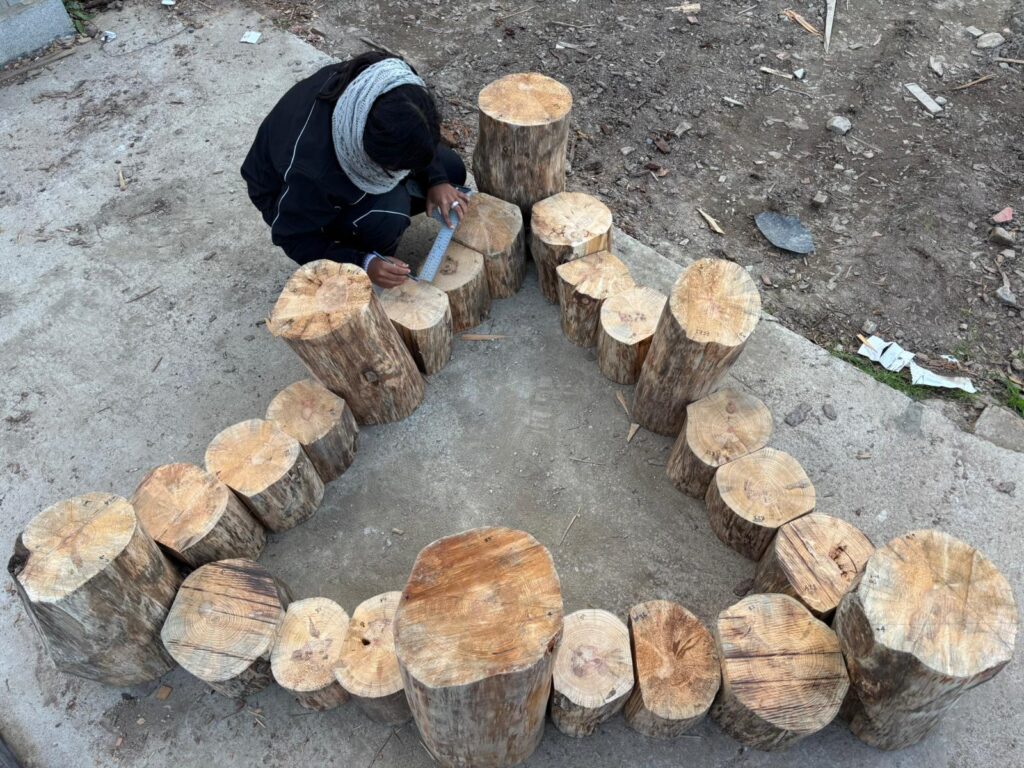
Further planing and drilling
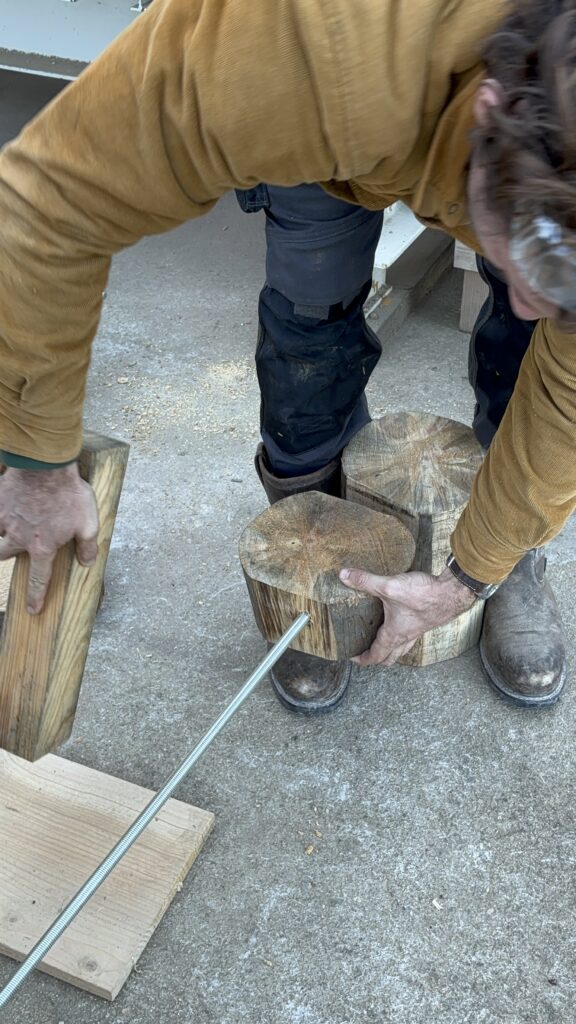
Based on the positions of the trunks, holes were drilled, and pocket holes , to conceal the nuts were drilled after. Some pieces needed planing to help adjust and neatly fit the assembly .
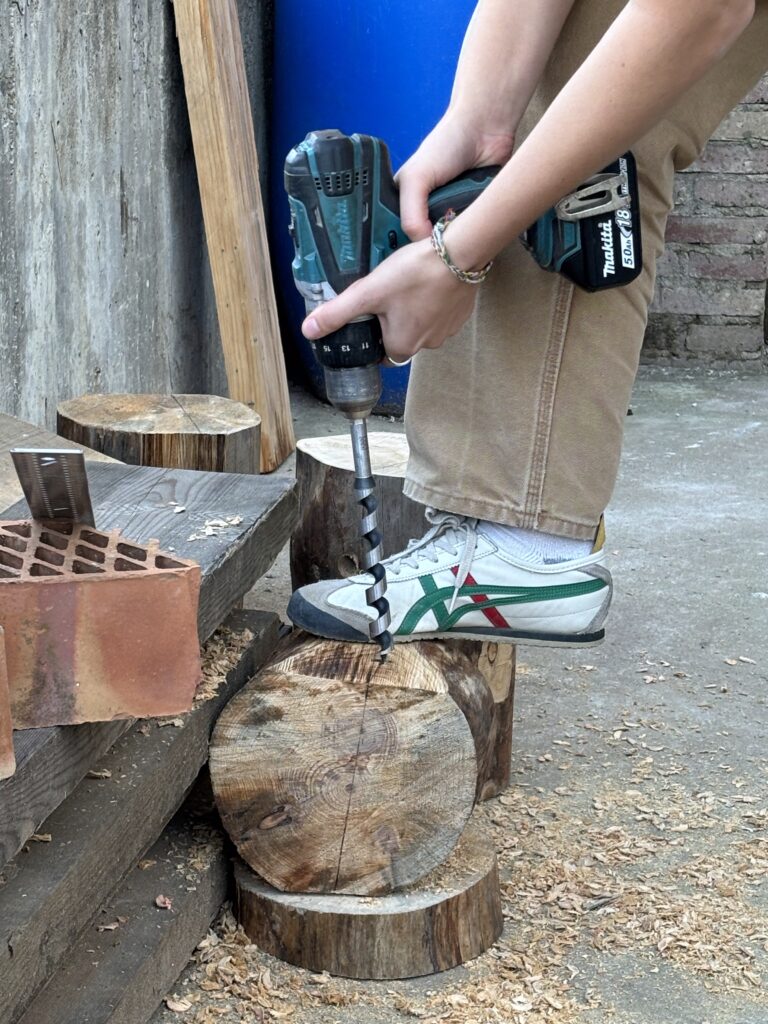
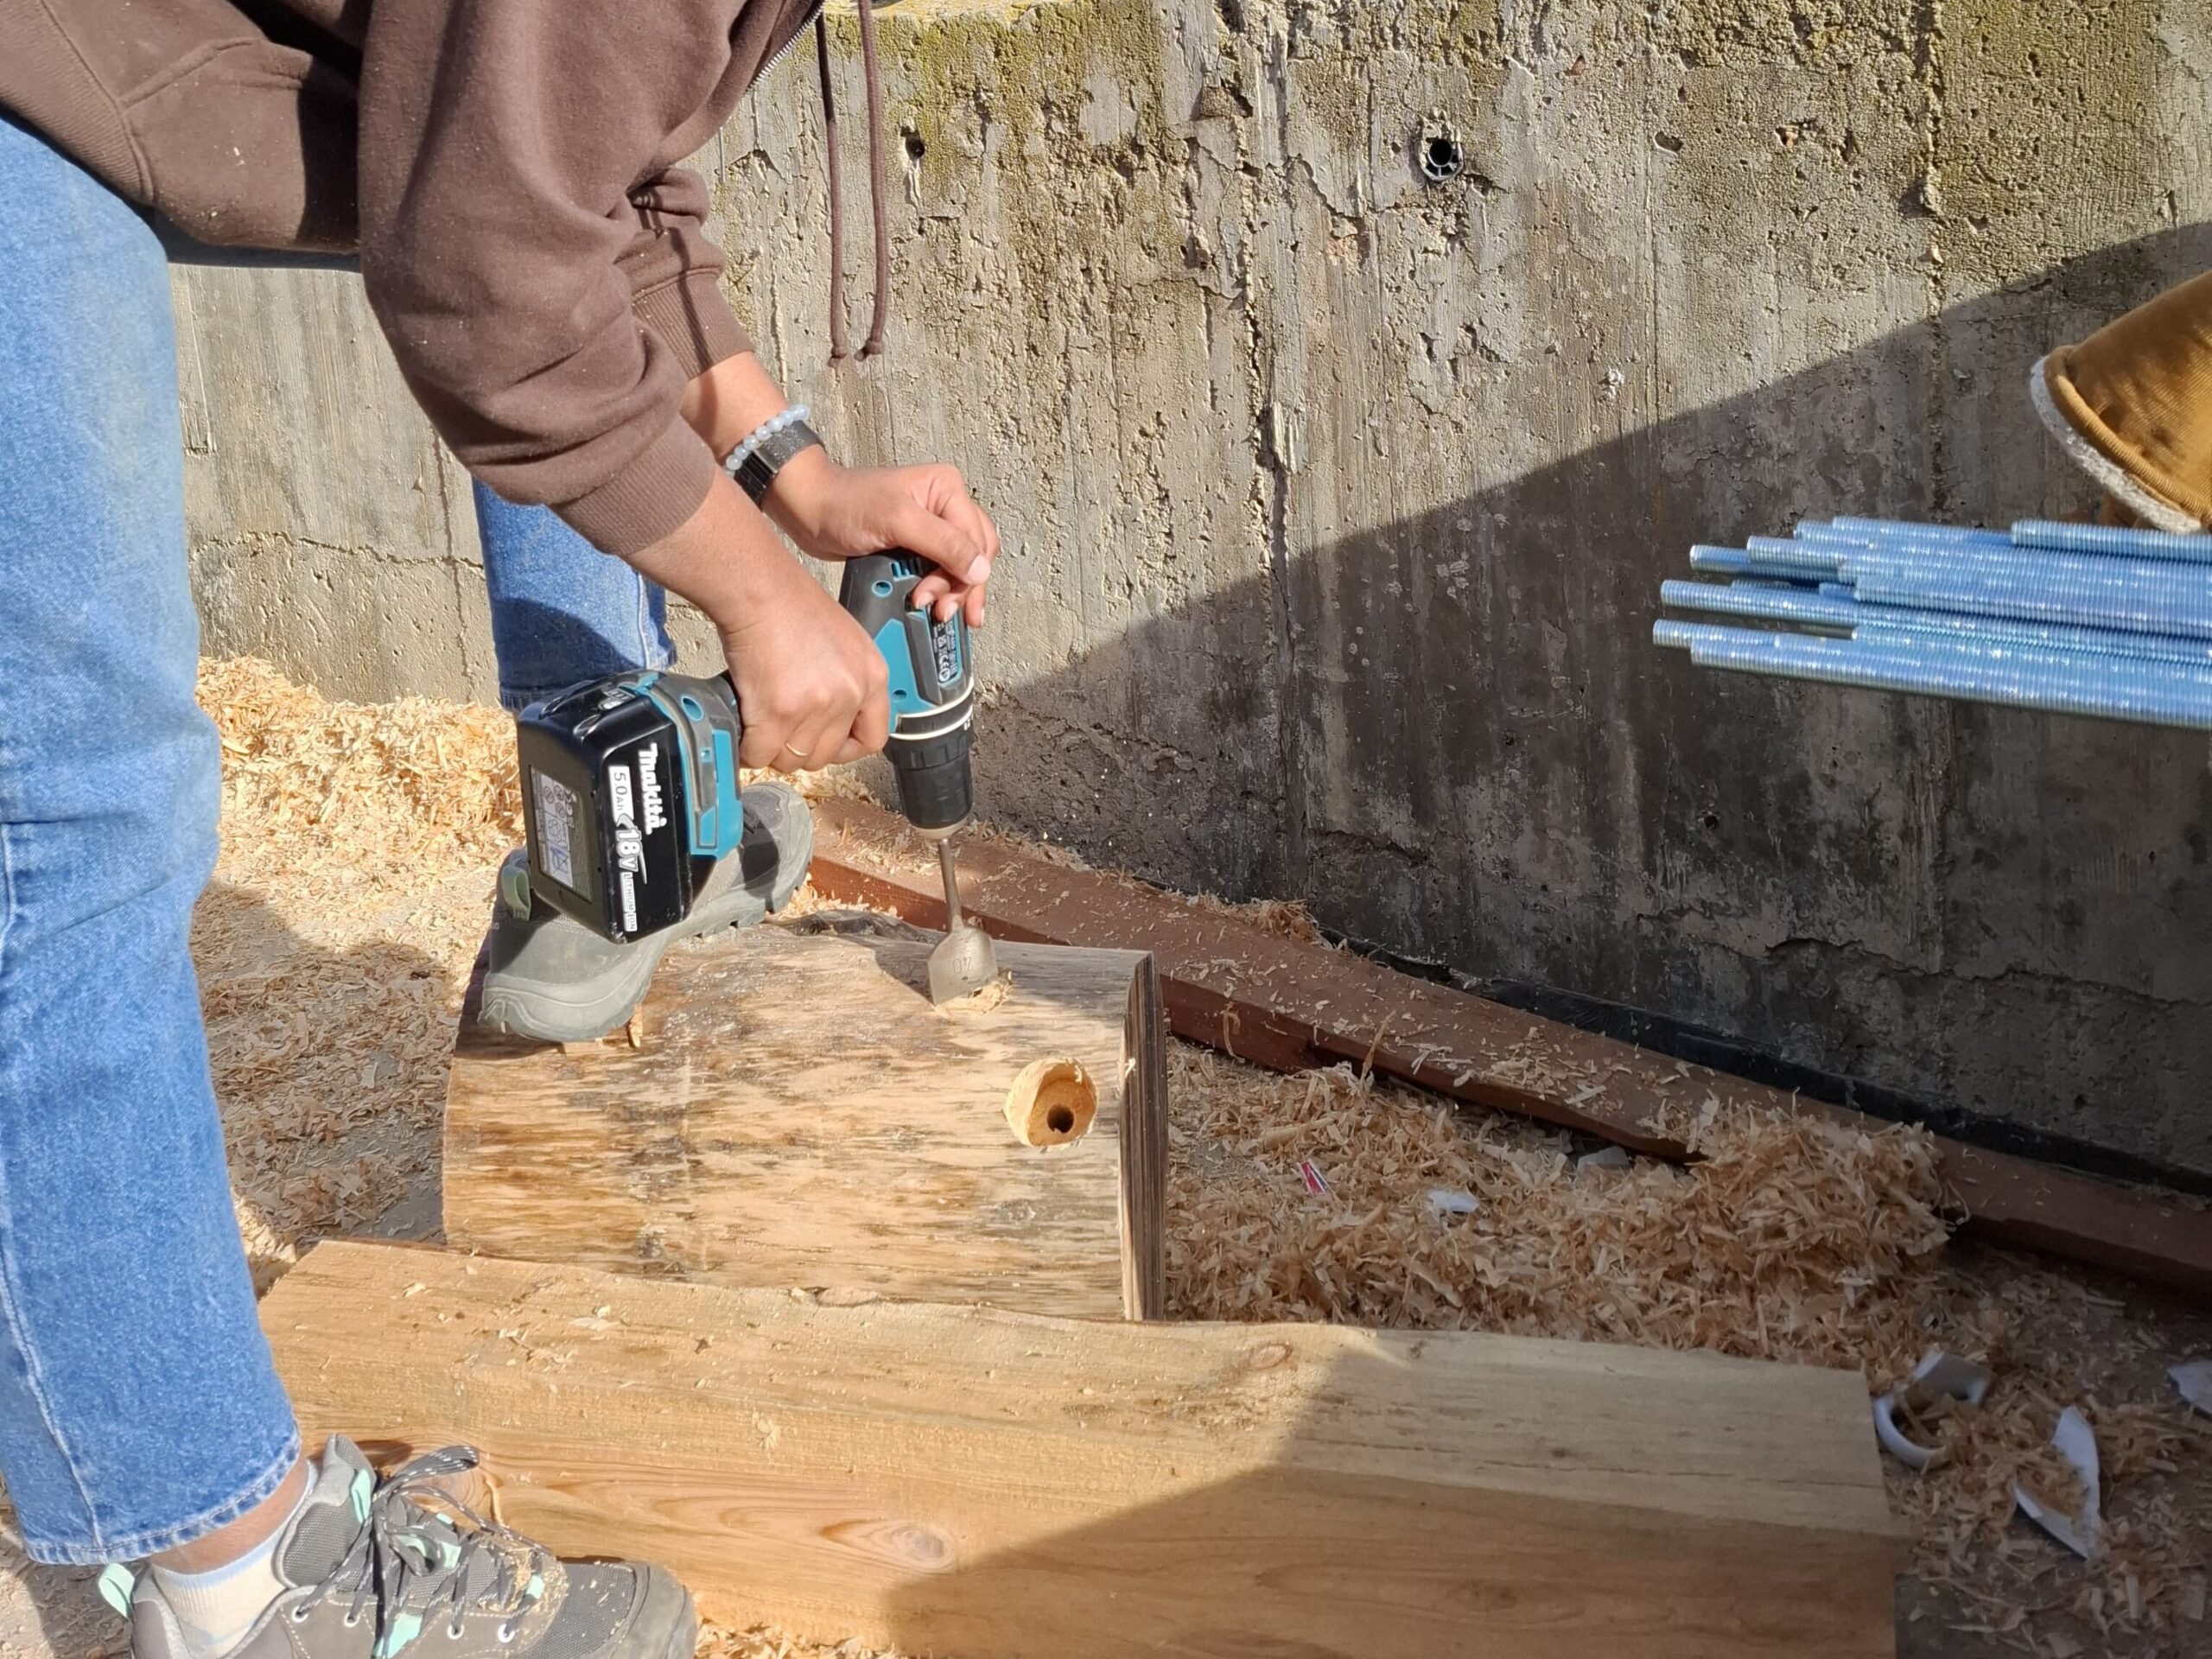
Assembly
The main end logs (legs) were assembled and positioned, then the rods were put in place and the intermediate pieces were put in place like beads in a chain. After all the assembly, the washers and bolts were put in place and tightened. Excess rods were cut. and the surface was sanded and finished with waterproofing sealer.
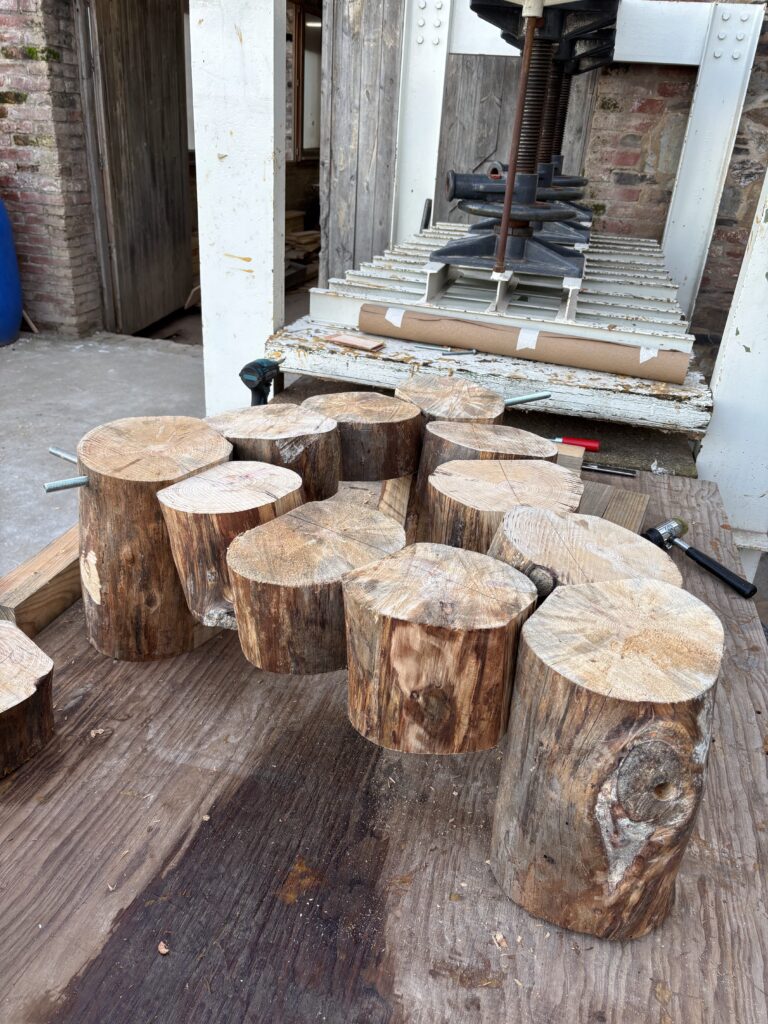
What a strong and beautiful seat! Isn’t it fun!
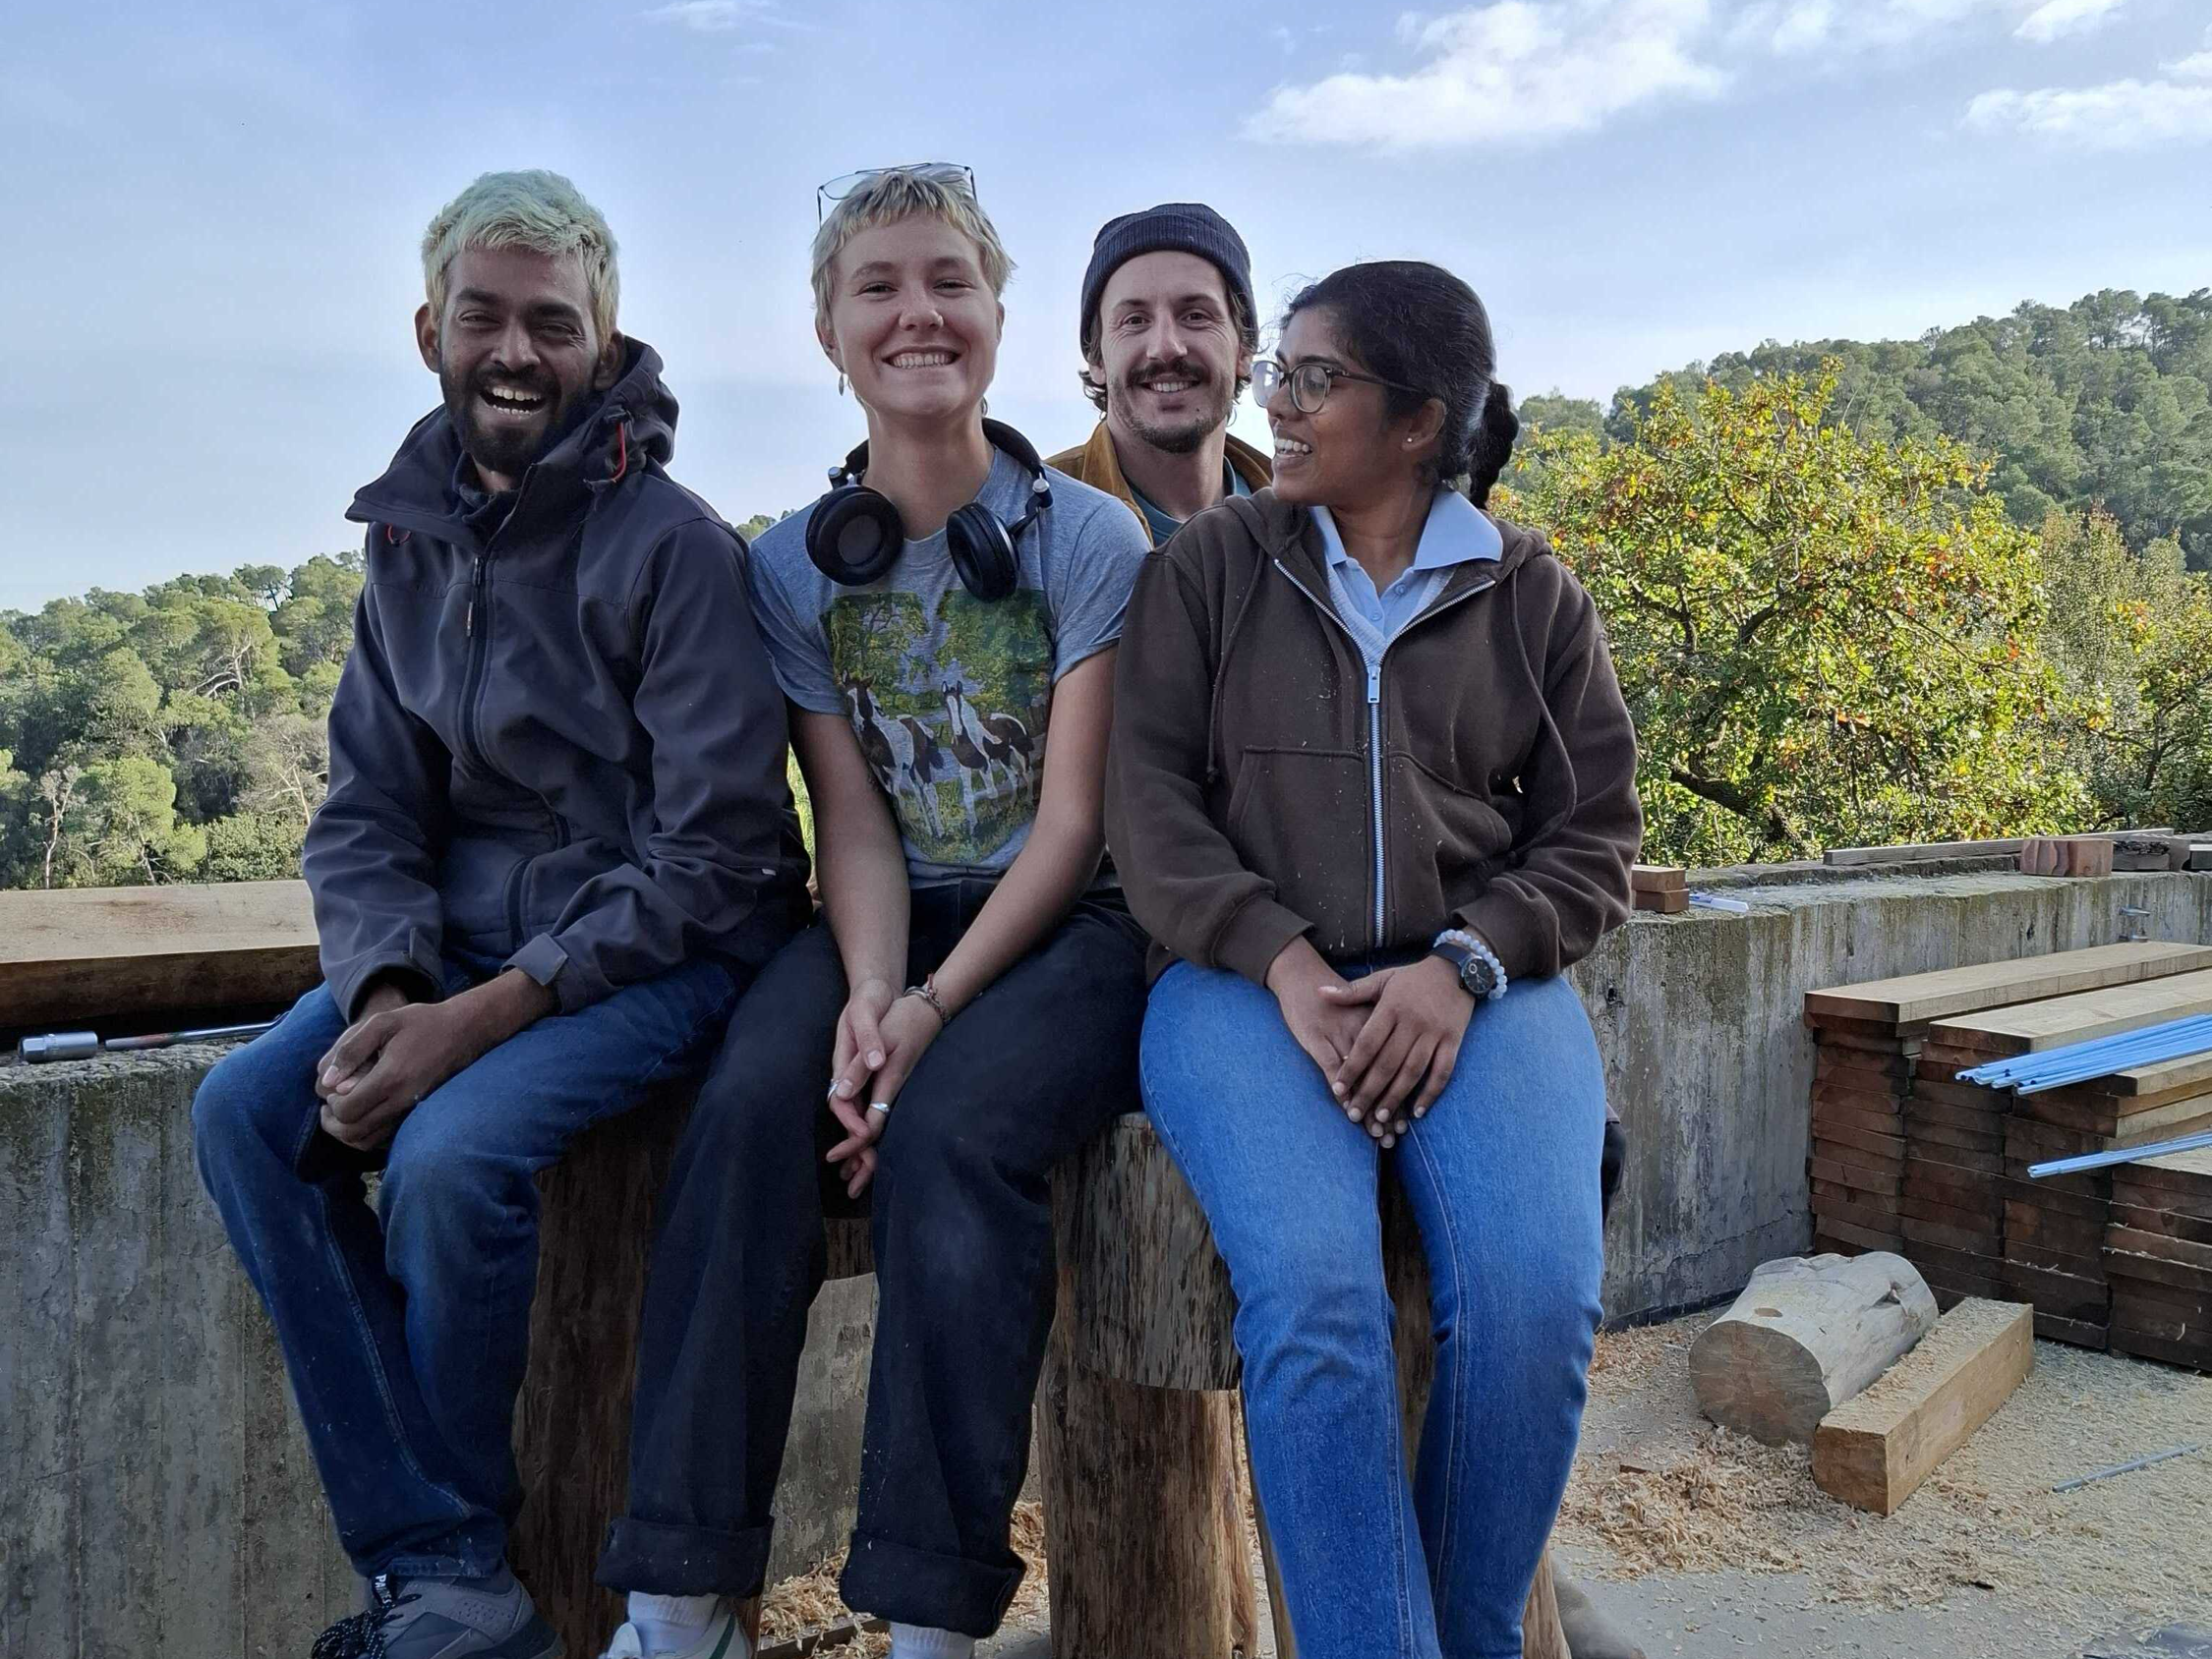
Photo credits to team members

