
In the first term, while working on the Collaborative Studio Design project, I took up the task of documenting and compiling into a 3-minute-ish video all of the goings on in all of the groups working on the project: the Shelves Team, the Chairs Team, the Armchairs Team, the Traceability Team, the Visualization Team, the Farming Team, and the Physical Models Team.
Without much prior knowledge of how most of the movie production things are done, I had to figure a lot of that out all on my own: how to handle the camera and the microphone, how the editing and file exporting software works, how to operate a drone, how to work with GoPro cameras and, most importantly, how to best capture the fleeting yet beautiful moments of life in its ultimate sincerity.
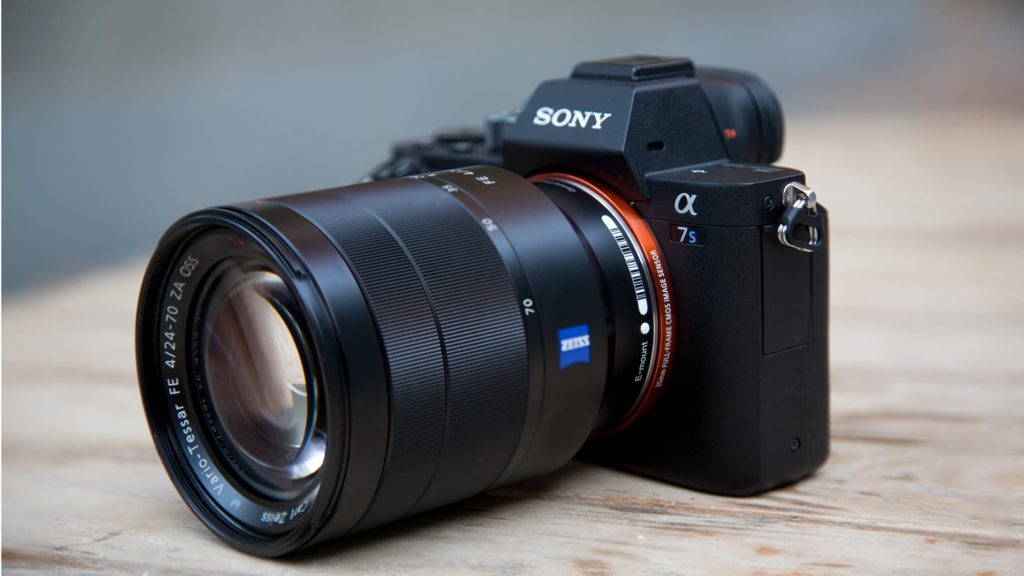
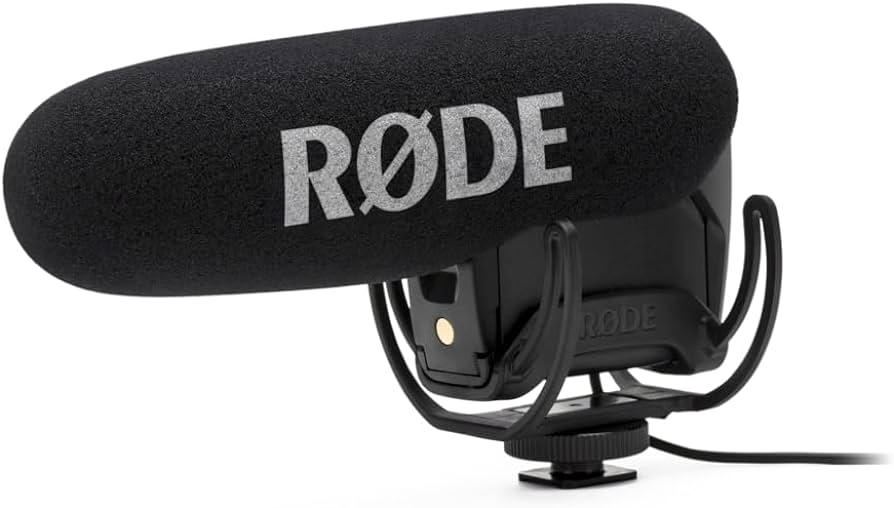
At first, I tried to figure out how to operate the Sony camera we had at our disposal. Using the Rode microphone with it was straightforward but the camera’s custom settings that I tried to conquer at first certainly weren’t.
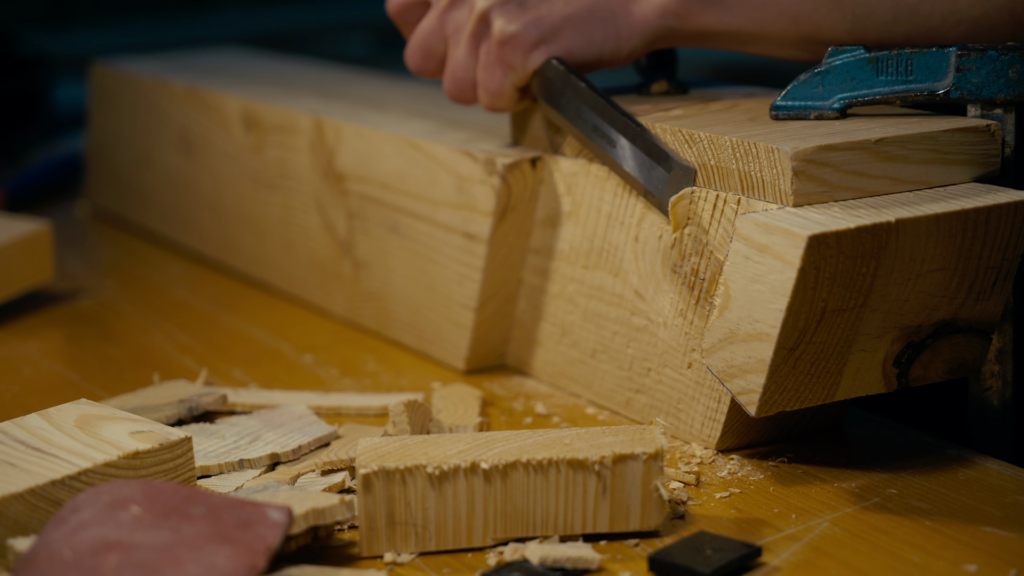
Another interesting aspect of documenting is getting in front of people to film them. Of course, if the situation presents itself as such, I always ask for permission to film. But even then, especially at first, it was a bit of a challenge for me to step in front of people to get better angles to film them from. It was important because I wanted to film a sincere movie with minimal to no staging, capturing life as it is in its rawest form. For that I had to be very conscious of all of the happenings, trying not to miss any opportunity to get a good shot. In a way, I was telling a story of how people create amazing things along with nature and life as their co-creators.
Operating the filming drone didn’t prove to be too challenging of a task although getting smooth footage while the camera is flying takes a bit of finesse. Sometimes I wished I had two pairs of eyes to be able to track both the movements of the drone in the air and the camera’s point of view.
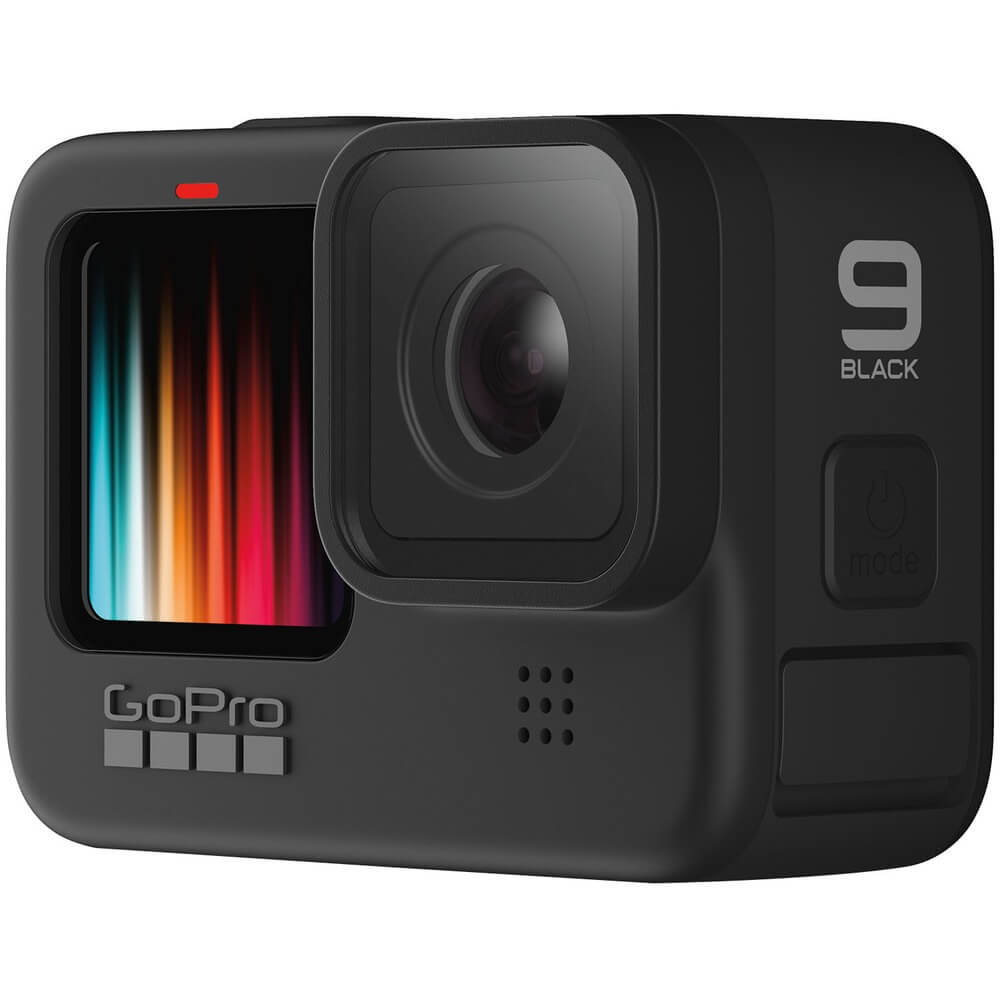
The GoPro camera was first used in order to film time-lapses. To find the perfect setting for the result in mind I had to experiment quite a bit, trying different modes of filming, changing intervals between taking photos, looking for perfect angles with tripods and estimating the exchange of energy between the GoPro battery and my power bank to calculate the filming time intervals.
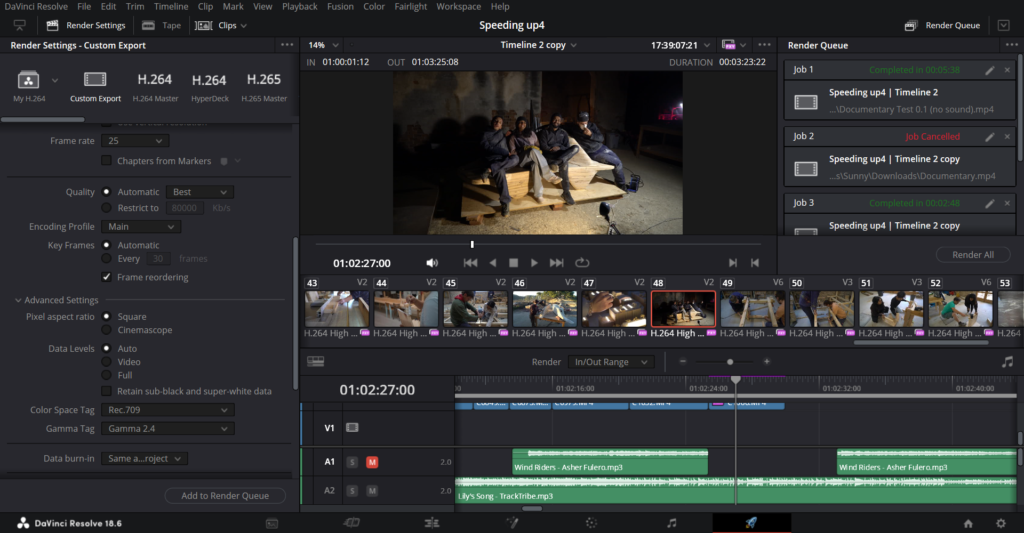
I used DaVinchi Resolve to put everything together and had to work out a lot of personal keyboard shortcuts for editing, including how to prepare the footage data for work using specific methods of generating proxy media and how to properly export the video.
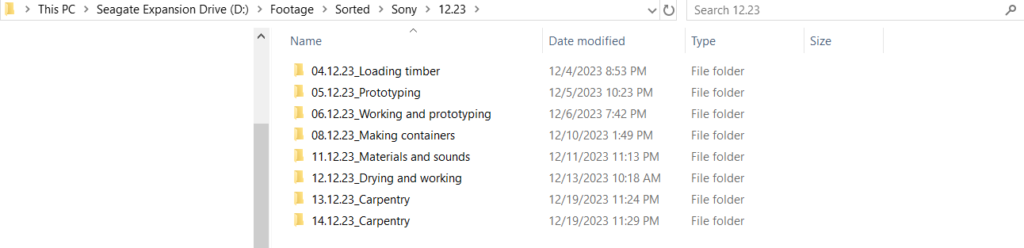
Storing and sorting through the footage was also a very important aspect of this effort. To tell the truth, in order to be able to choose the best clips out of a terabyte’s worth of data, everything had to be timely and meticulously looked through and sorted into folders containing sub-folders containing even more sub-subfolders. Most of the time I spent working on the movie was dedicated to doing exactly that.
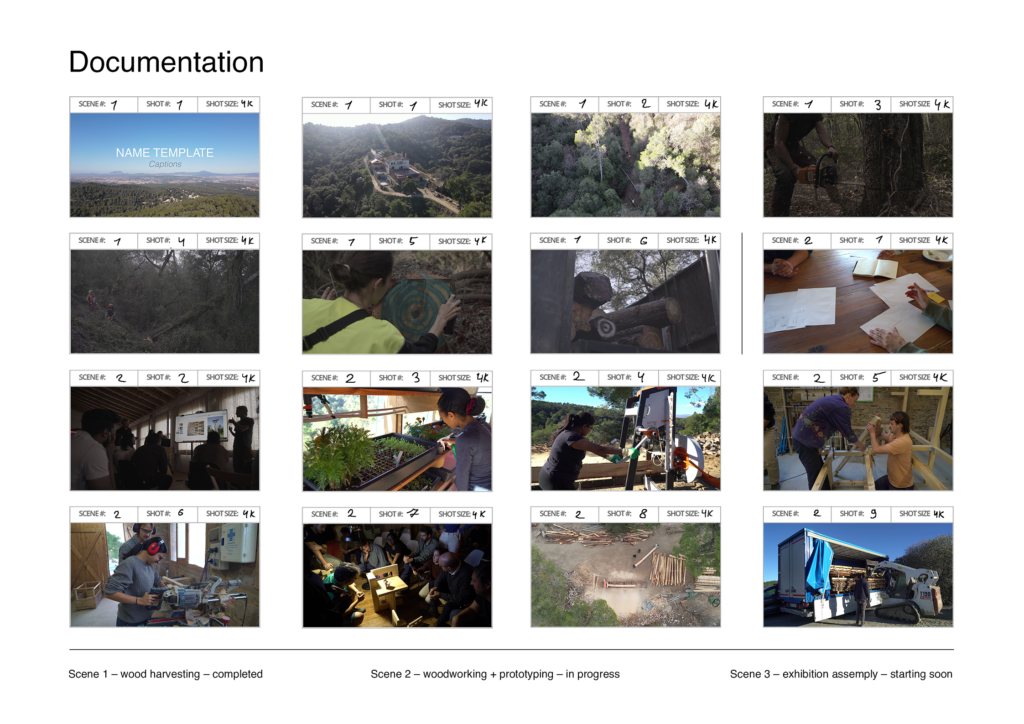
Soon after I started filming, I felt there was a need to give the documentary a better structure and so, I experimented with developing storyboards for the movie. At first, I was planning to hand-draw some of the scenes that I had already filmed and then add to that the ones I didn’t yet have. Perhaps because of my perfectionism, it was taking me too long to draw them up, so, to save time, I switched to using stills for the things that I had already filmed.
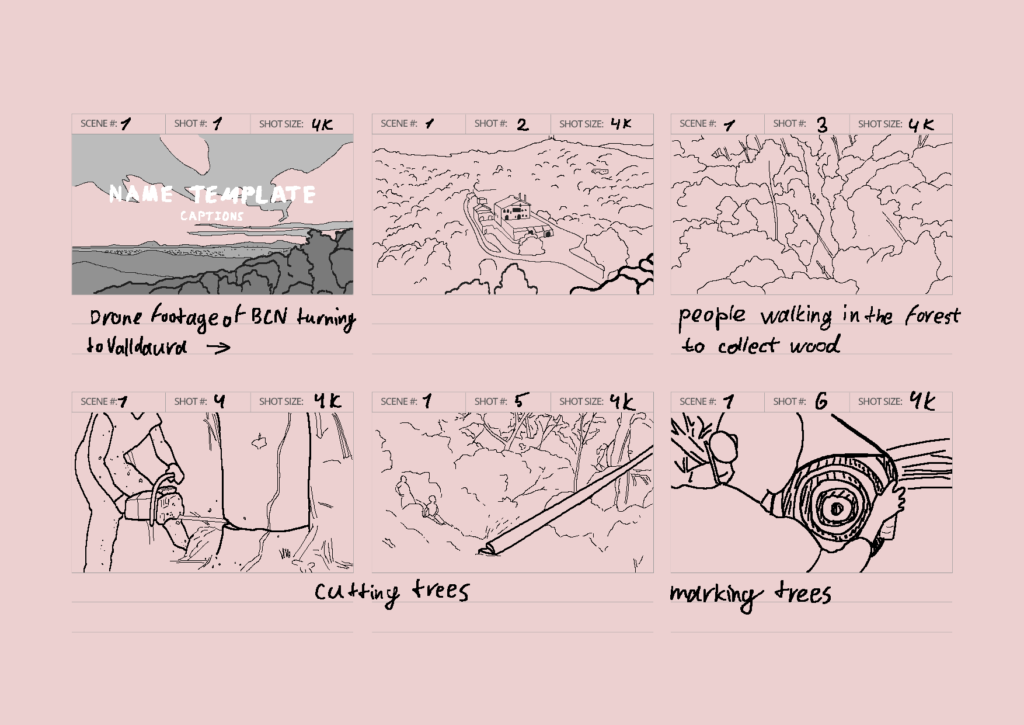
The documentary was divided into three thematic parts: wood harvesting, designing and prototyping, and preparing materials for the exhibition. In the first part, I would show the whereabouts of the work site, let the viewers know how and why we’re getting the building materials using an epigraph and then show the process of cutting, marking and transporting the tree trunks.
Following that would be the part showing people working in teams, generating and drawing ideas, consulting with professionals, presenting their materials and prototyping their designs.
The last part consisted of clips detailing such processes as drying of the timber, working on the installation pieces and showing the result of the teams’ hard work, depending on its degree of readiness.
For the film’s music, I scoured the internet for decent copyright-free tracks that would match the rhythm of the documentary. For better consistency I also matched transitions between clips to the rhythm of the tune I had chosen.
I also experimented with a sort of storytelling where some of the outcomes of our work would be shown in the beginning as sped-up footage and time-lapses of people working in order to better implement the future time-lapses into the style of this movie but for now that idea has been cast off as just that, an experiment. I hope that at some point I’ll be able to better implement this approach in future projects.
Handling video editing and exporting, filming with all sorts of cameras, directing, doing sound design, data sorting, performing color correction and doing all of that at the same time was a challenging yet a very educational experience. I’ve mastered a lot of new skills that I’m confident I’ll improve upon and apply in my future projects.
