
The aim of the digital fabrication introductory course was to utilize three fabrication methods – 3D printing, laser cutting, and CNC milling – to explore different possible geometries and outputs. The group’s aim for the three exercises has been to conjecture what different geometries would produce the most interesting outcomes in combination with the different fabrication techniques in order to achieve a liquid expression using only solid materials.
LASER CUTTING // FLUID JOINTS
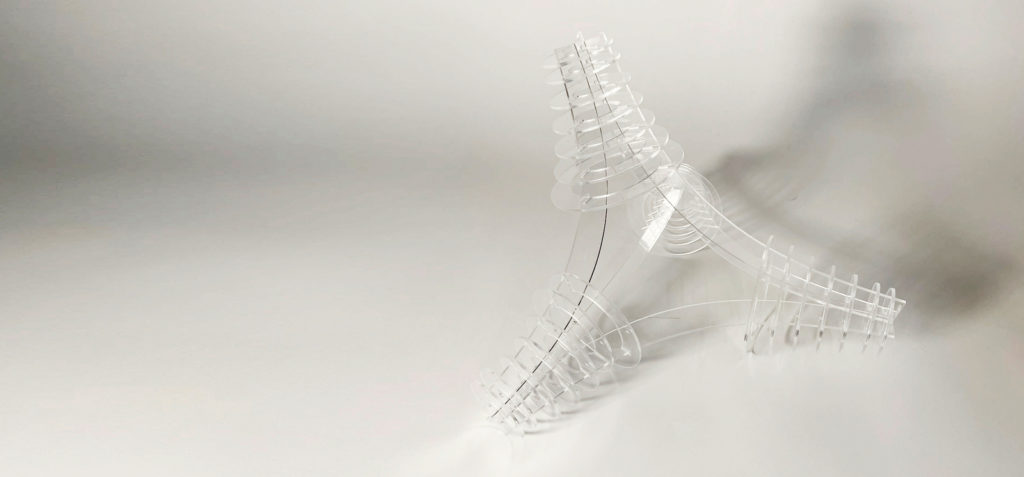
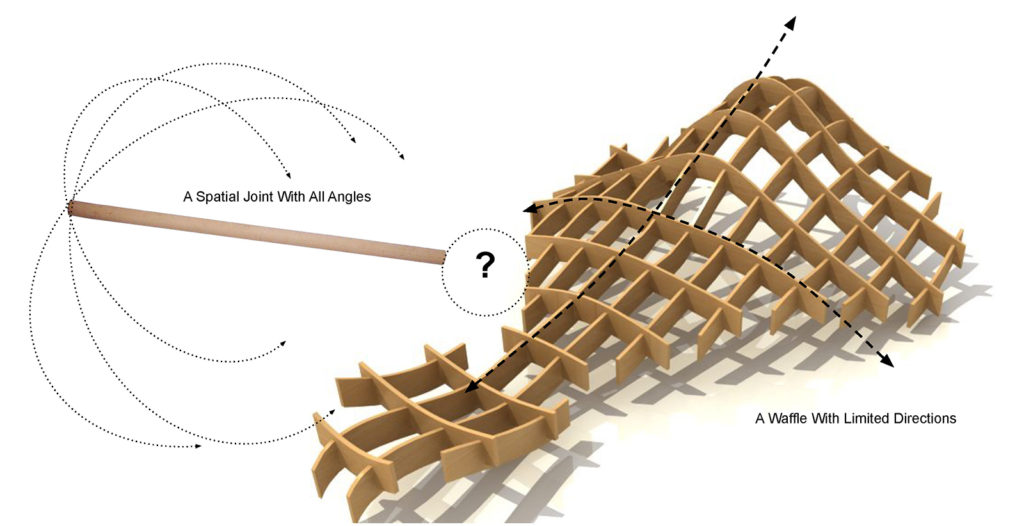
“Fluid joints” represent how independent staves can become connected as a result of an algorithmic design script. The “waffle” technique was our assigned method for this project, and we chose 22 mm rounded oak staves as the material we wanted to combine using laser cutting. The use of the acrylic material creates associations towards something liquid as well as the curved lines within the joinery. We intended to create a system that would allow for any combination of angles as valid inputs.
DESIGN CHALLENGE // How to Design the Joints to fit Waffle Structure
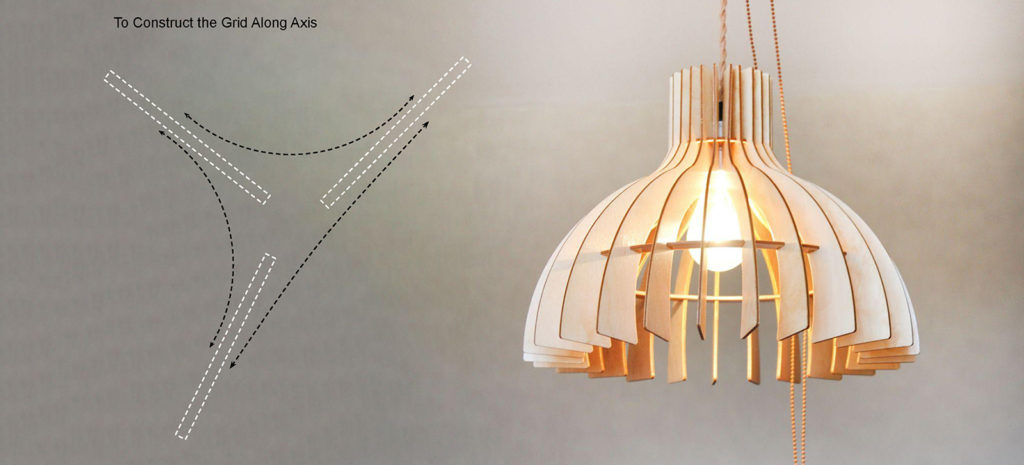
PROJECT INSPIRATION // Waffle Structure of Light Design
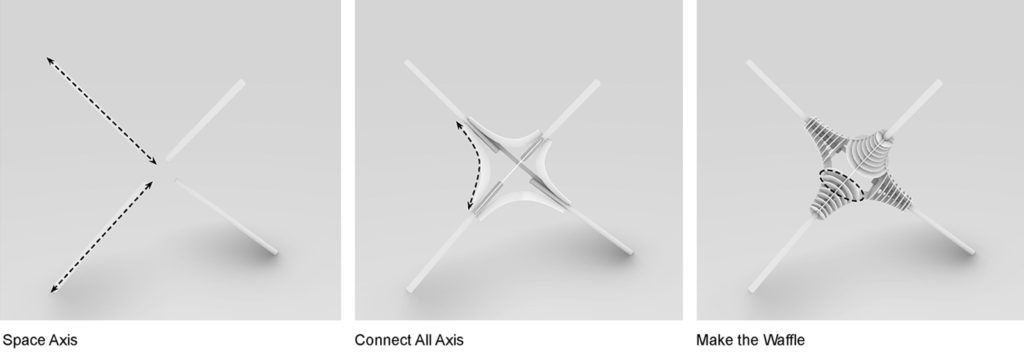
DESIGN GENERATE // A Joint Can Fit All Angles
DETAIL DESIGN // Assembly Identification System
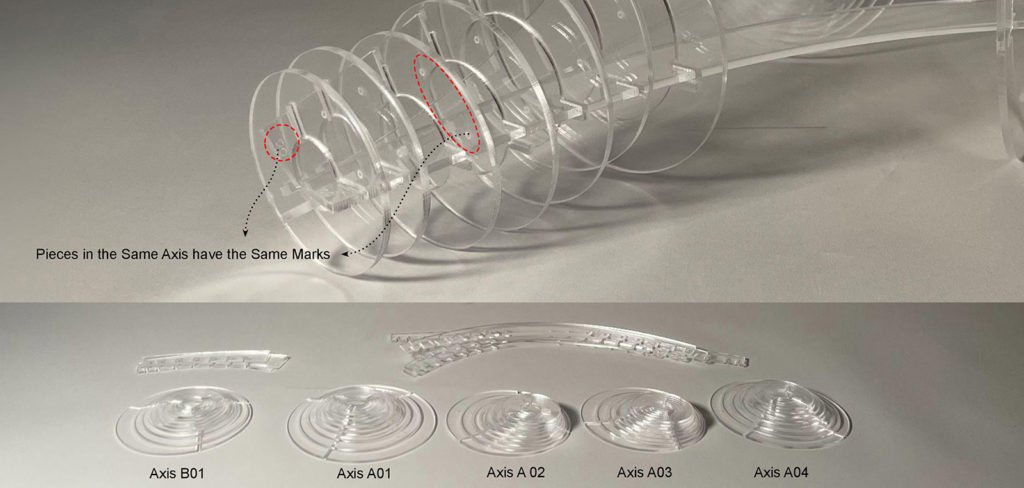
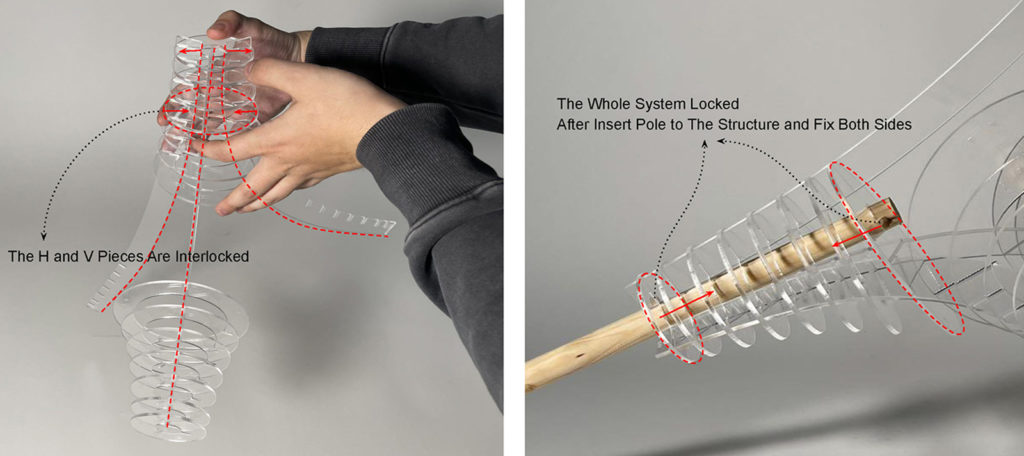
DETAIL DESIGN // Locking System
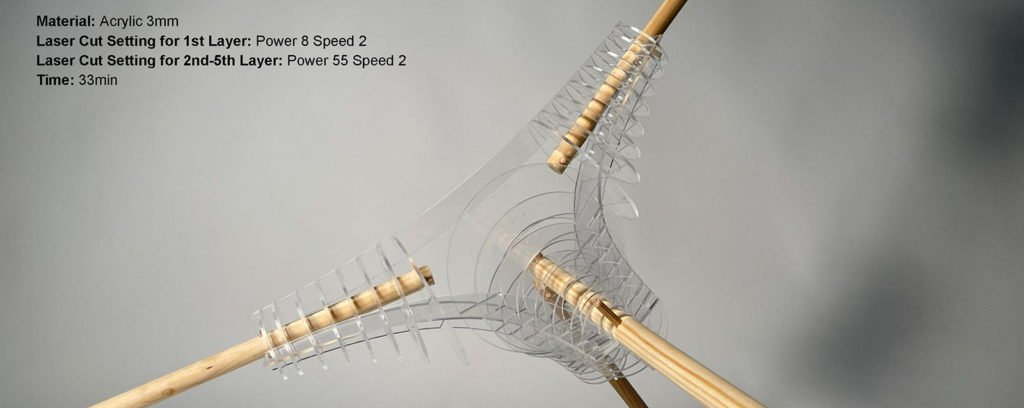
MATERIAL AND LASER-CUT PARAMETERS
RESULTS AND EXPERIENCE

DESIGN ADAPTABILITY
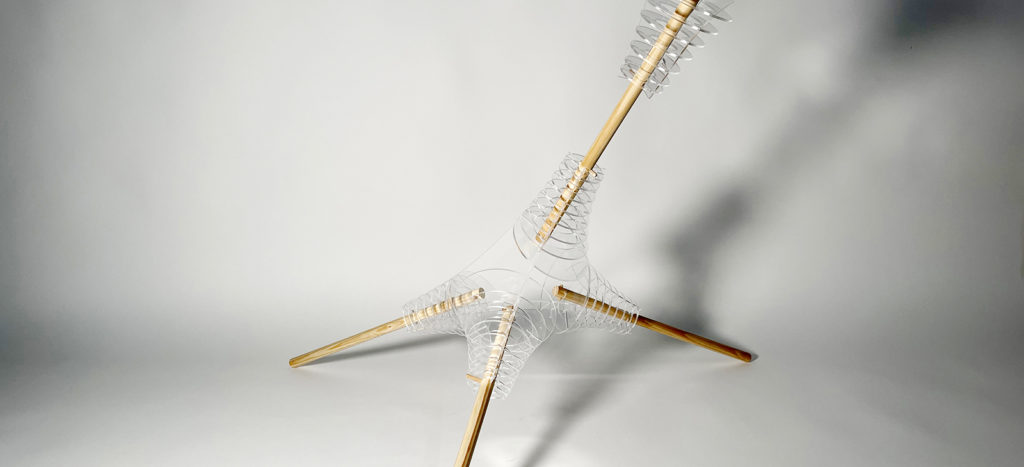
We were able to demonstrate the connection between five different joints from different directions, demonstrating that the structure is able to both be produced as well as assembled in the physical world. The script used the staves as input and the output was a collection of paths that can be read by the laser cutter. “Fluid joints” has been an interesting exploration of the laser cutting process in combination with other materials, and we have learned a lot.
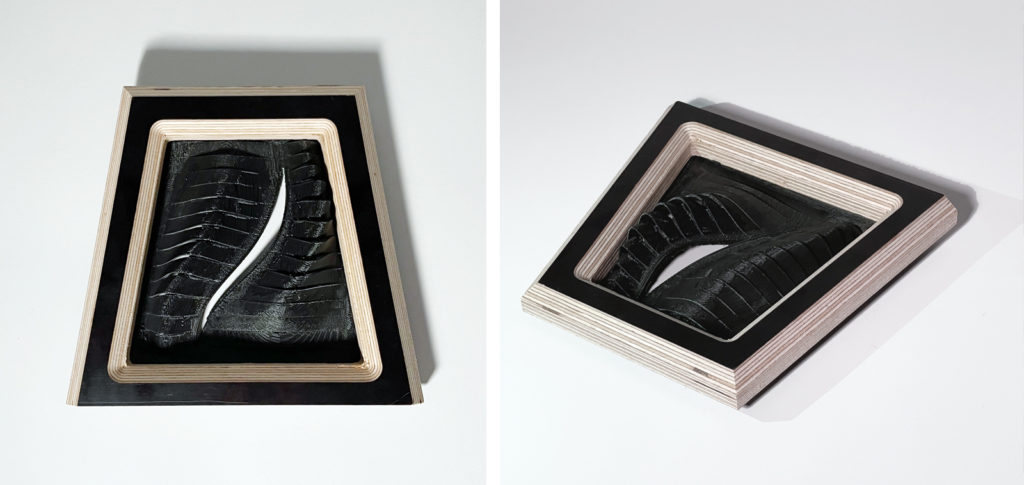
CNC MILLING // DROPS
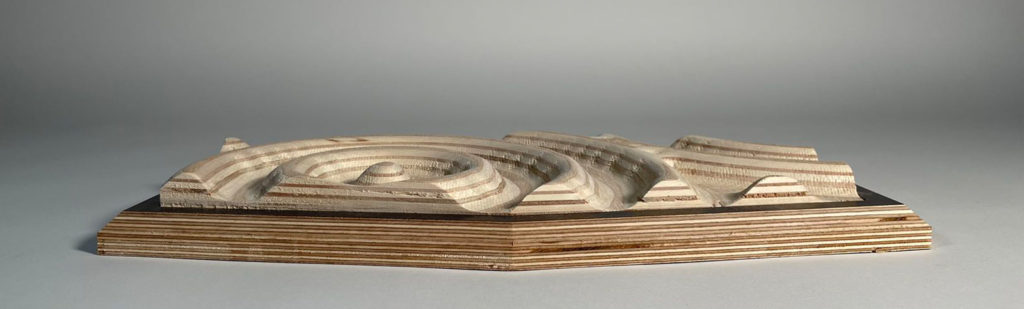
“Drops” acts as a continuation of the water theme that was created in the first exercise. The design idea revolves around the curves formed by water droplets and the various layers created by the outward fall of it. During this exercise, we explored several different designs and the final design was a result of the fabrication process and timeframe.
PROJECT INSPIRATION // Water Ripples
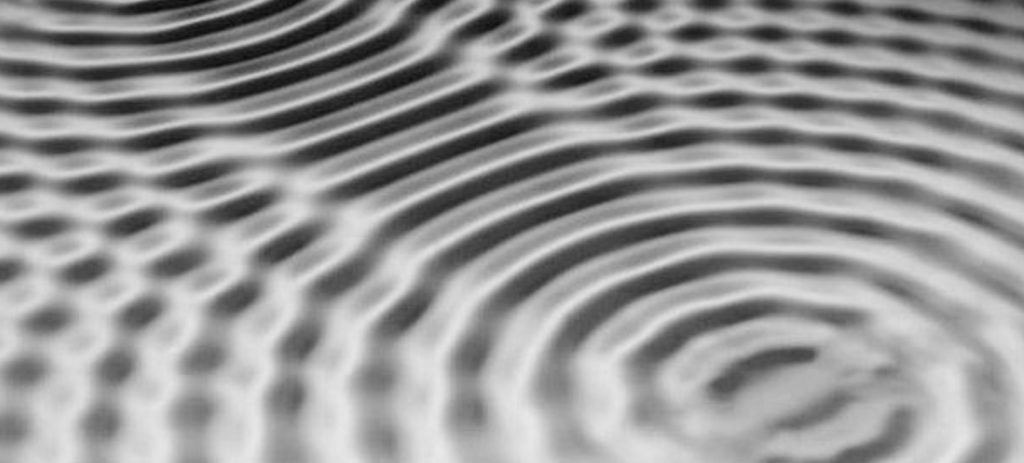
The design idea revolves around the curves formed by water droplets and the various layers created by their outward fall of it.
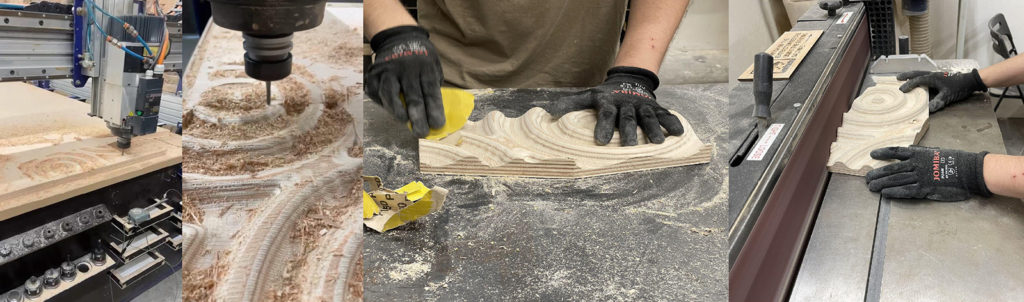
PRODUCTION CALCULATIONS // Cnc Milling Strategies

Once the milling was done the product was cleaned and manually sanded to obtain a smoother finish. The sanding process required about 45 mins, but with change in the milling strategies, one can save time on the manual sanding process.
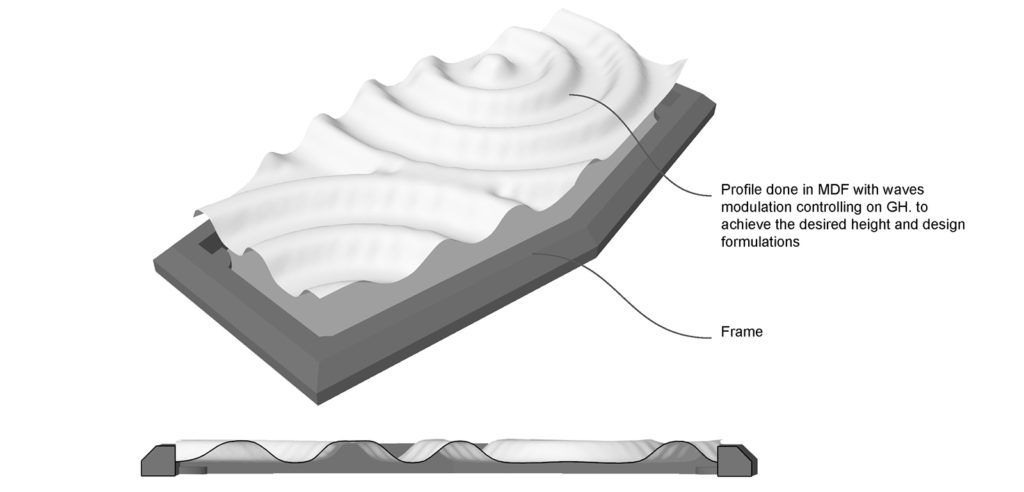
PROJECT DIAGRAMS // Technical Drawing
WORKING PROGRESS // Test Milling and Final Milling

RESULTS AND EXPERIENCE
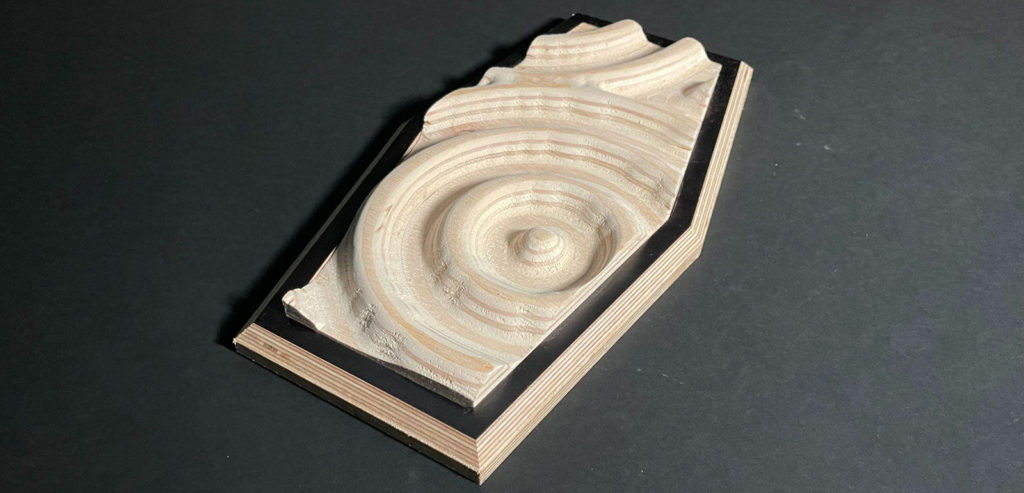
The final design was a success. The wavy pattern paired well with the layered composition of the plywood material, allowing the curves to be highlighted as a result. In conclusion “Drops” invites the solid plywood’s aesthetic impression to move more towards that of a fluid, thus underlining our initial conjecture.
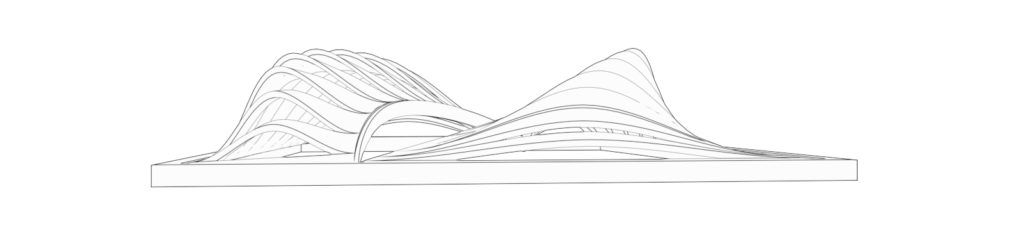
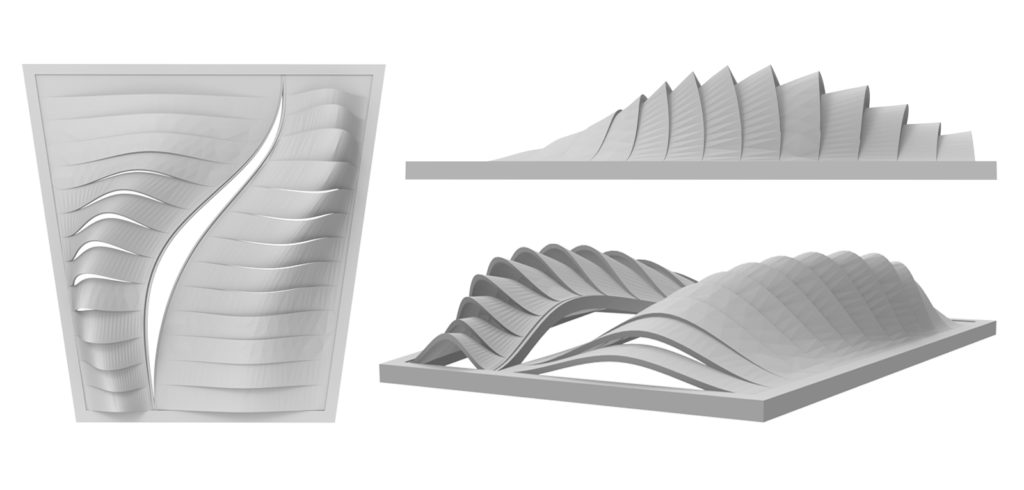
3D PRINTING // WAVES
“Waves” was inspired by wavelike patterns of the m and the concept developed aimed at creating complementary surfaces which could interlock upon placement on each other. This geometry aims at testing the limits of the 3D printing methods’ error margins and support.
PROJECT INSPIRATION // Waves of the Mediterranean Sea
PARAMETERS:
Printer: Zortrax M200 Plus
Nozzle: 0.4
Filament: Z ABS-2
Material usage: 115 g
Infill: 30 %
Print time: 11 h 24 m
DIGITAL EXPLORATION STRATEGY // GH script
RESULTS AND EXPERIENCE
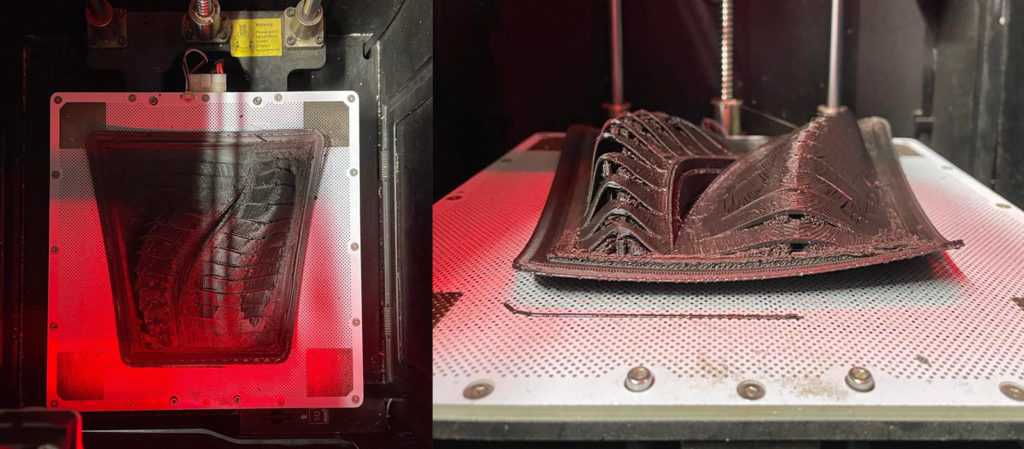
The results of this exercise were somewhat mixed as a result of an error that occurred during the print. There was an issue with the heat bed that allowed the raft to lift and bend. And there is too much support which barely gets rid of them.
If we could set a more thick base and print vertically, we may get a better result. Never stop trying.
