Dungeons & Dragons (D&D) is a tabletop role-playing game where players create characters and embark on adventures guided by a Dungeon Master. Through storytelling, strategy, and dice rolls, players explore worlds, battle foes, and solve challenges in an open-ended, cooperative experience. The game is played using polyhedral dices, character sheets, and often miniatures on gridded maps to visualize combat and exploration. Beyond the mechanics, D&D is a deeply social game, fostering creativity, teamwork, and improvisation as players interact, negotiate, and shape the story together.
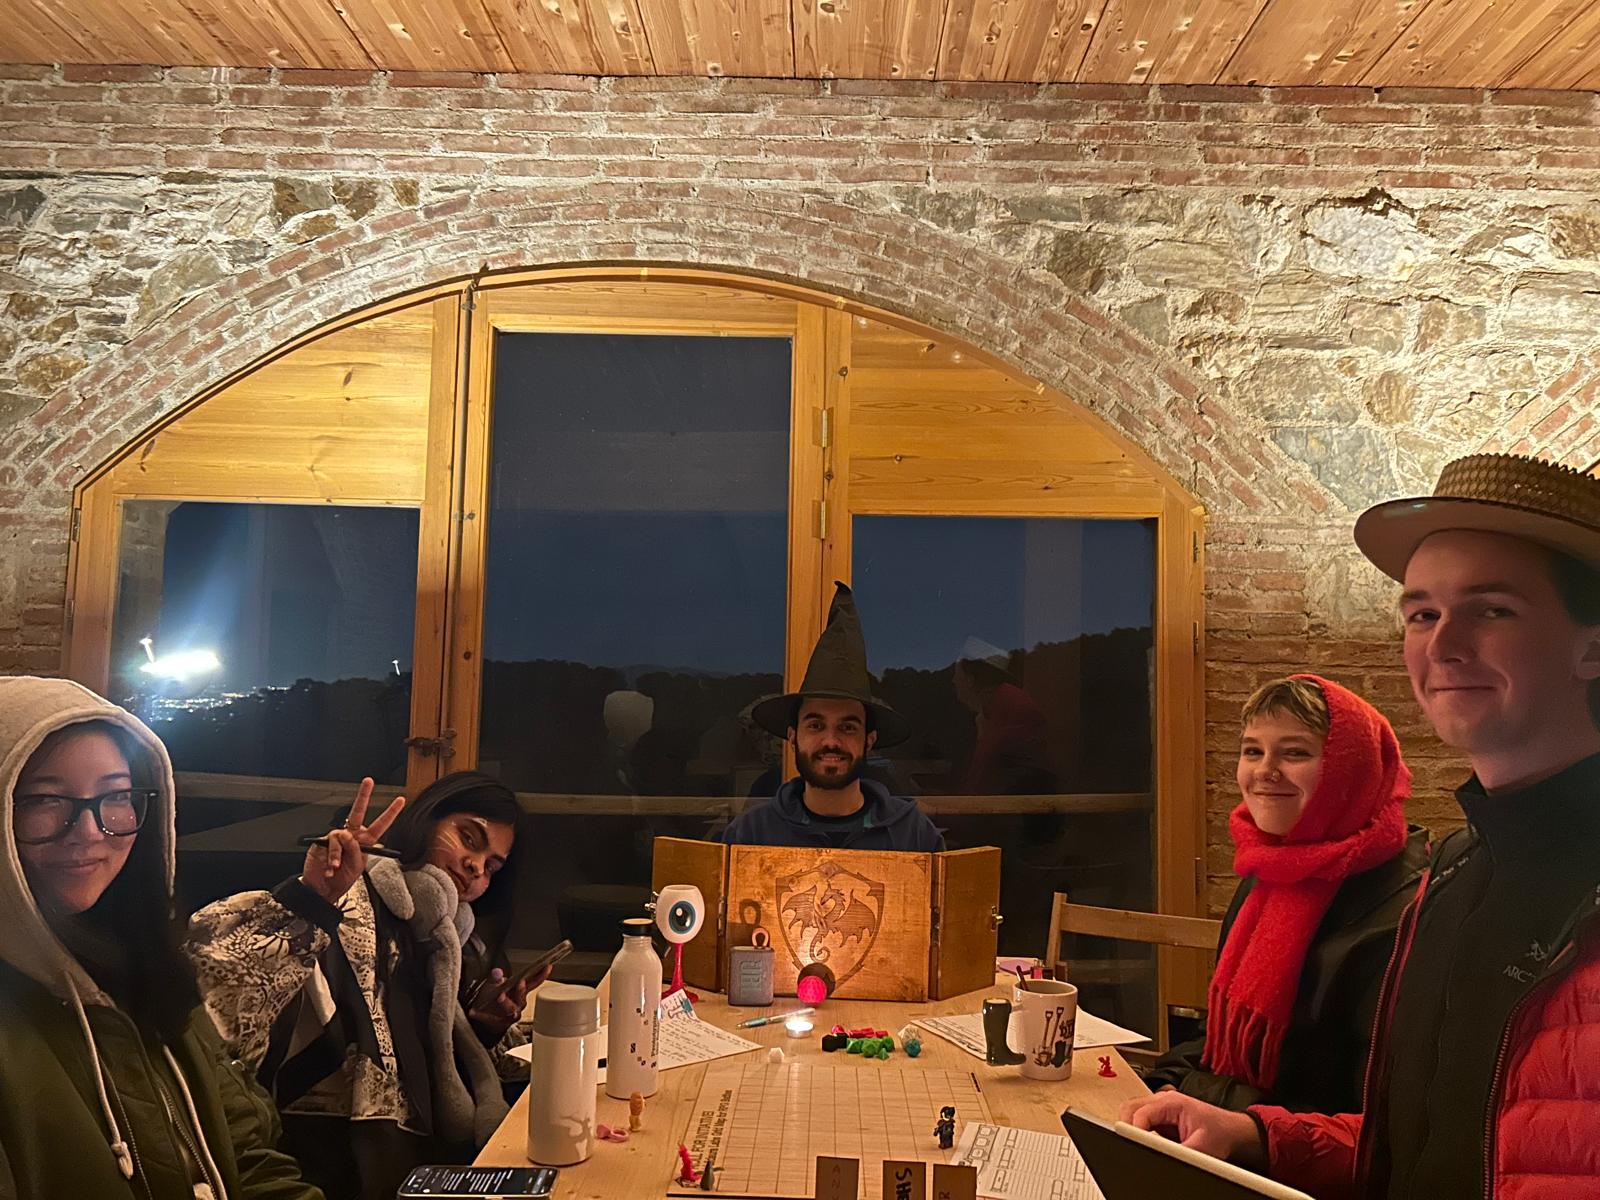
During the rare spare time that we have during our master’s, we have been playing D&D. The initiative was a great experience on developing my crafting skills and have fun with my colleagues. This blog post was written to showcase my process of crafting the necessary game accessories and guide future students that also want to play this marvelous game. Every file that you might need is here.
Dices
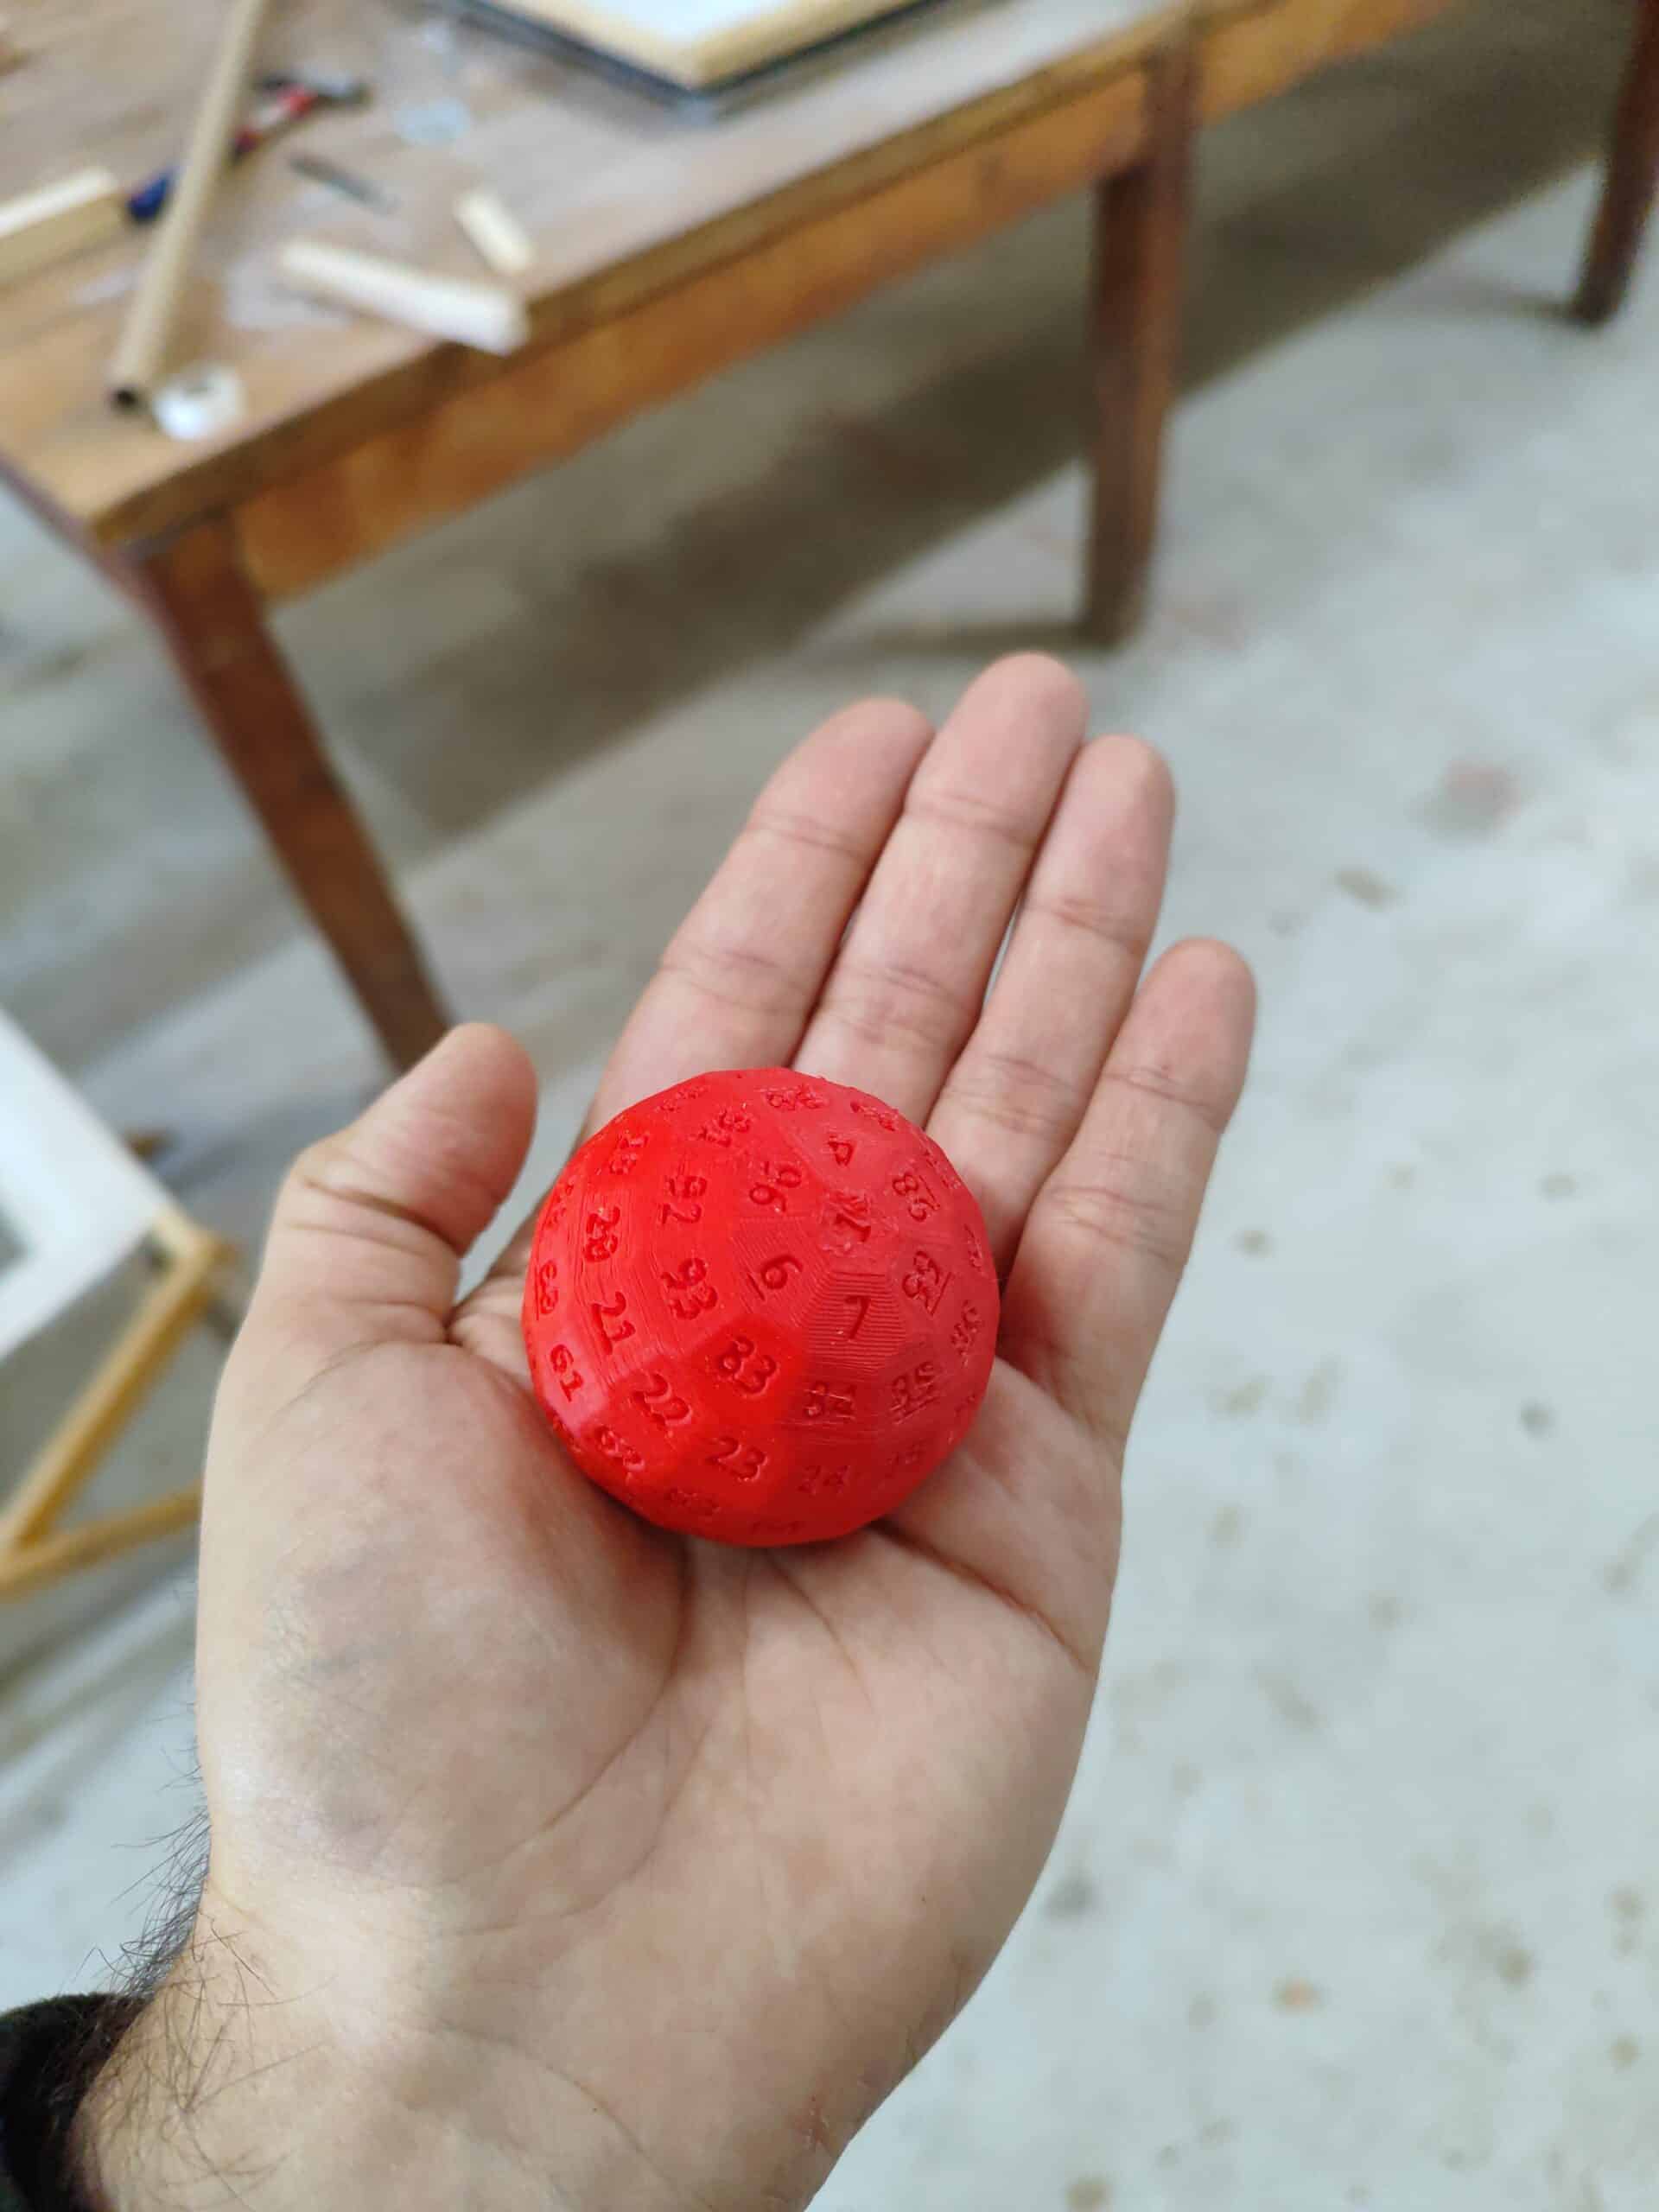
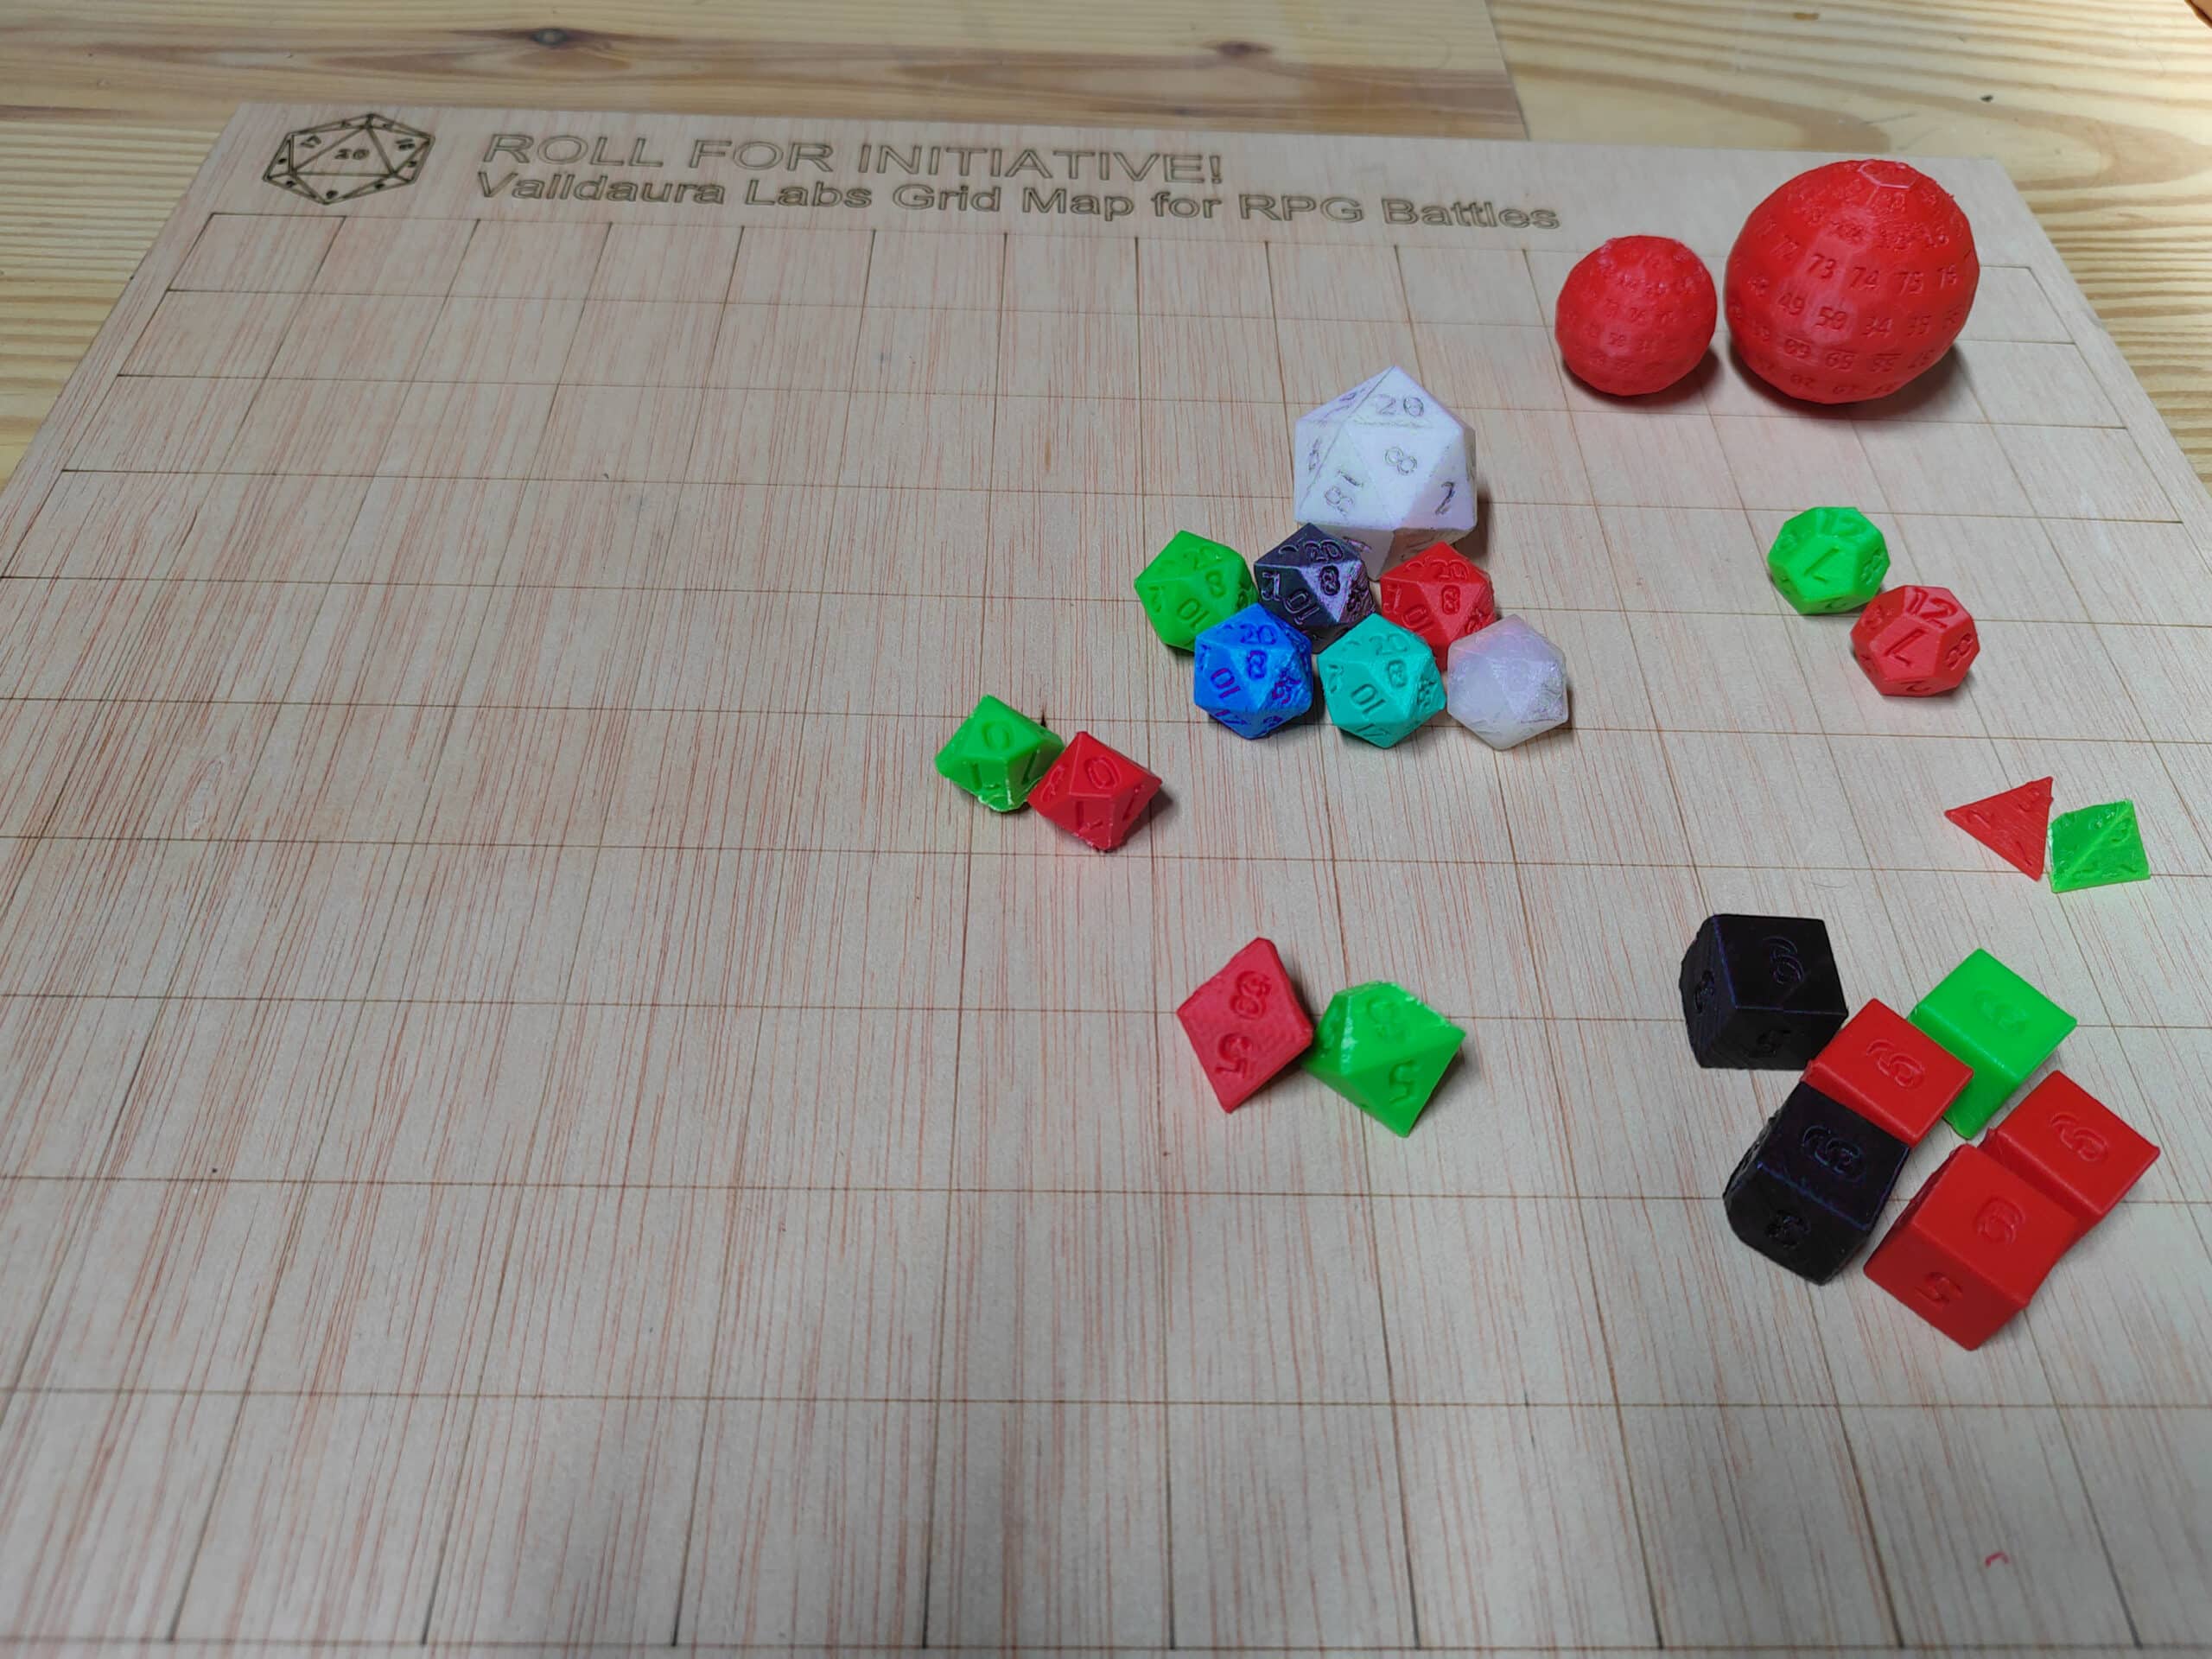
The most important element! There are 7 different types of dices in D&D, the most iconic one being the 20-sided one (abbreviated to D20). There are also D4s, D6s, D8s, D10 and D12s, that are mostly used to calculate damage during combat. There is also a D100, that works as a generator for loot, encounters, sidequests, etc.
All of the dices files are open-sourced and were printed with our Prusa 3D printers. I tested every ABS and PLA filament color that we had, also trying different settings for each trial to find out what was the best combination. The ABS showed a better finishing quality, with the Normal resolution and supports on.
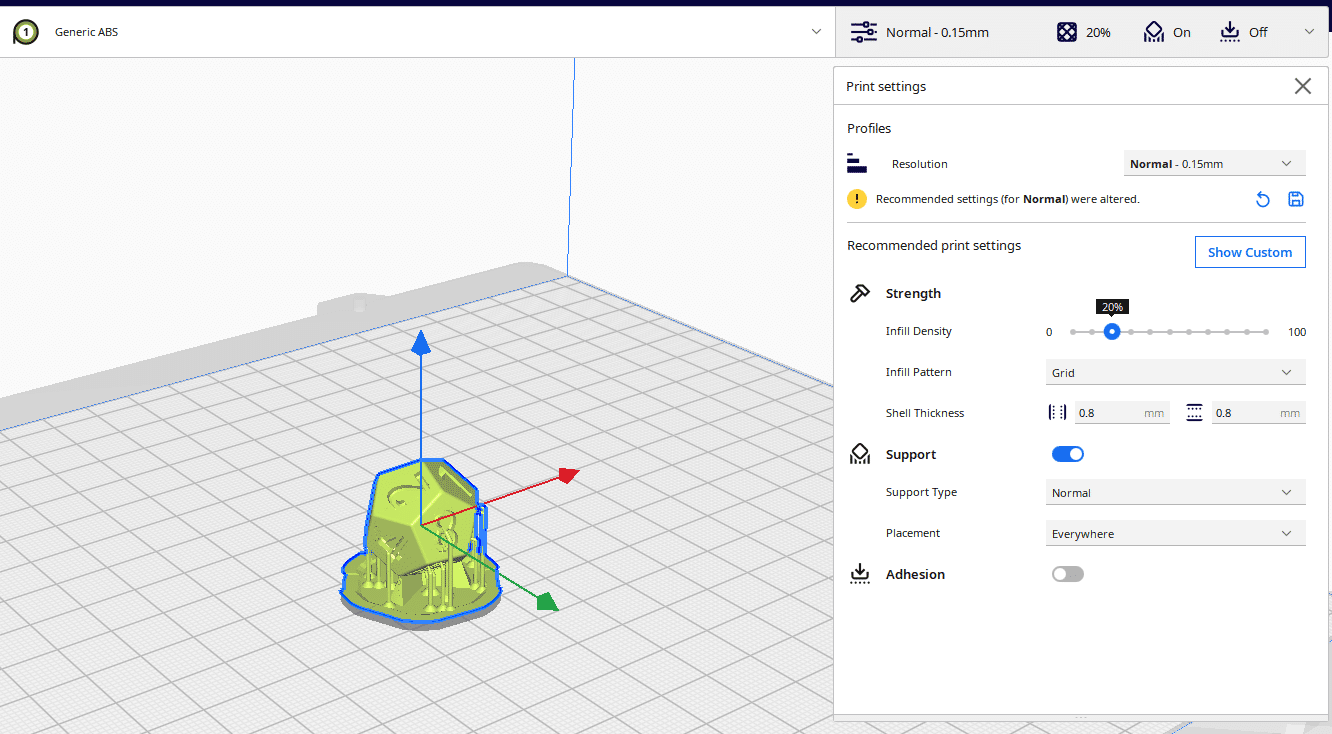
Every print would take around 32-47 minutes to be done. I realized that, specially for the most usual dice form, the D6, it would always crack in one of the sides, regardless of how careful I was to remove them from the bed. In the end, I think it’s a nice, unique effect. I recommend pre-heating the printer before starting the files. You can find all the files for 3D printing the dices here.
DM Shield
During the games, it’s important that the DM’s workspace is hidden from the players for several reasons, but specially because they must not be able to read the notes – otherwise they might find out important info – neither the dice rolls, to keep the mystery element. For that reason, a common gadget used is the DM Screen or DM Shield, a object that blocks the players view. Since D&D is a complex game, some rules are always tricky and easy to forget, even for experienced DM’s, so, for that reason, the internal part of the shield is also used to keep important information on display for the DM.
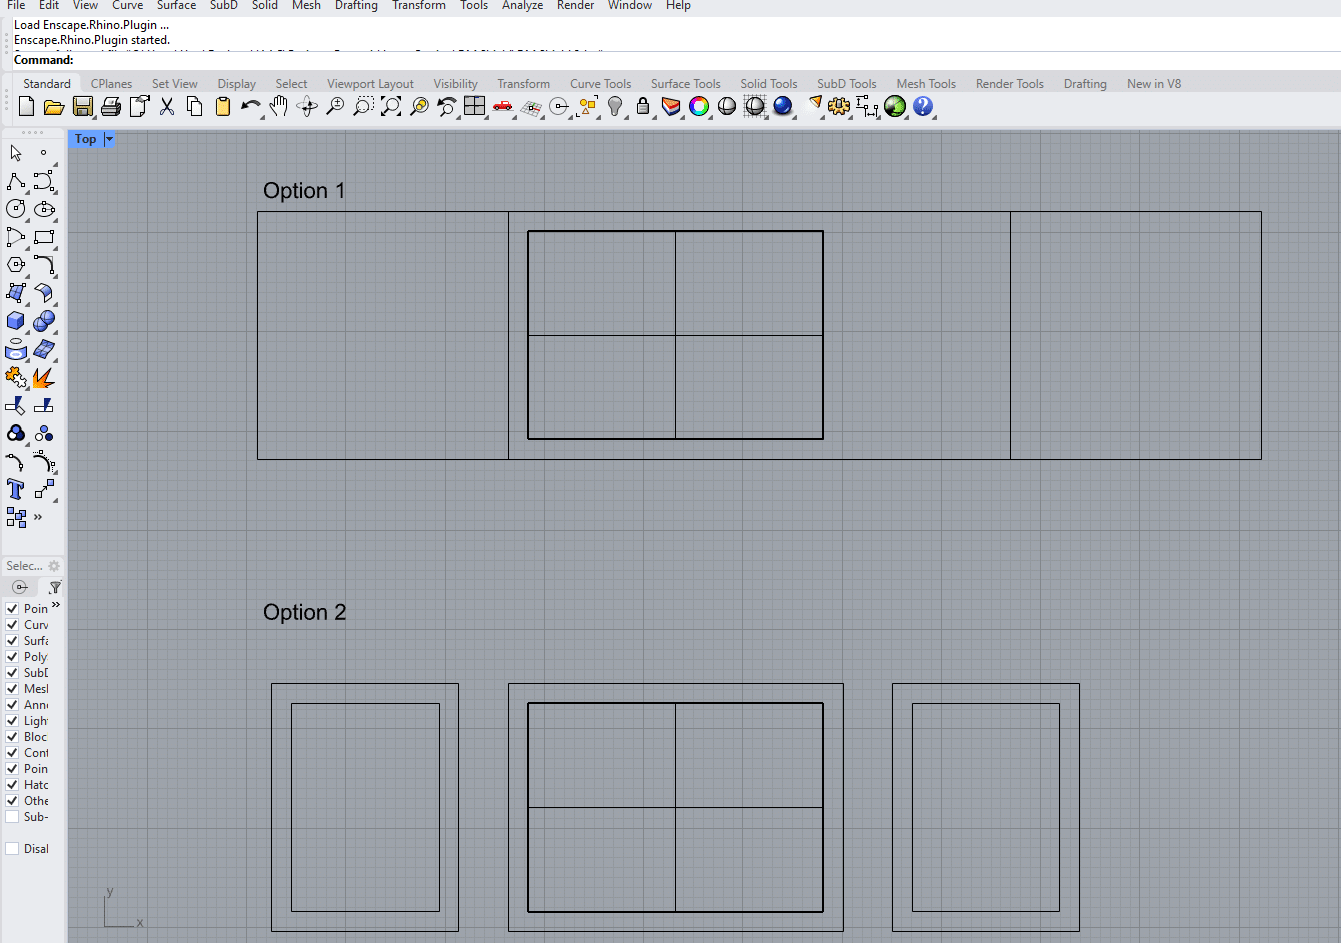
That wasn’t the first time I crafted a DM Shield, but I never had all of the tools available before to craft every single piece from scratch. After searching, I realized the best design concept would be to follow the default A4 paper dimensions, since everyone will always print this size for their notes.
After that, it was time for everybody’s favorite part: the carpentry work. I used the chop saw for the vertical cuts and the table saw for the horizontal dimensioning, since the plank was 300mm.
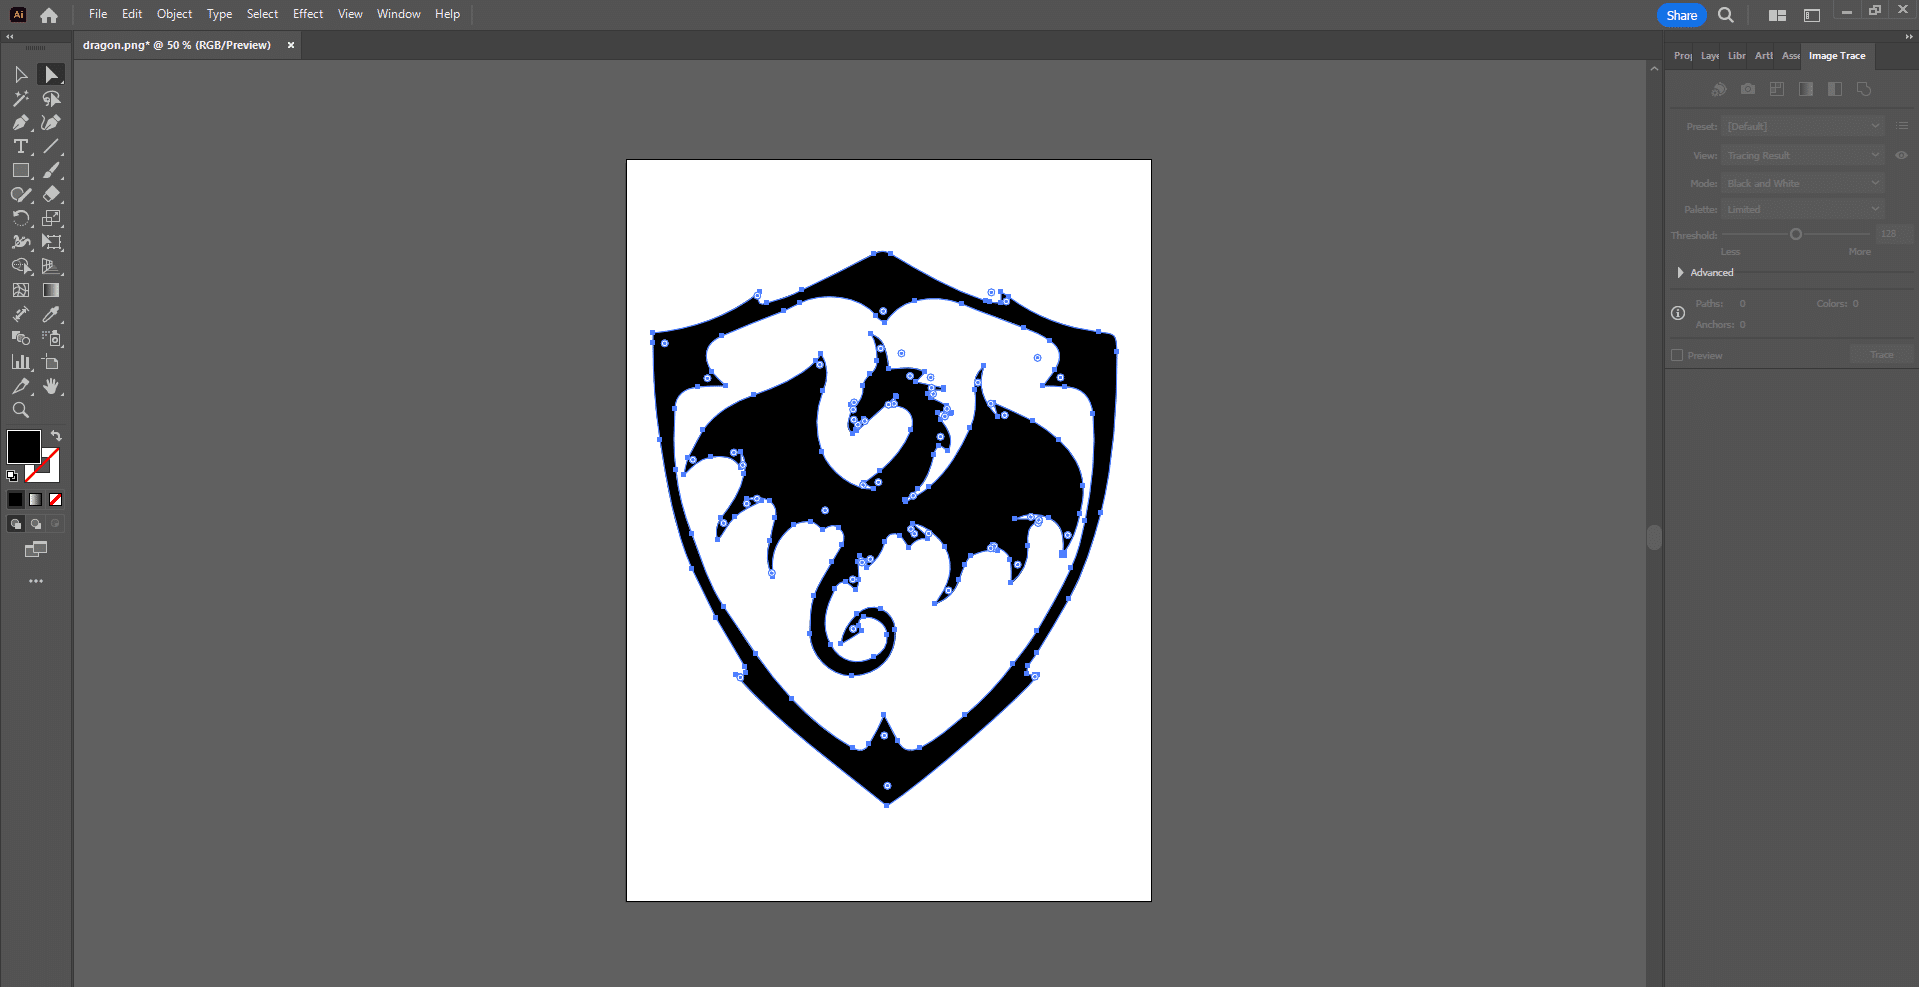
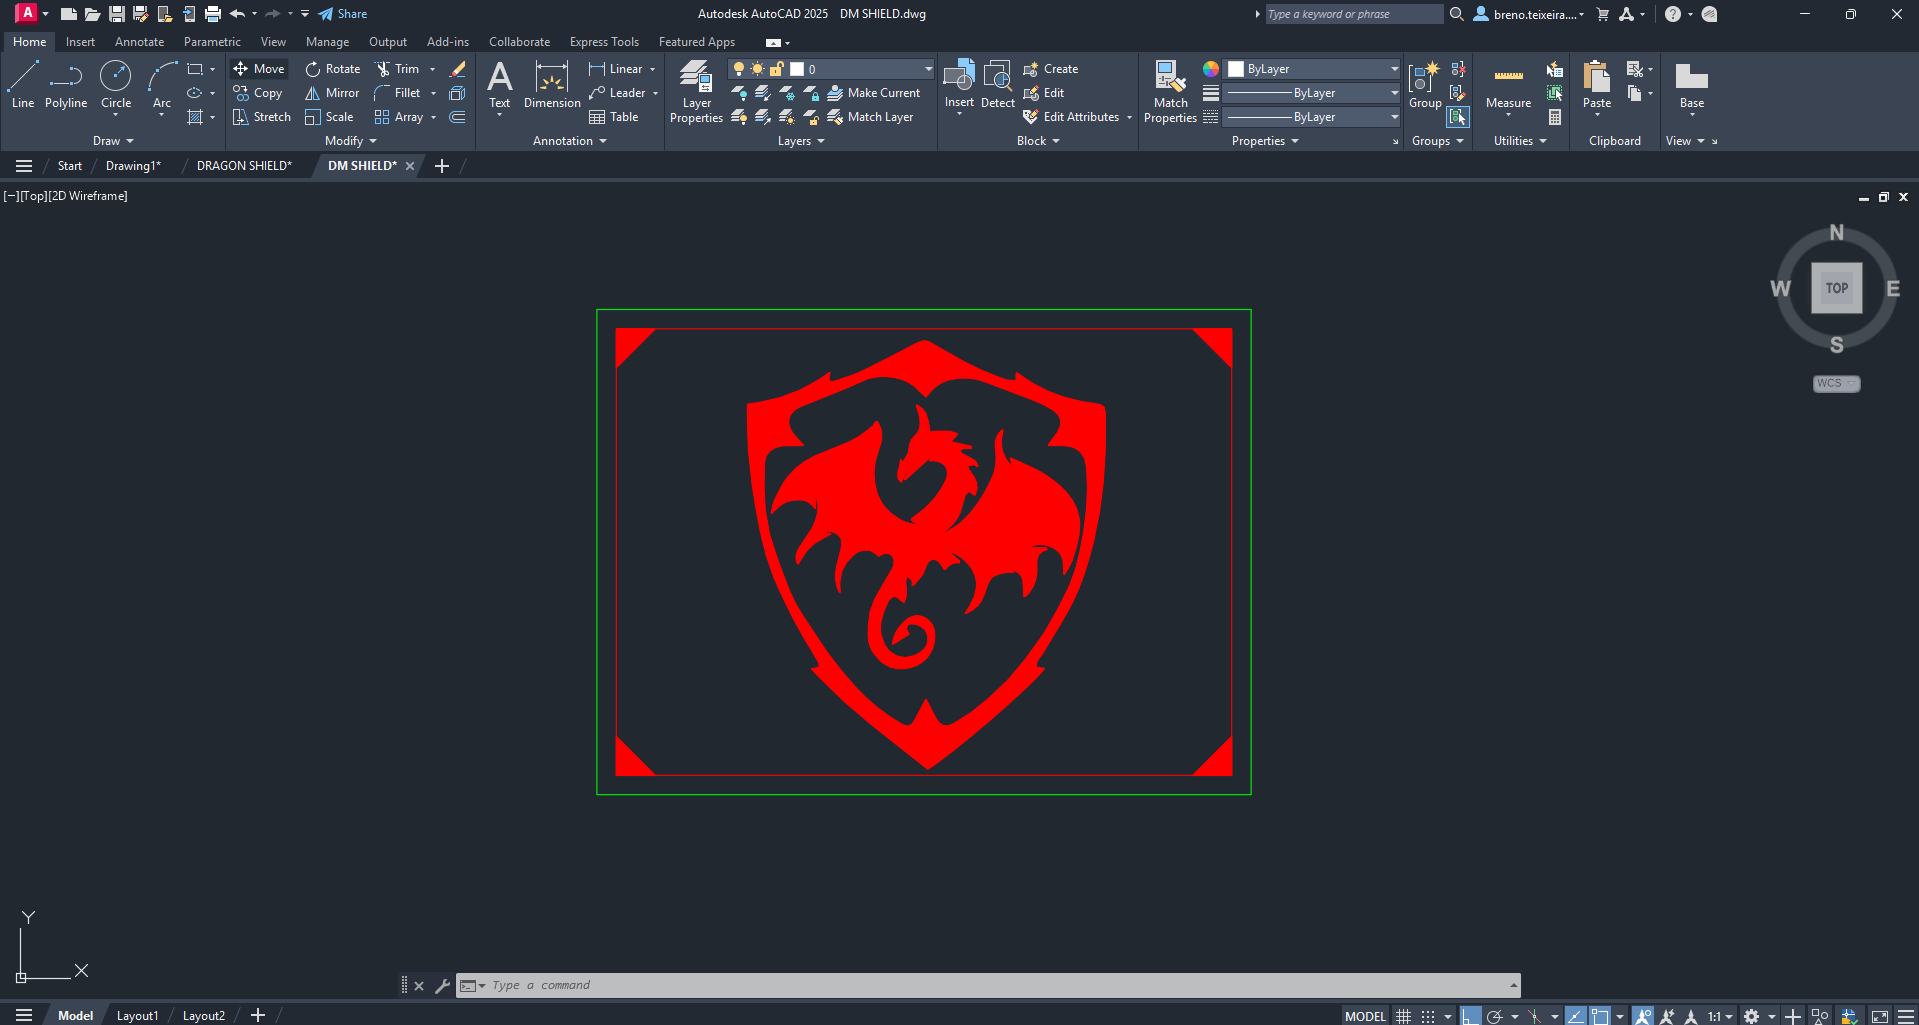
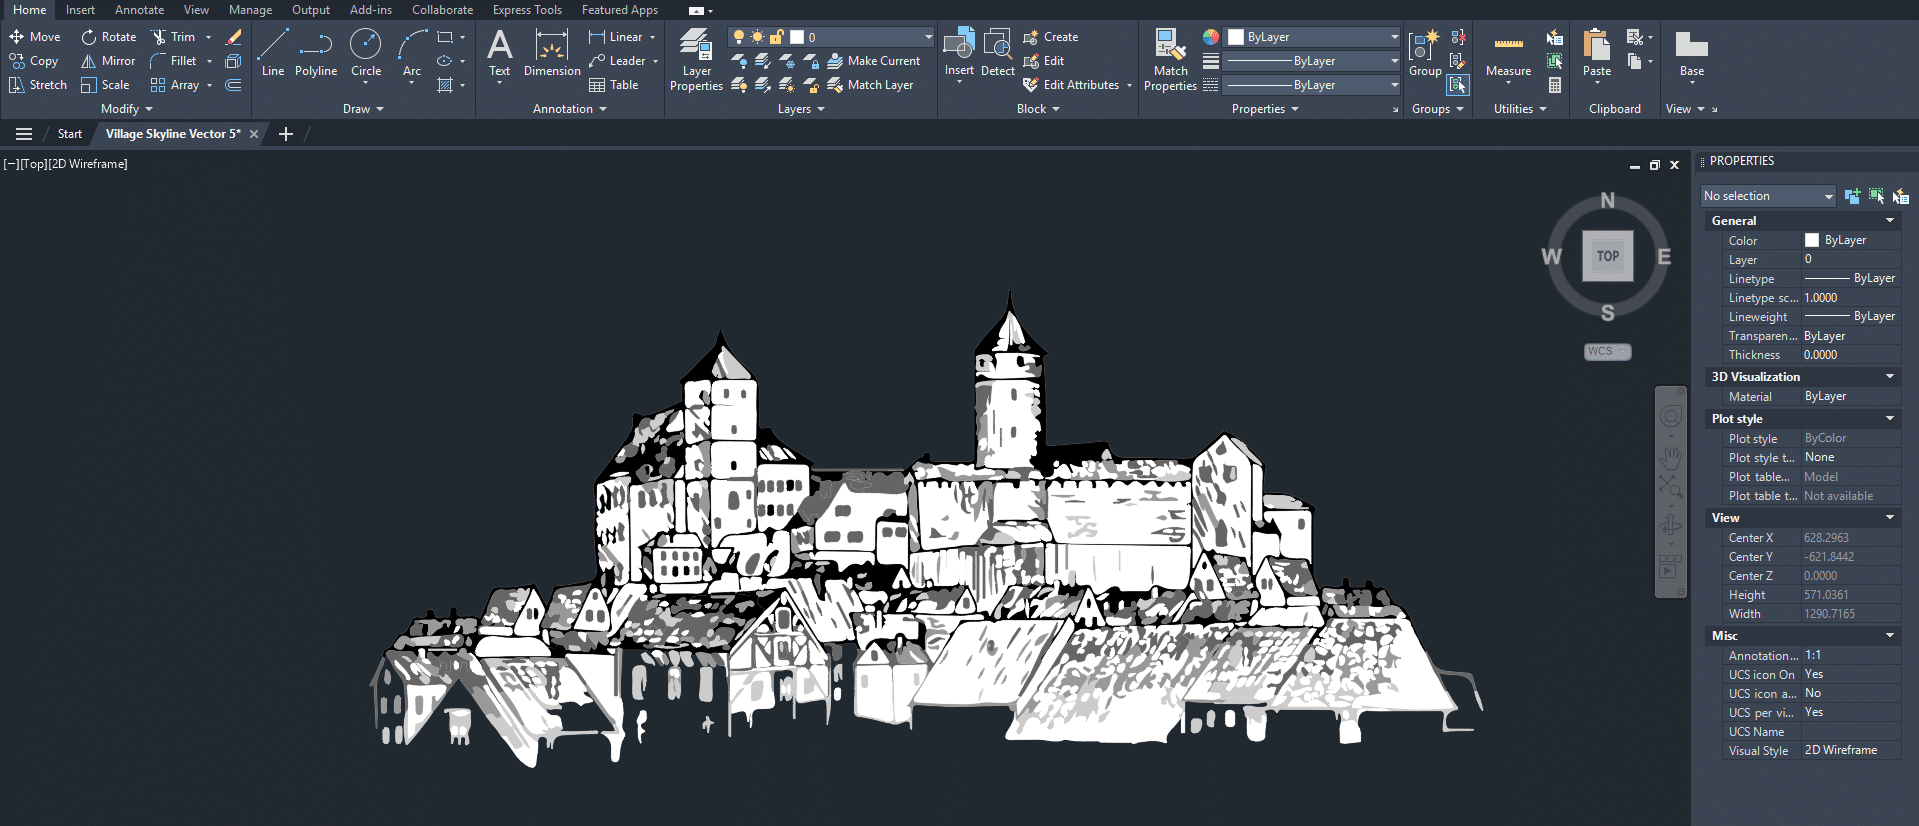
After cutting, it was time for the laser engraving. I created a symbol using a Shield and a Dragon png files found online. I rastered them in Illustrator and exported it to Autocad, where I made a hatched frame with the desired dimensions to fit the central piece of the gadget.
I used the same process for the other two planks, featuring a medieval village, with the only difference being a Photoshop filter to create a scribbled line effect.
After that, I applied a layer of Fondo and left it to dry for a day. Later, I applied a layer of Sol Lasur and left it to dry. Both of these varnish paints were in the Green Fab Lab, leftover from MAEBB23-24’s C.O.R.A.
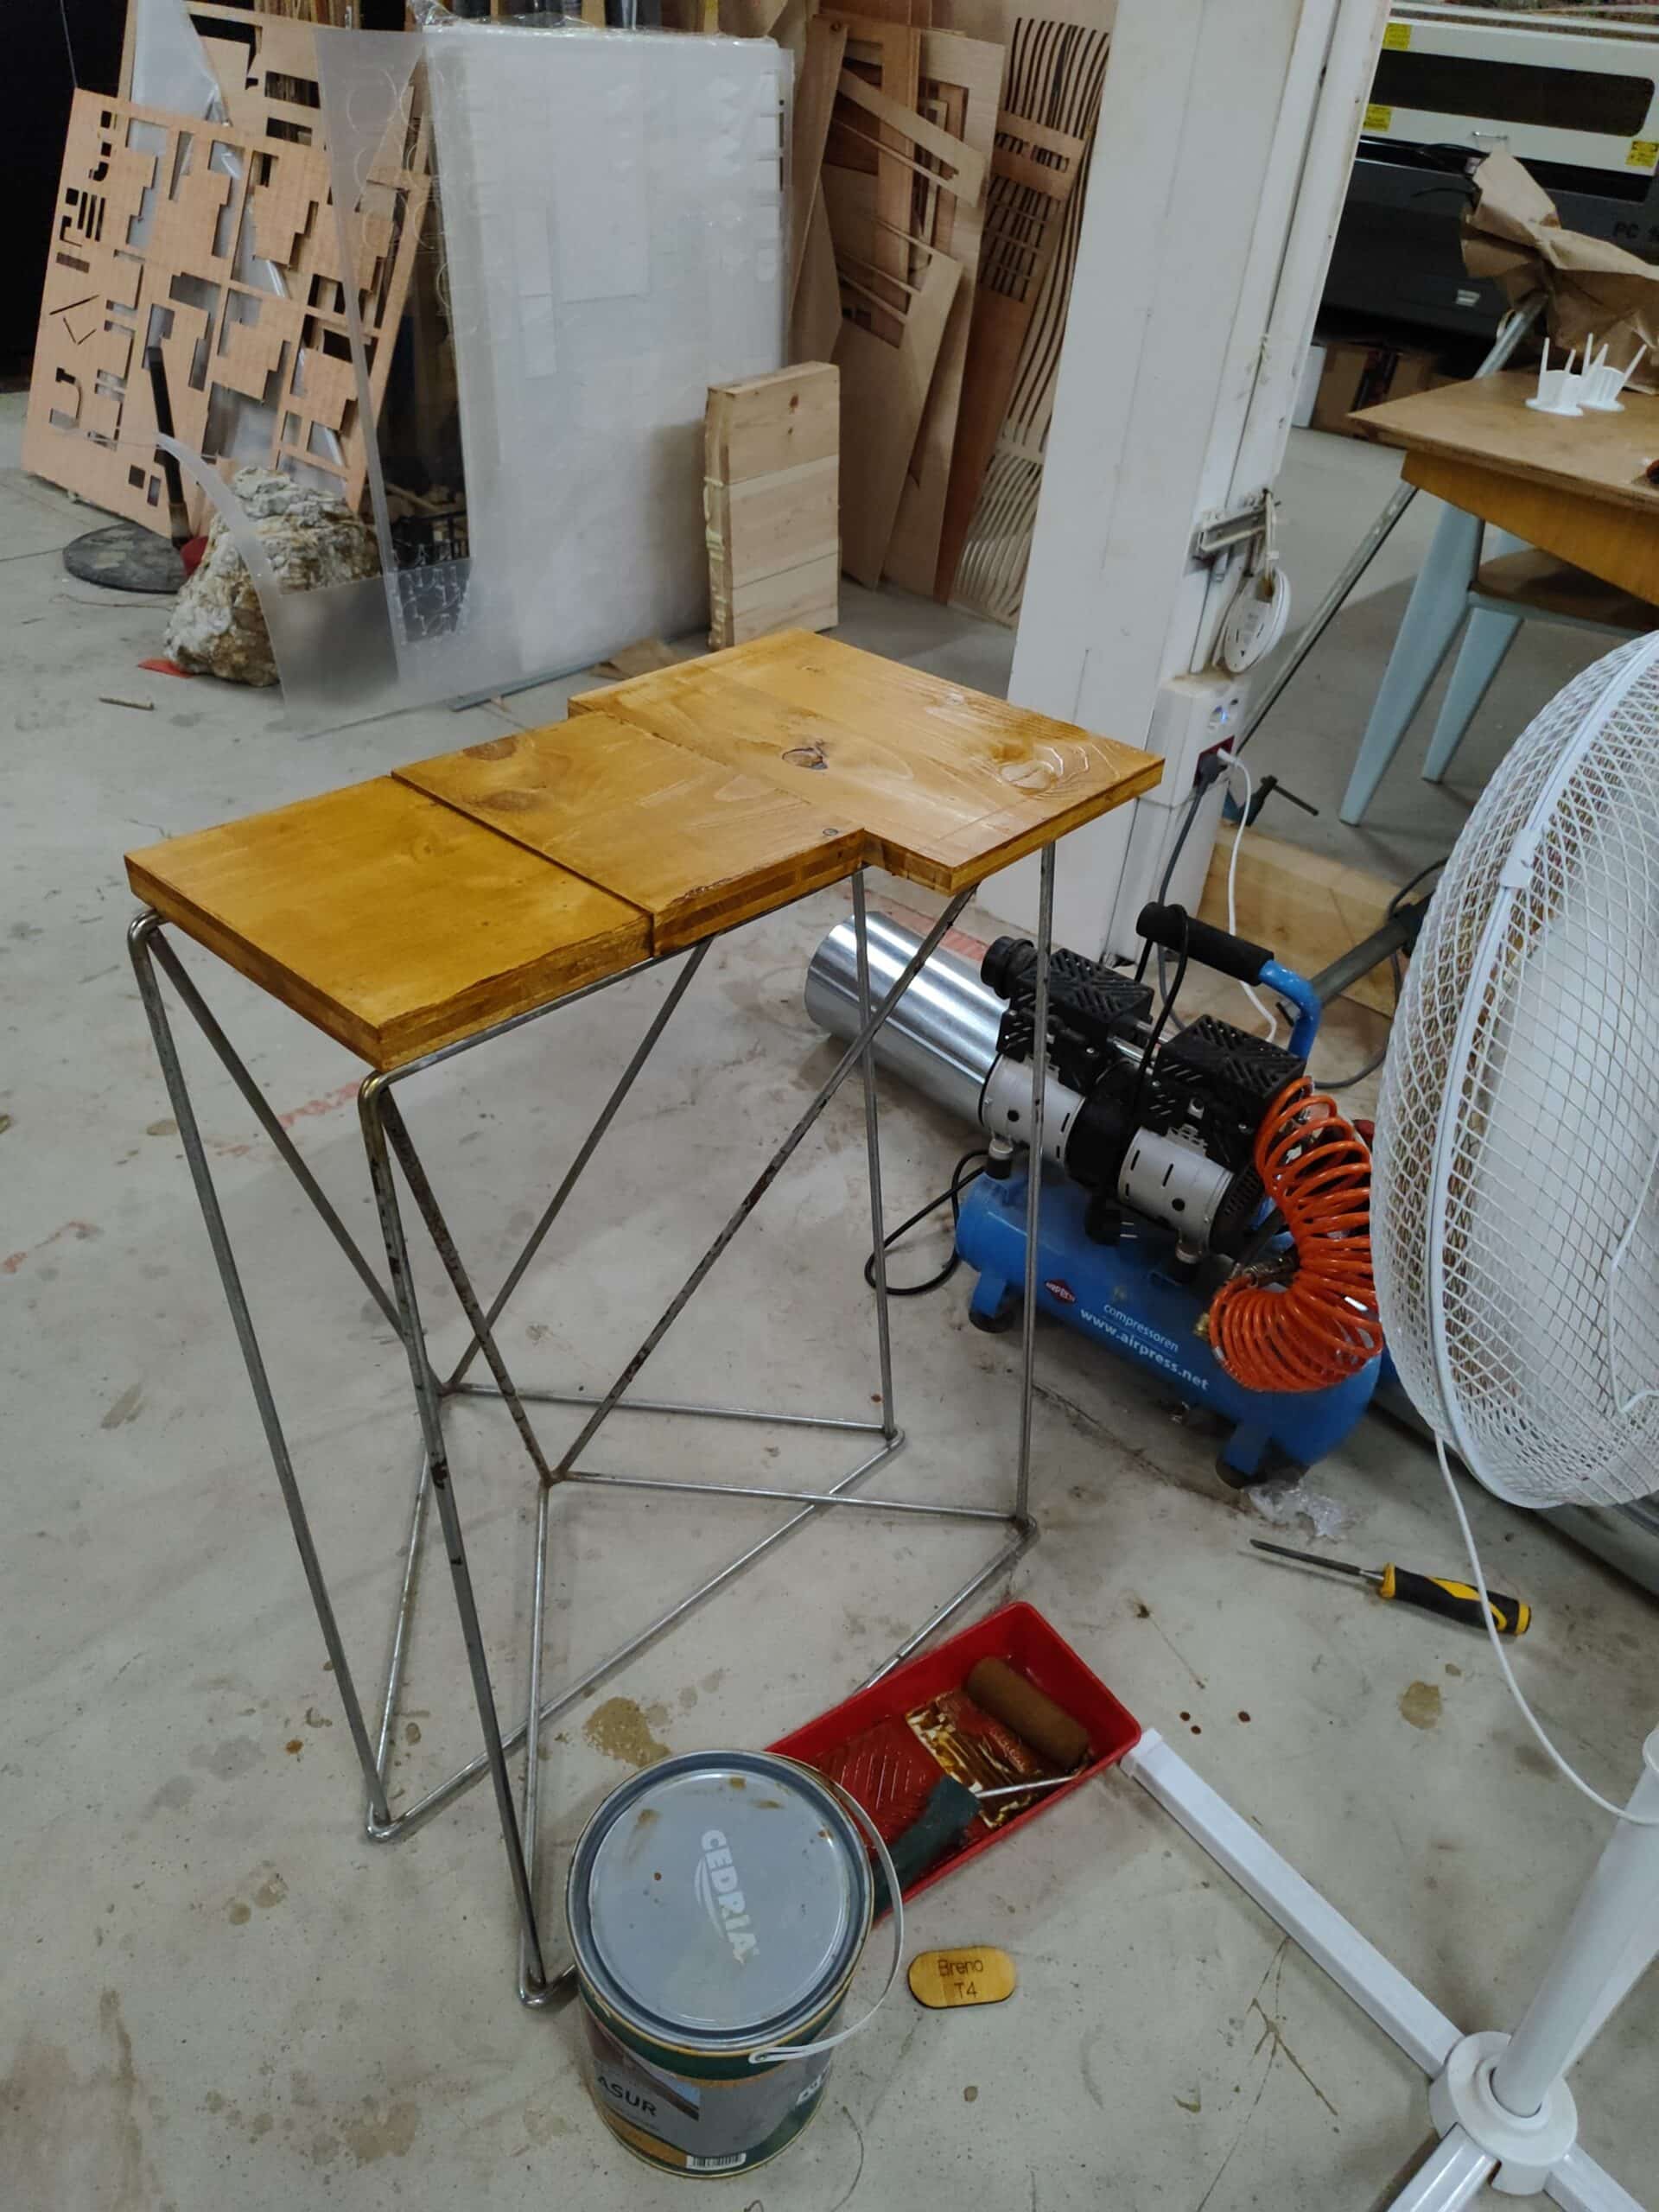
I didn’t like the final result. I realized that the Sol Lasur that I used was a different type, for darker wood, that was among the other cans. This gave the piece a very dark, rough finishing. Also, the engraving result wasn’t the best. Since I wanted a fine quality and was already thinking about two trials, I decided to give it another go.
The second one went much better. I used a Power: 75 / Speed: 20. Since the lens from the laser cutting machine had just been changed, those specifications were stronger then usual, creating a deep engraving, but I liked the roughness of it in the end. I bought the handle and the latch in a Ferreteria for €4.50.
Character Tokens
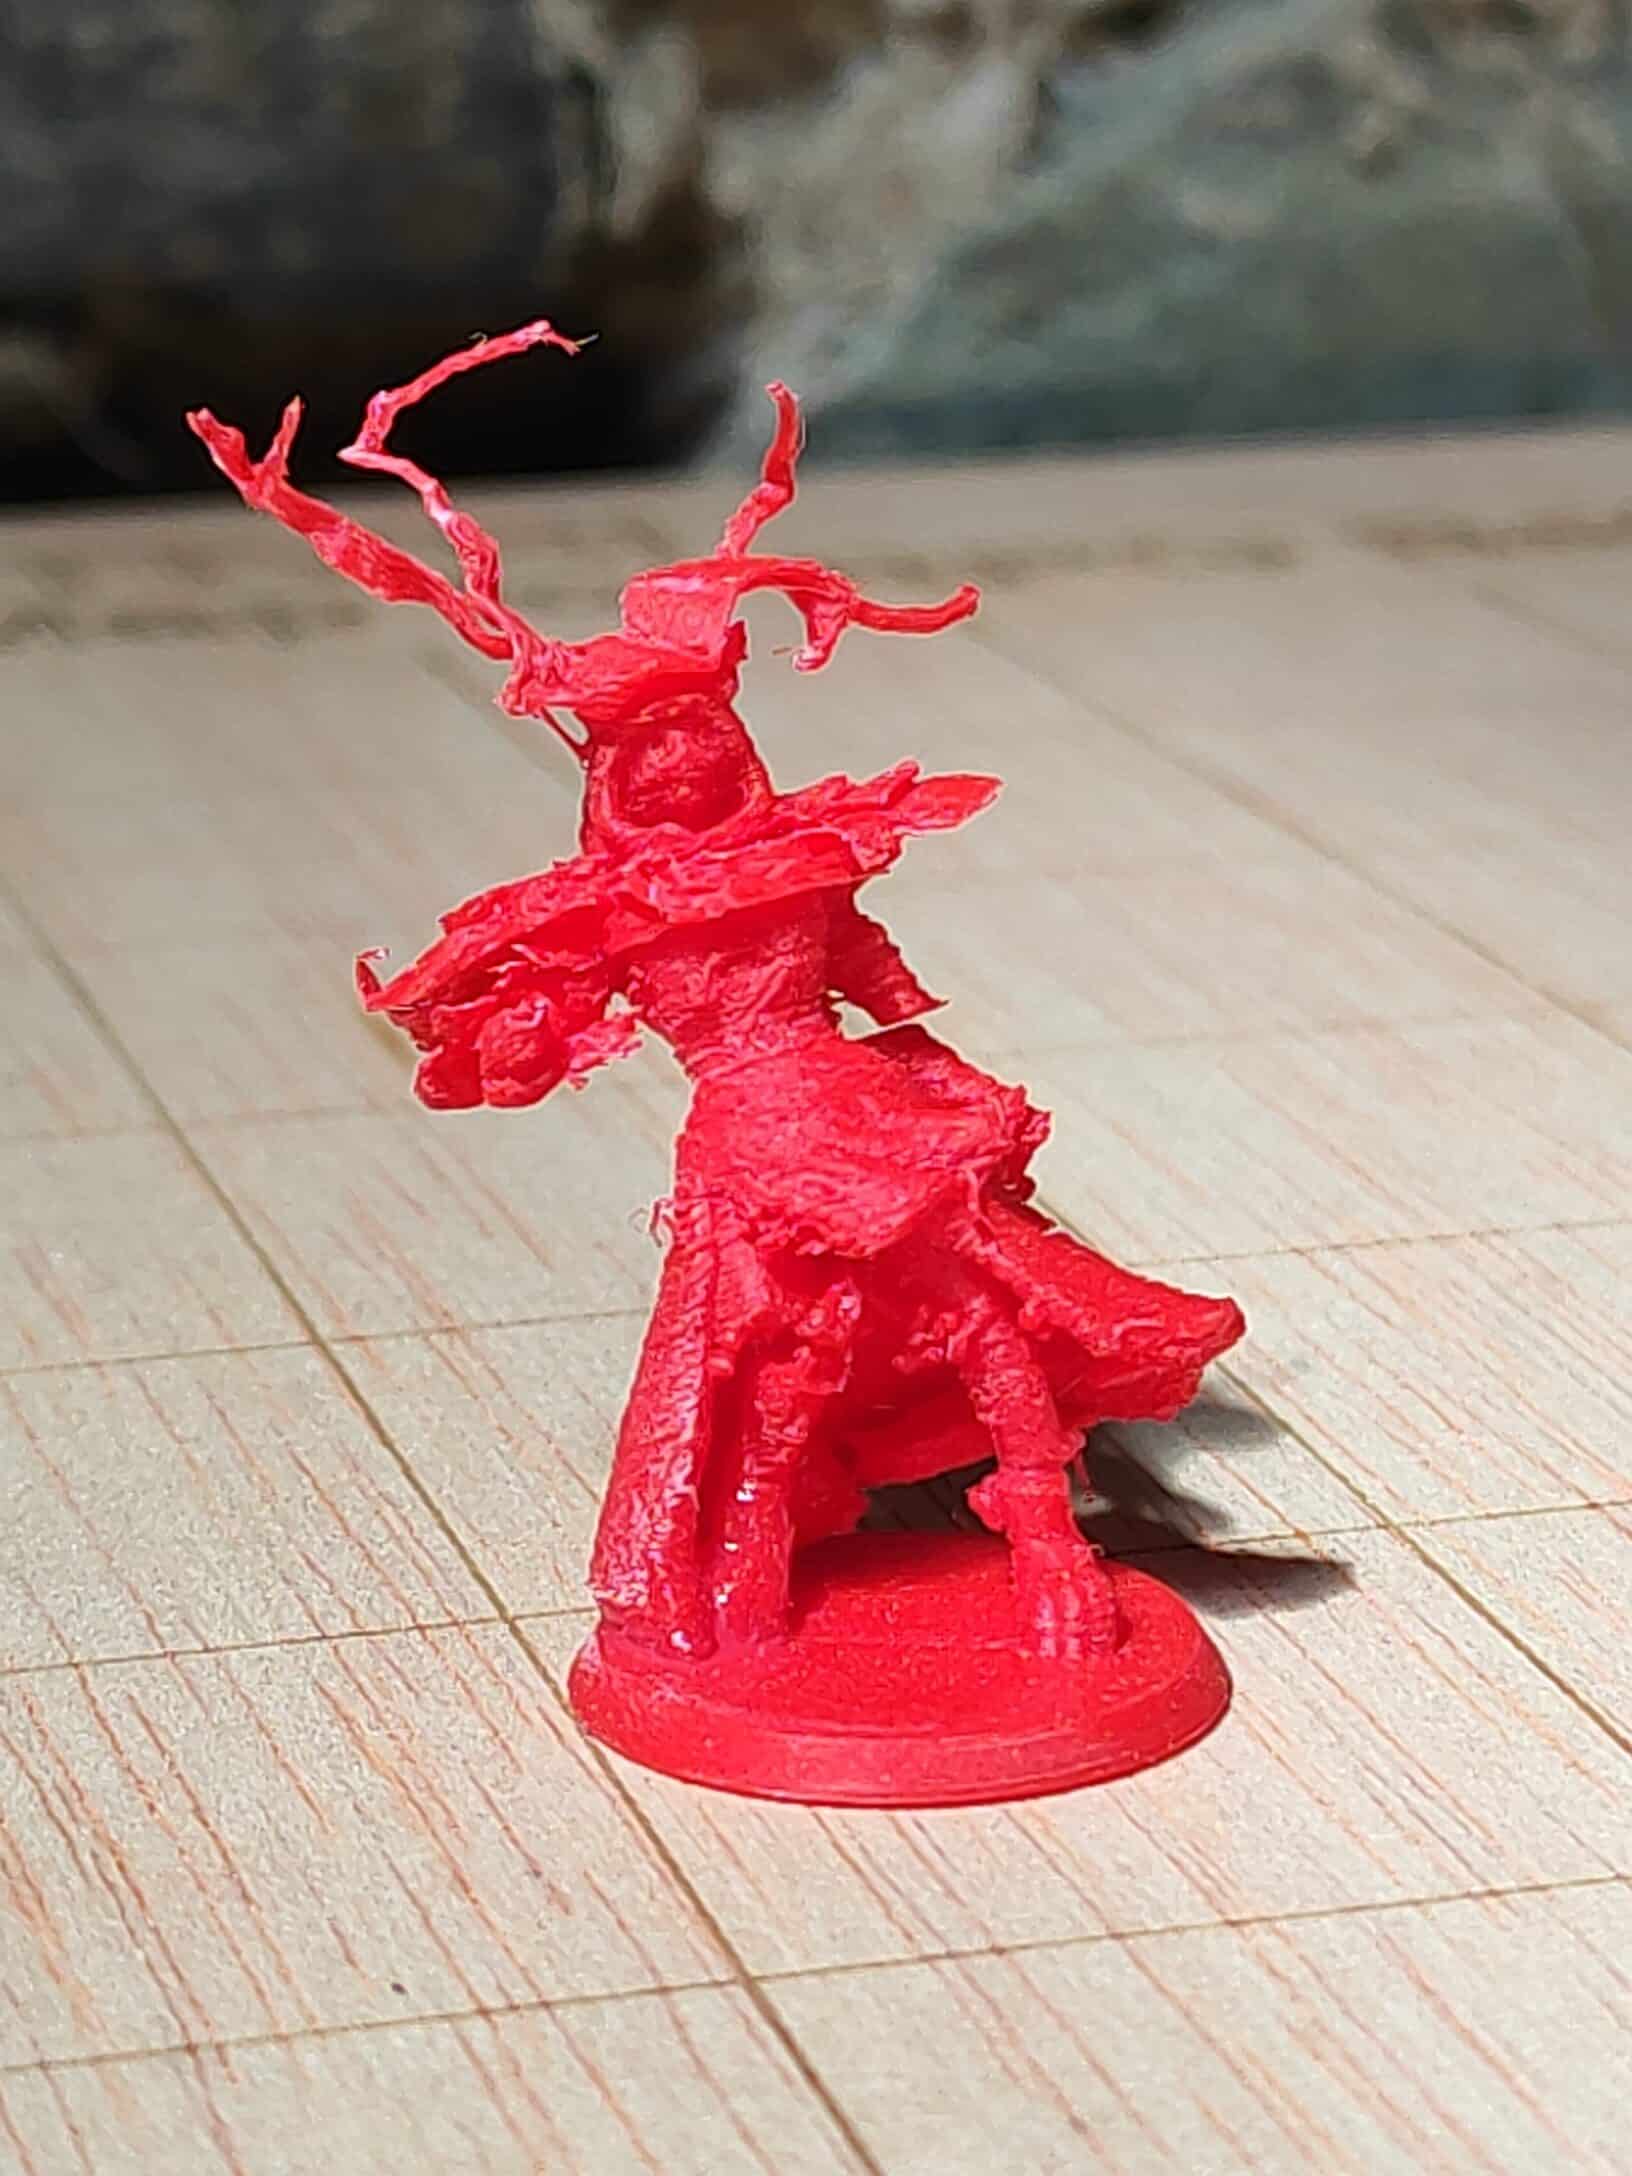
At D&D, one of the player’s favorite parts is the combat. Every character has a token that represents themselves during the fighting moments. The six players were in charge of making their own figure. They mostly 3D printed it. They used a website called Hero Forge to create their tokens and generate the .stl file, but, if you are brave enough, you can also 3D model them on Rhino or Blender.
Turn order marker
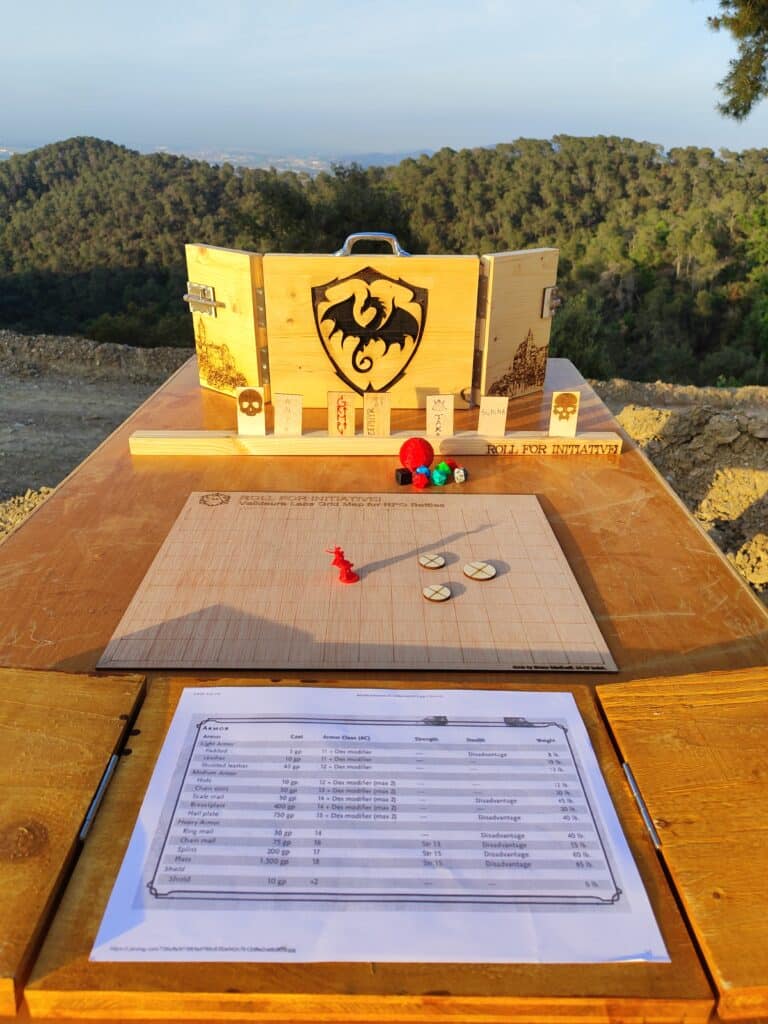
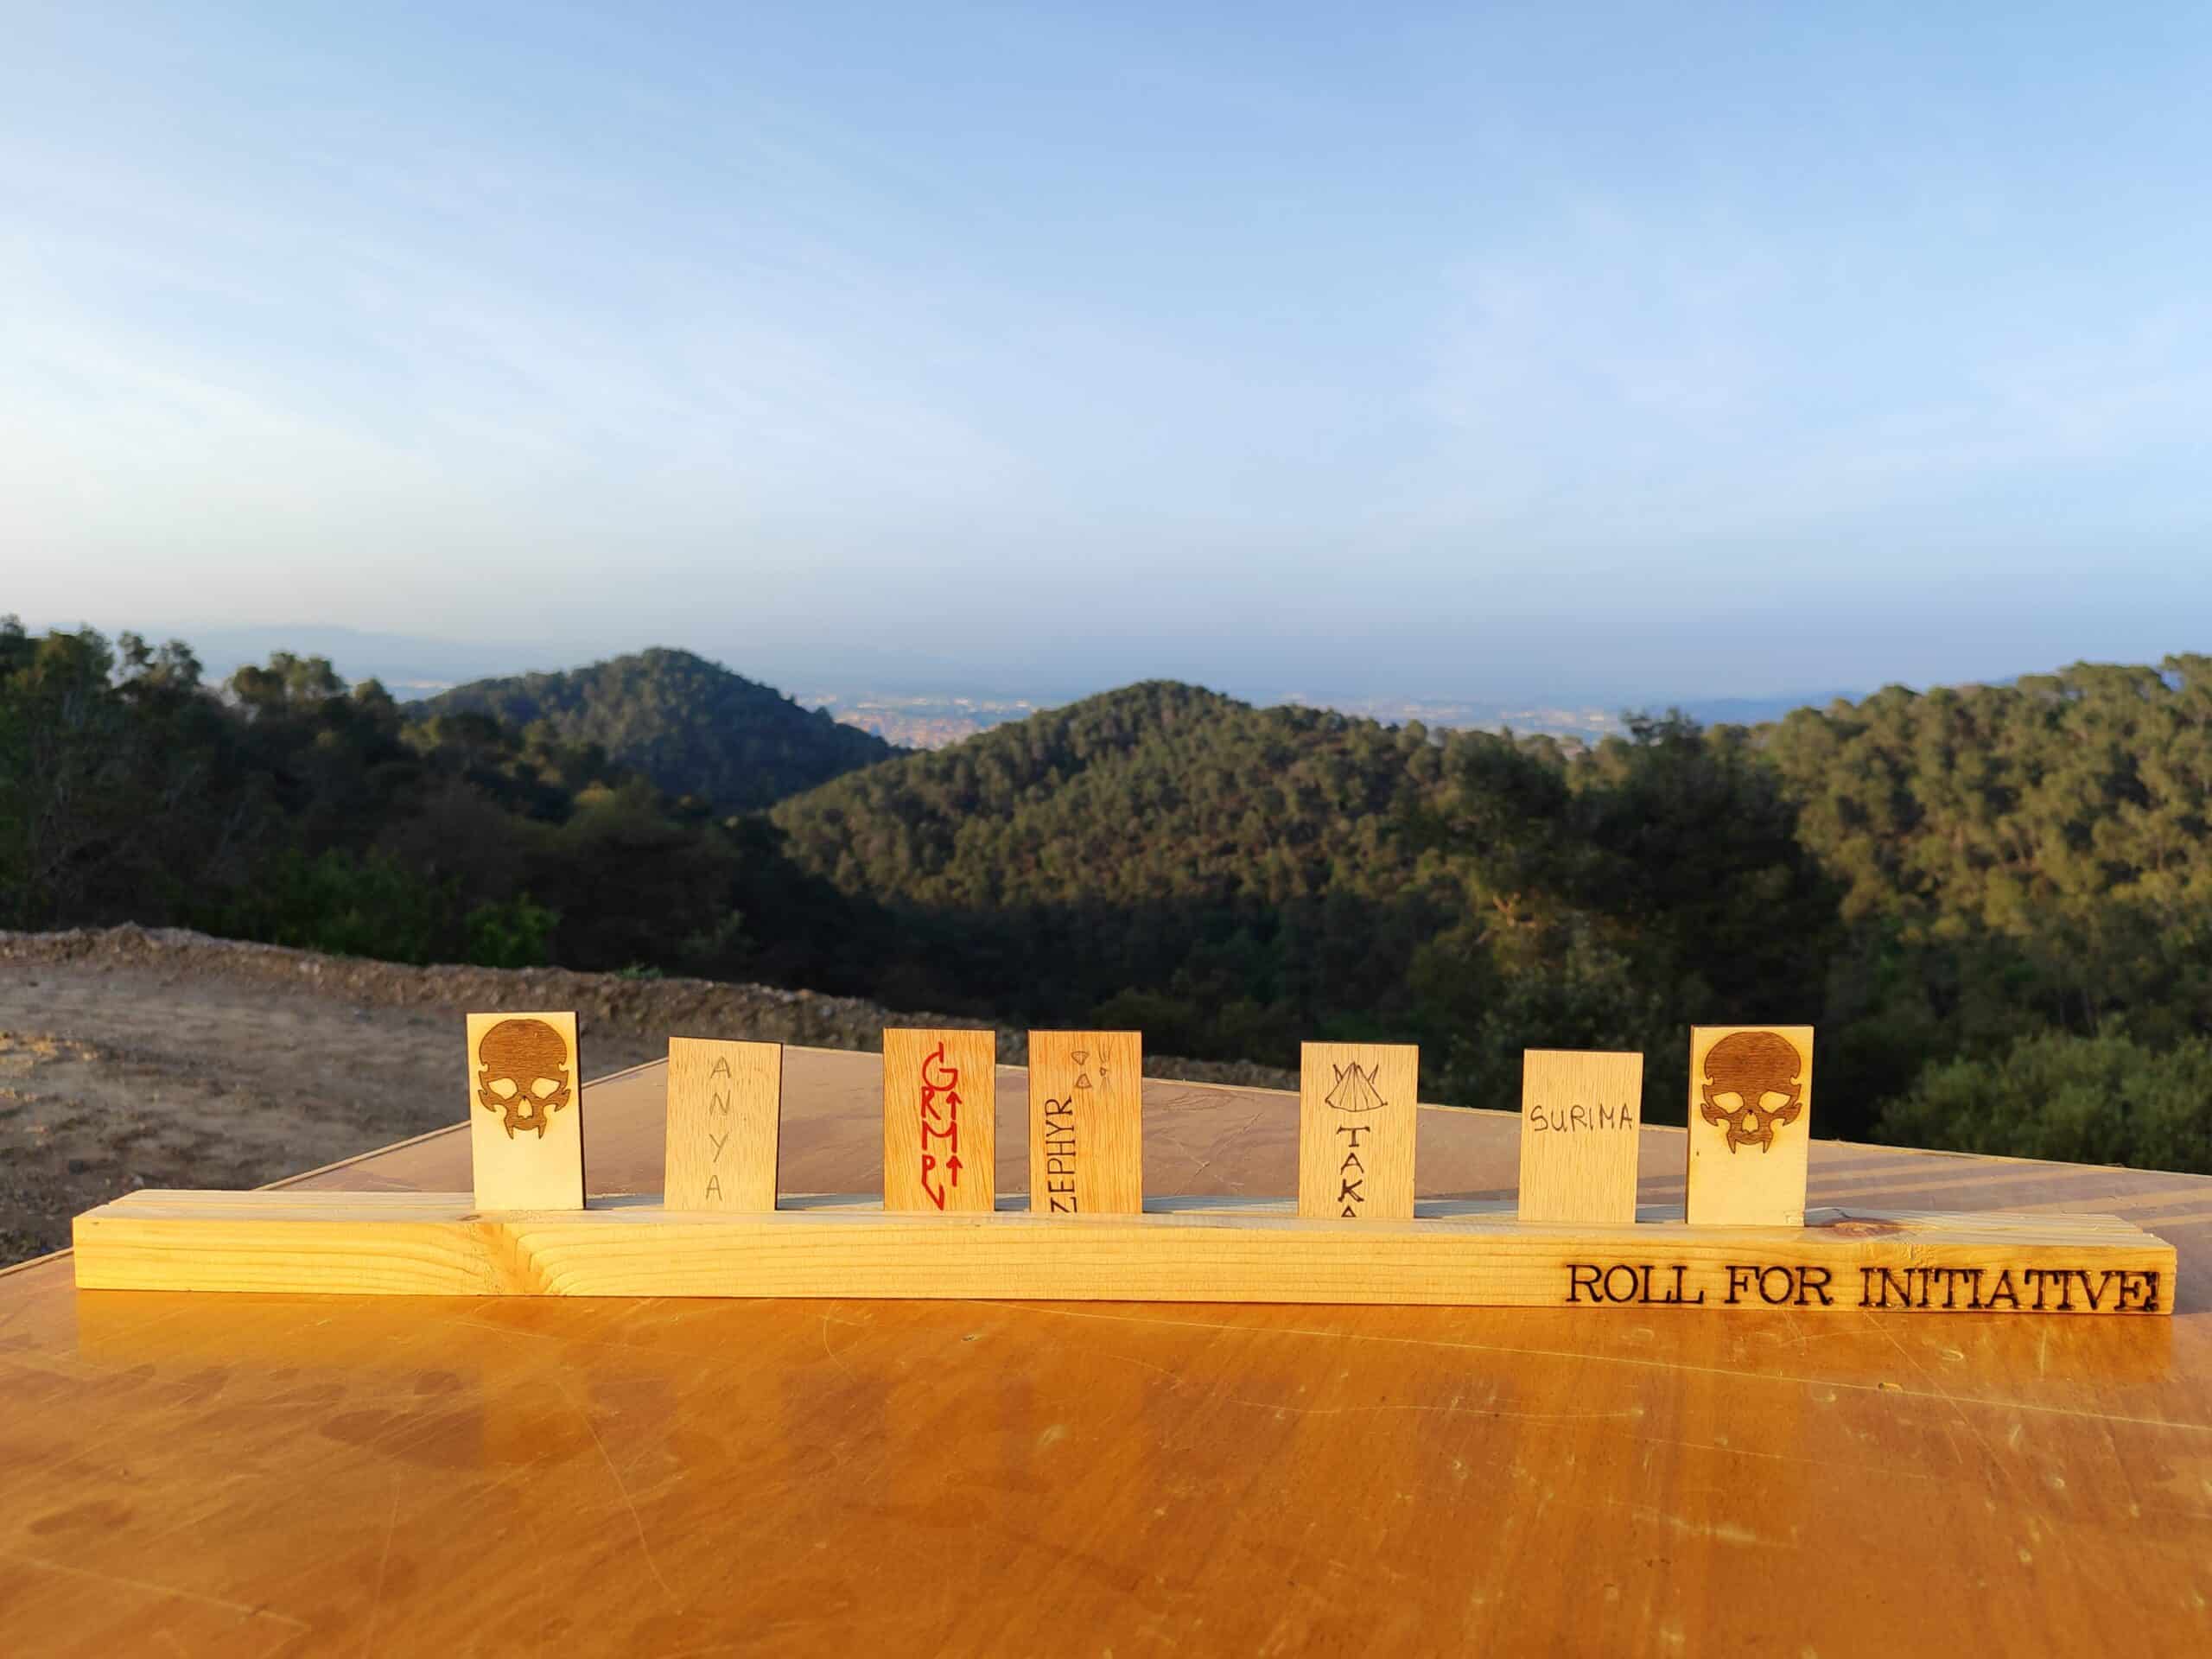
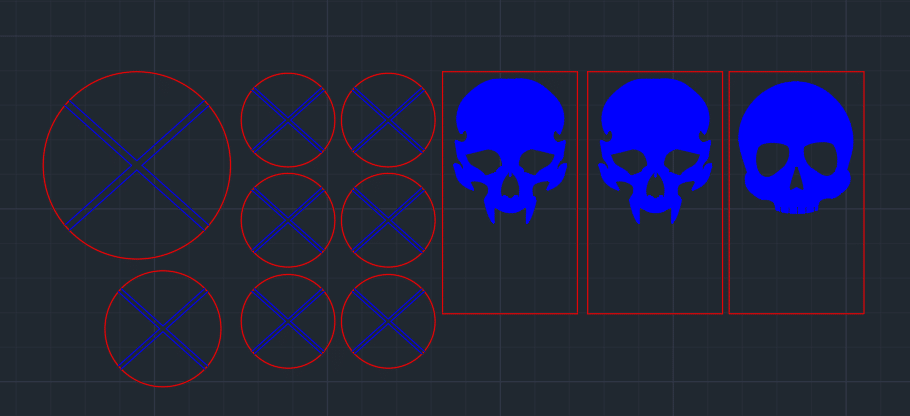
Combat works in turns in D&D. The players and the enemies, which are conduced by the DM, roll dices to define the turn order. To help with that, I would, in the past, use clothespin with the characters names and attach it to the center of the DM’s shield. Since we had a lot of waste planks hanging around in the carpentry, I used the chop saw to cut a 50cm board and the table saw to carve a groove through it. Later, I laser cut some 25x50mm tokens for the players, and they wrote their character’s names on it. I also used the same raster method to create the enemies tokens, turning a skull png into a hatch. I also added the phrase (ROLL FOR INITIATIVE!) with the writing tool built in the laser cut software.
Game board
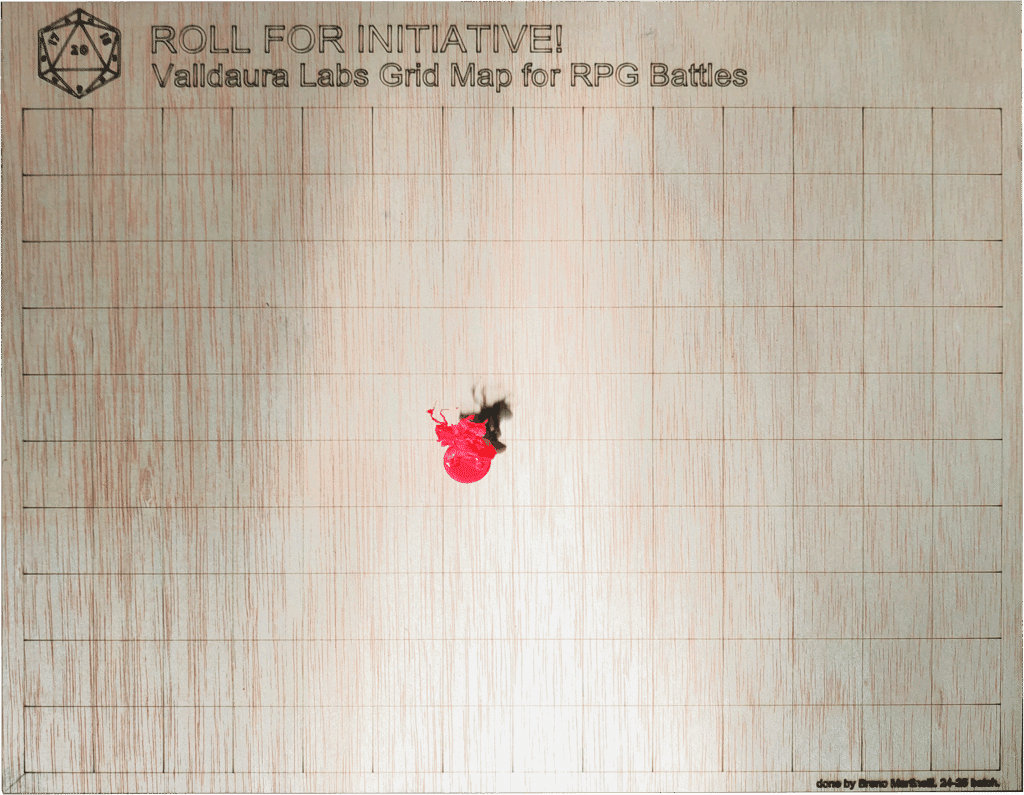
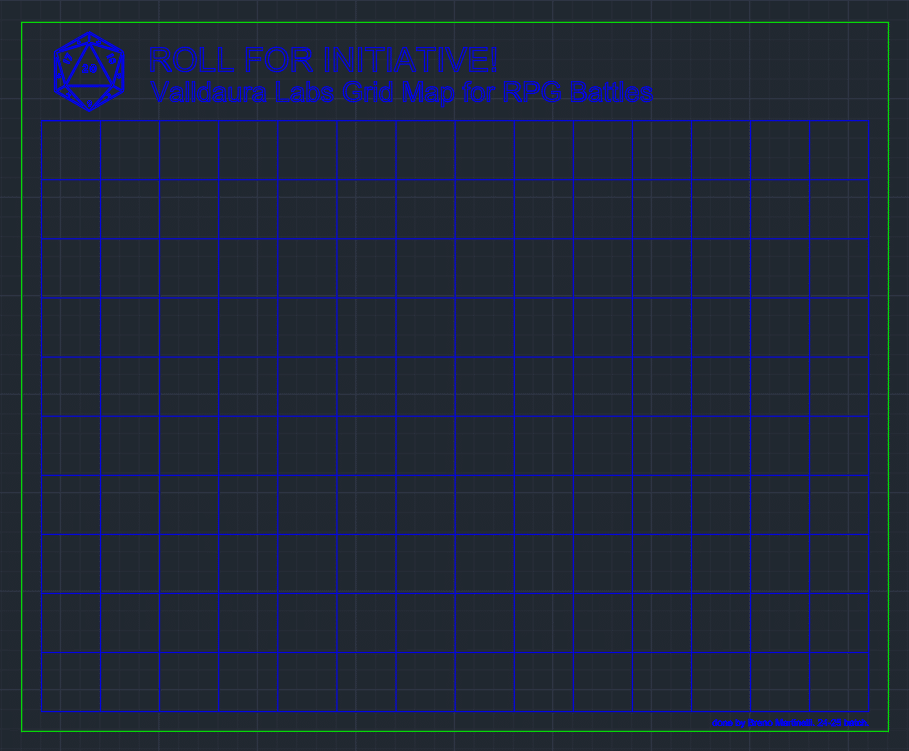
But the game wouldn’t be complete without a game board. That was simple: I measured the size of a figure and stablished the grid cell size, and then made the board in a dxf file, laser cutting on plywood. Engraving – Power: 10 / Speed: 300. Cutting – Power: 100. Speed: 20. For the D20 symbol, I used the same process as the previous rastered images. The game board was made in a way that can be used for various RPG games. You can find the game board file here.
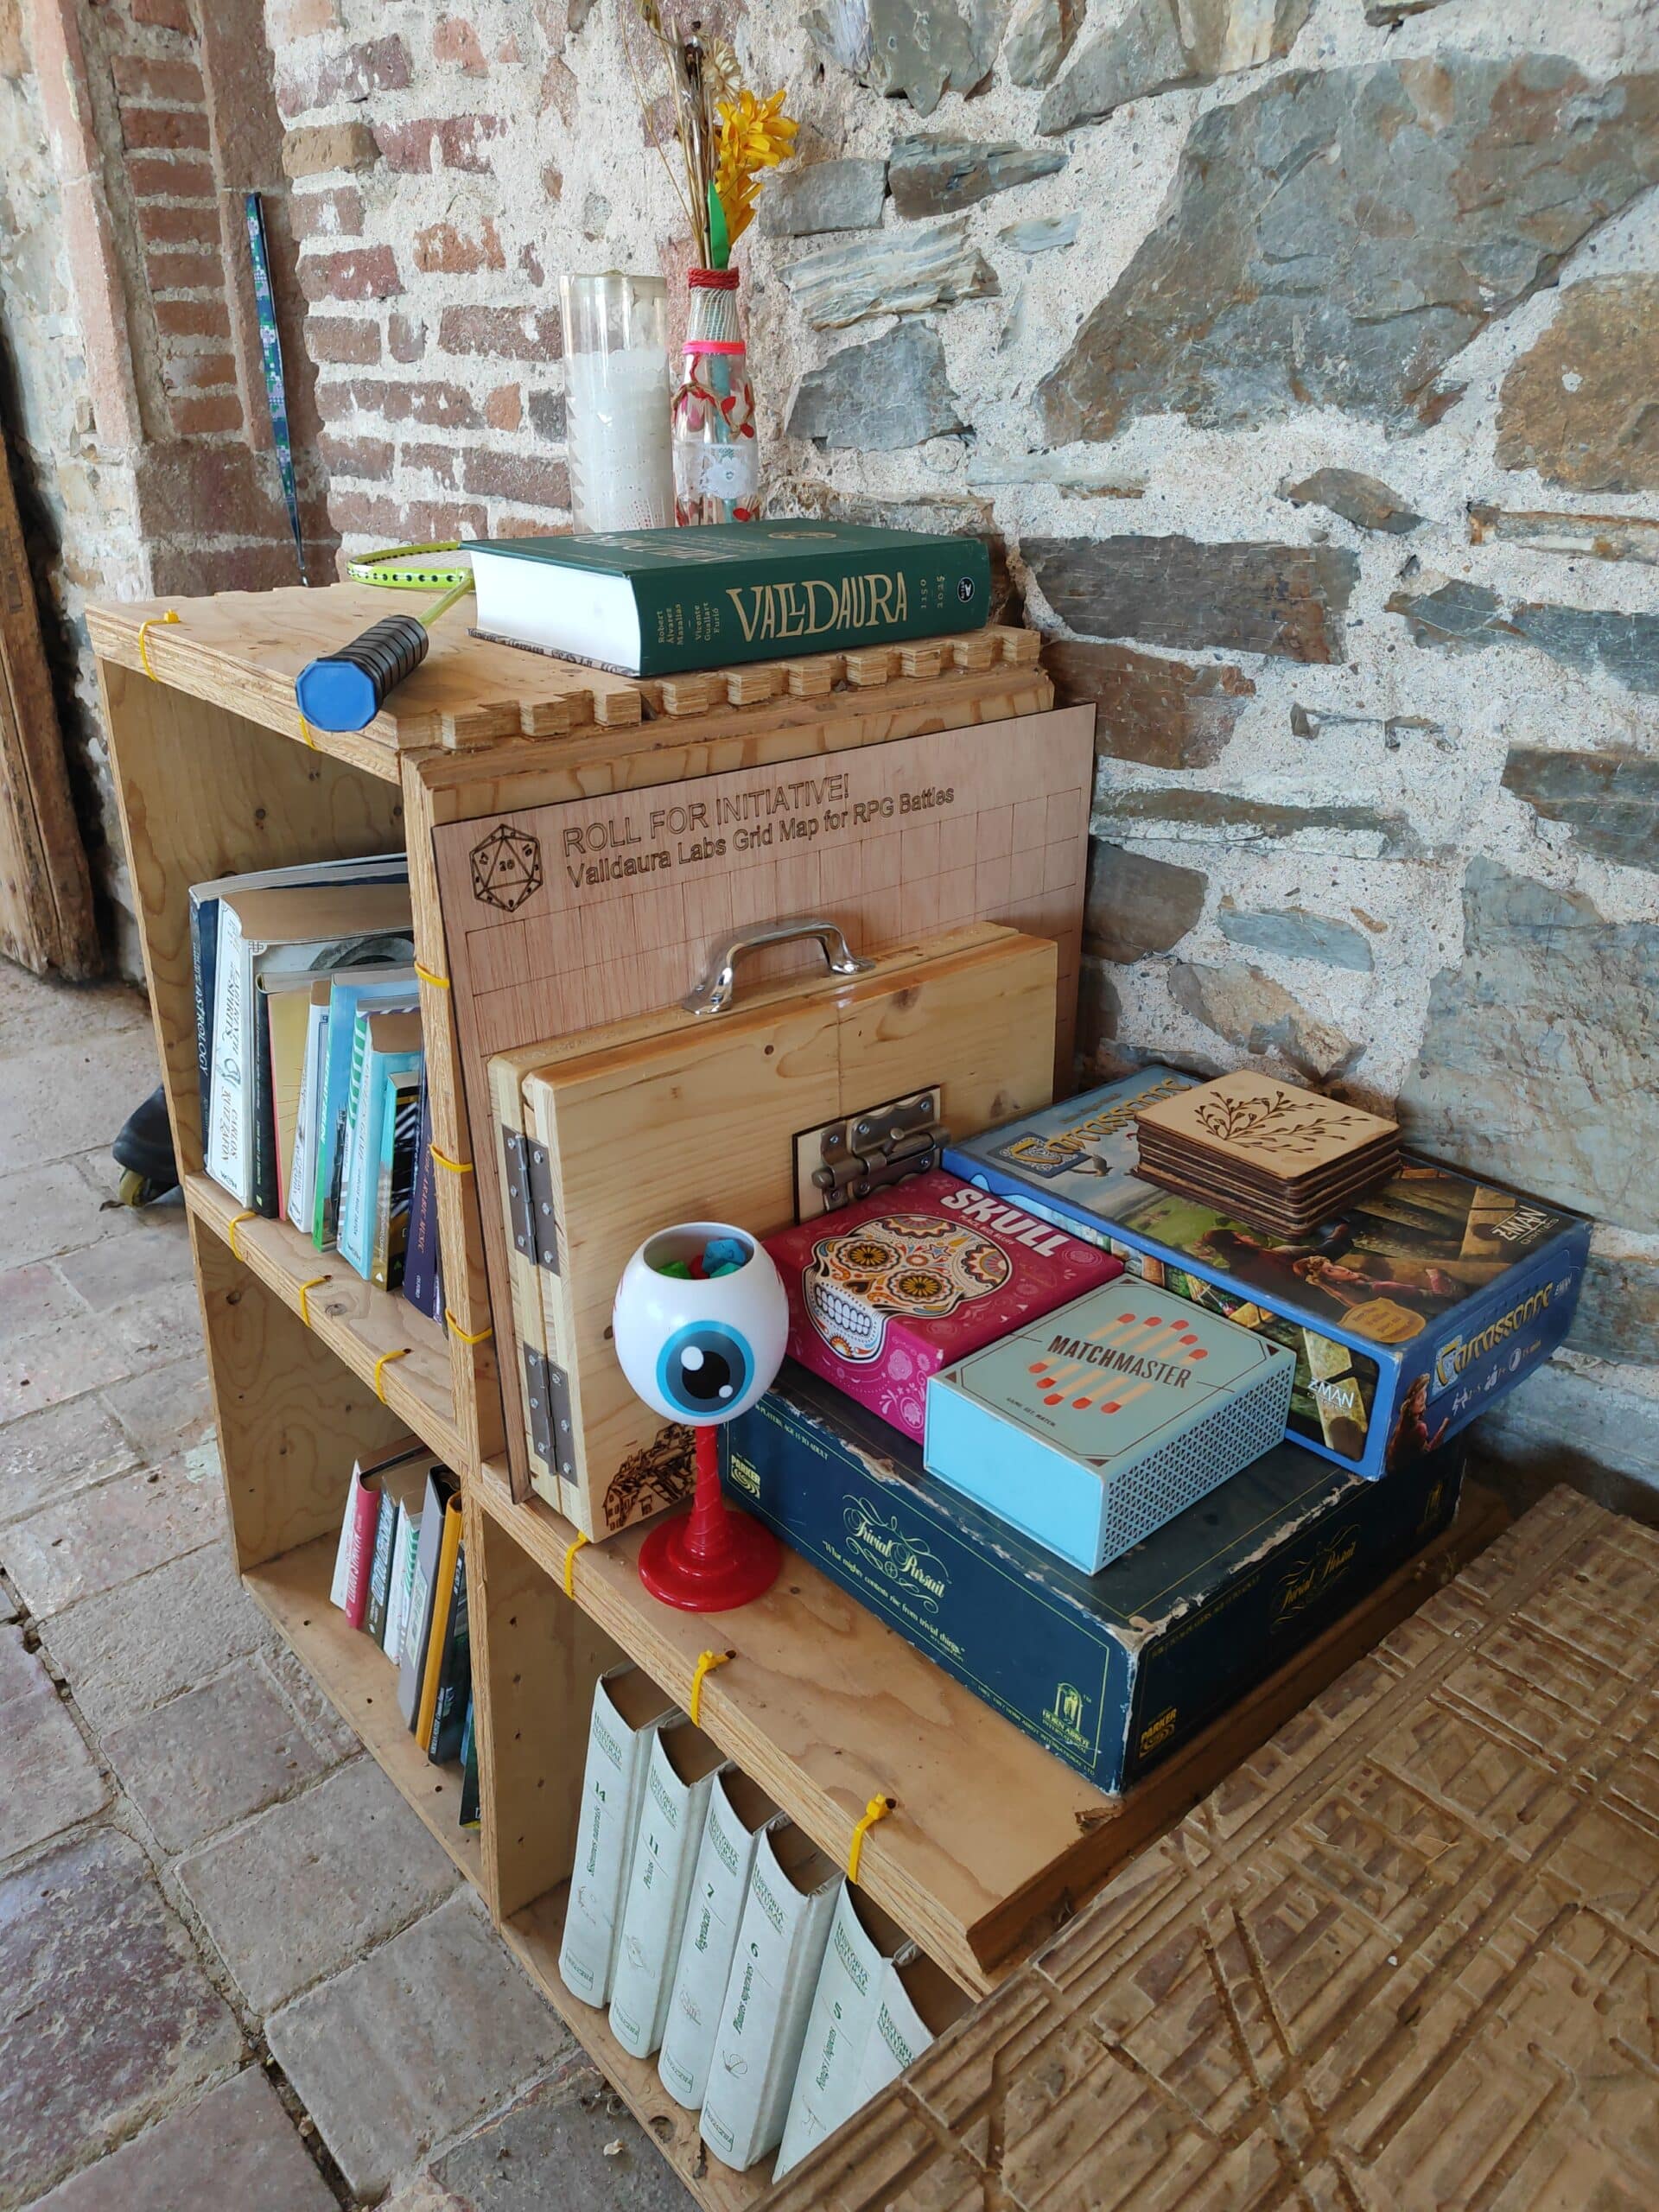
The D&D Kit
This D&D Kit is located in the game shelf close to the front doors in the dining room. They are meant for future MAEBB generations to play and socialize. Here you cand find the Character’s Sheet and the Player’s Handbook with the game rules. Just print your characters, dress accordingly and start the adventure!