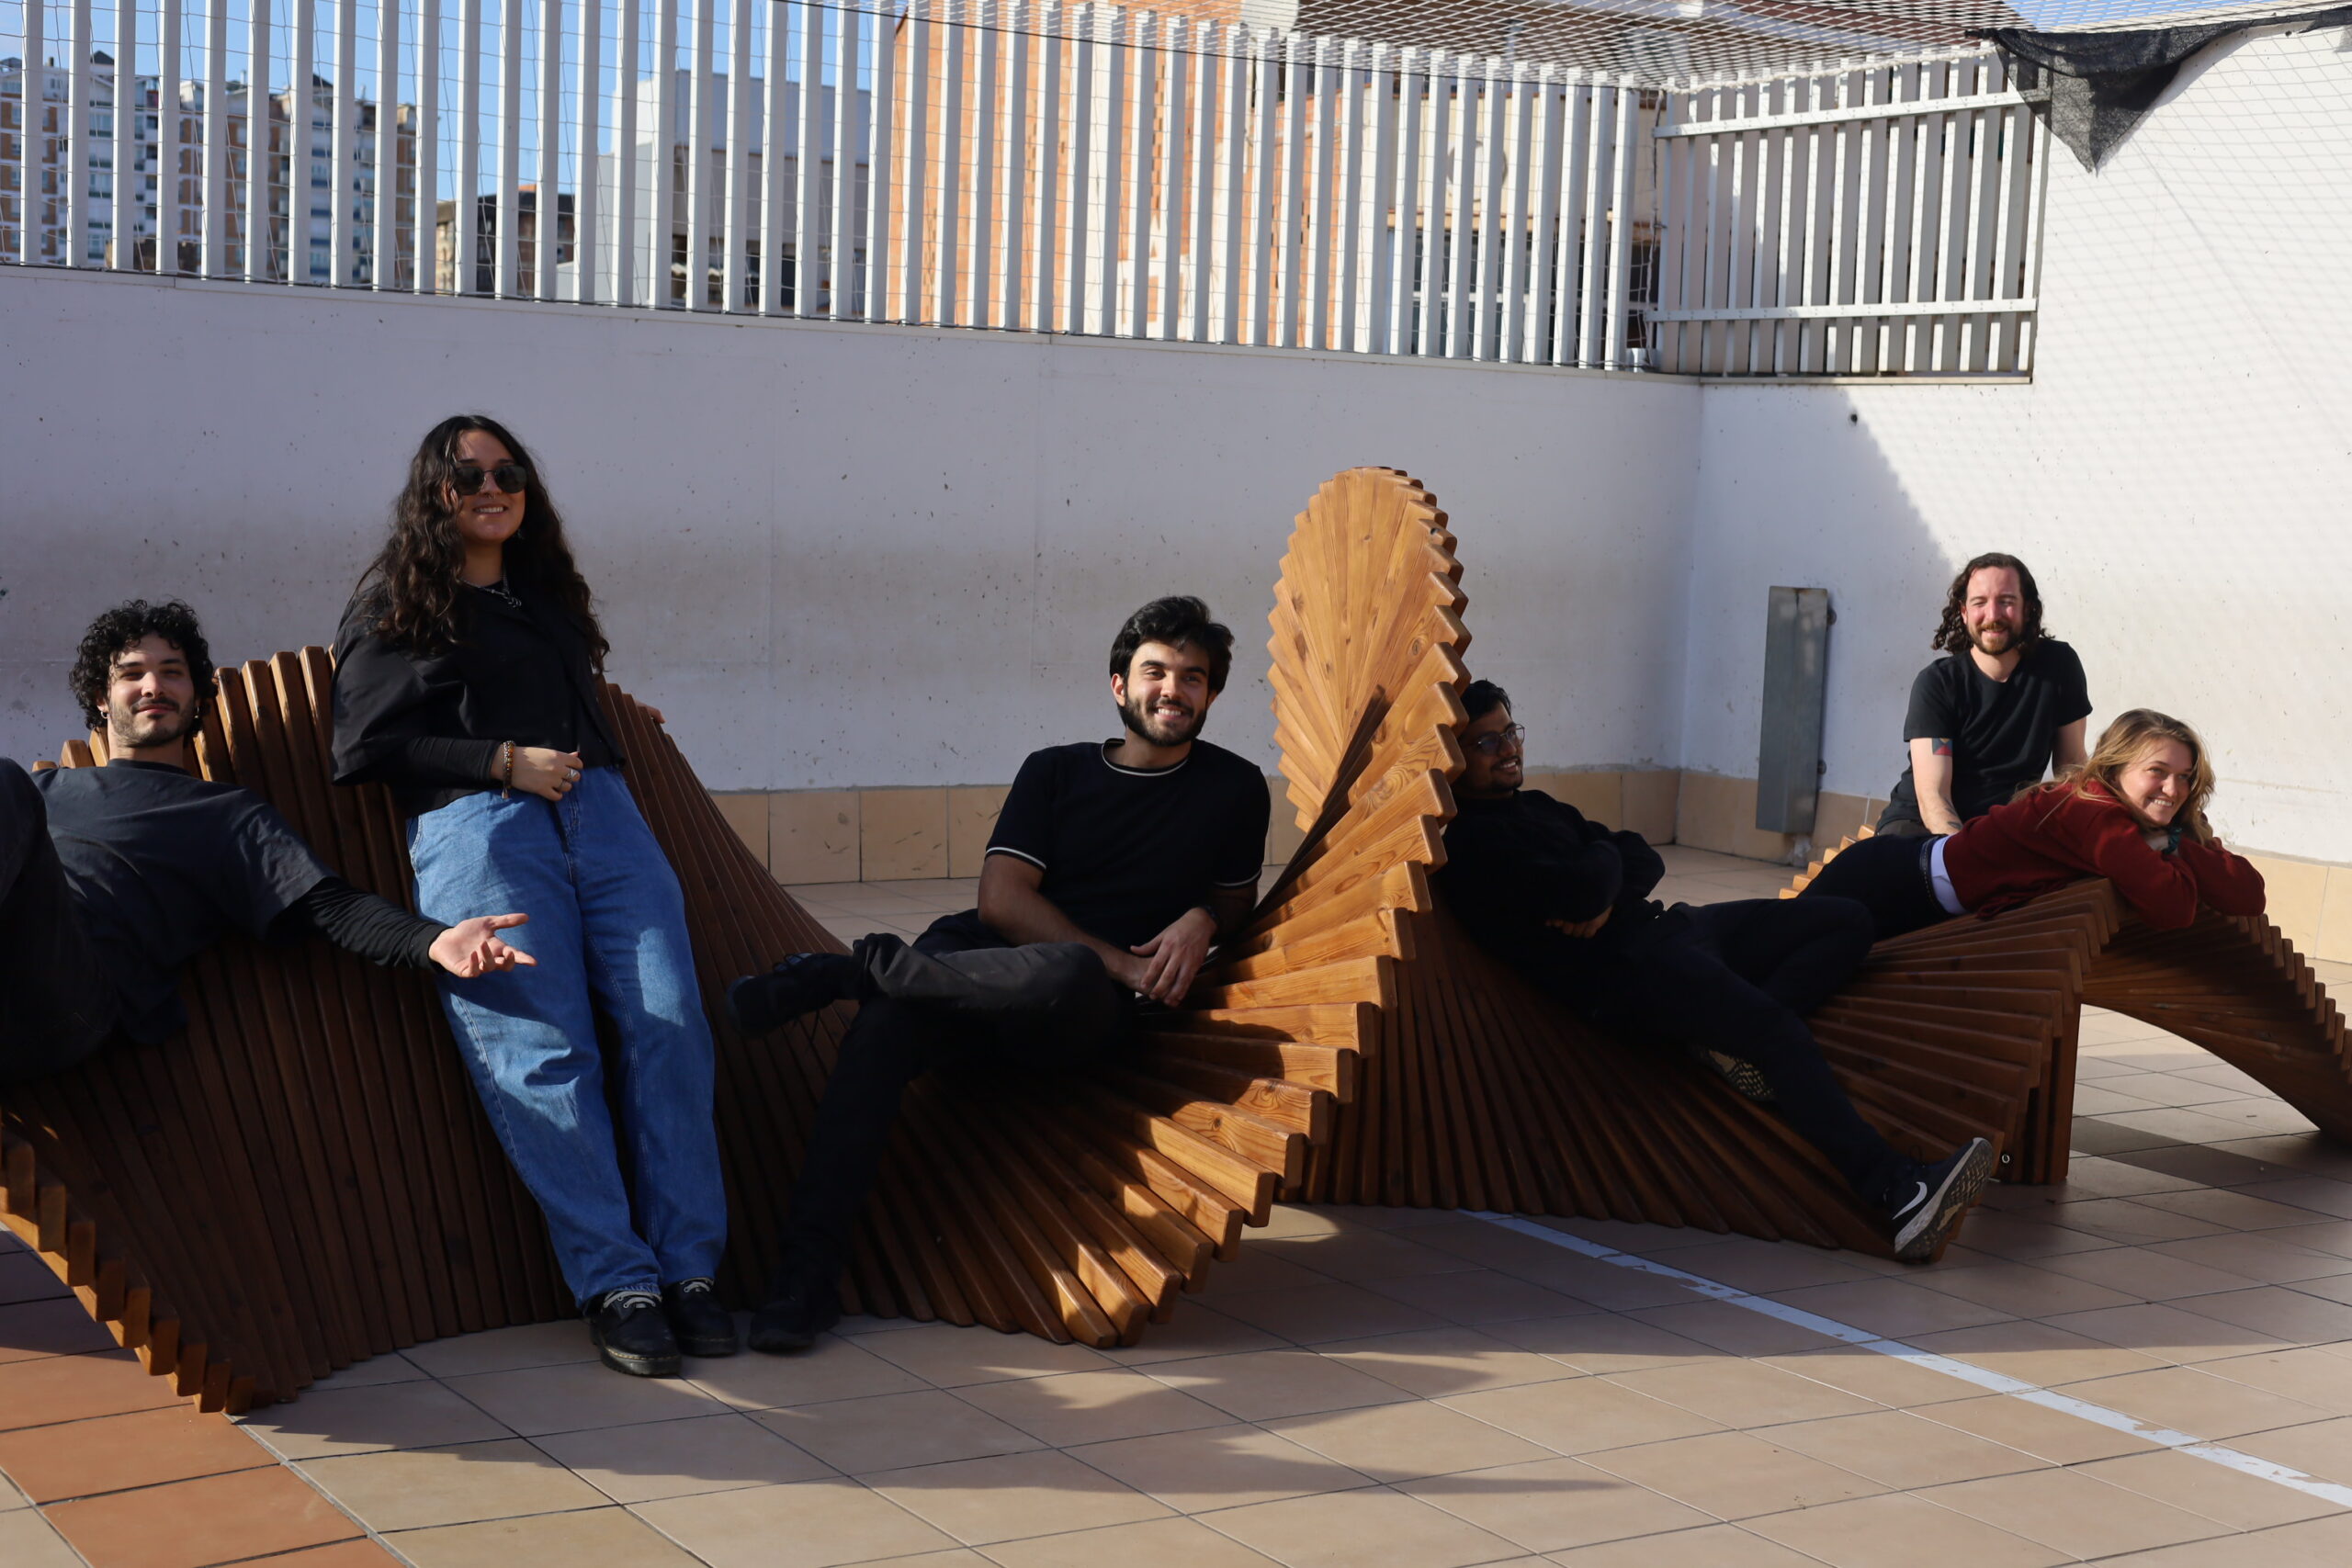
In the first phase of the discipline of Collaborative Design Studio, our group reimagined the rooftop playground of the primary school of Colegi Mare De Deu dels Angels in Barcelona, focusing on enhancing the children’s well-being. Through site visits, movement mapping, and participatory workshops with students, parents, and teachers, we identified key needs such as shade, active play, and safety. During this phase, we used the 3D printer and laser cutter to create small prototypes to show the teachers our design concepts.
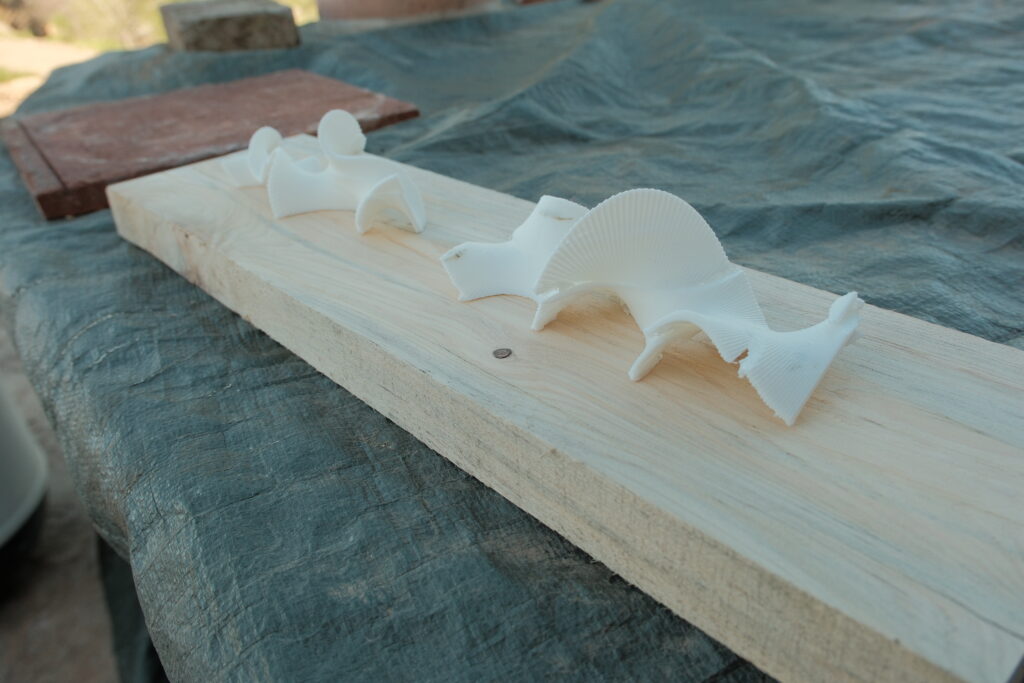
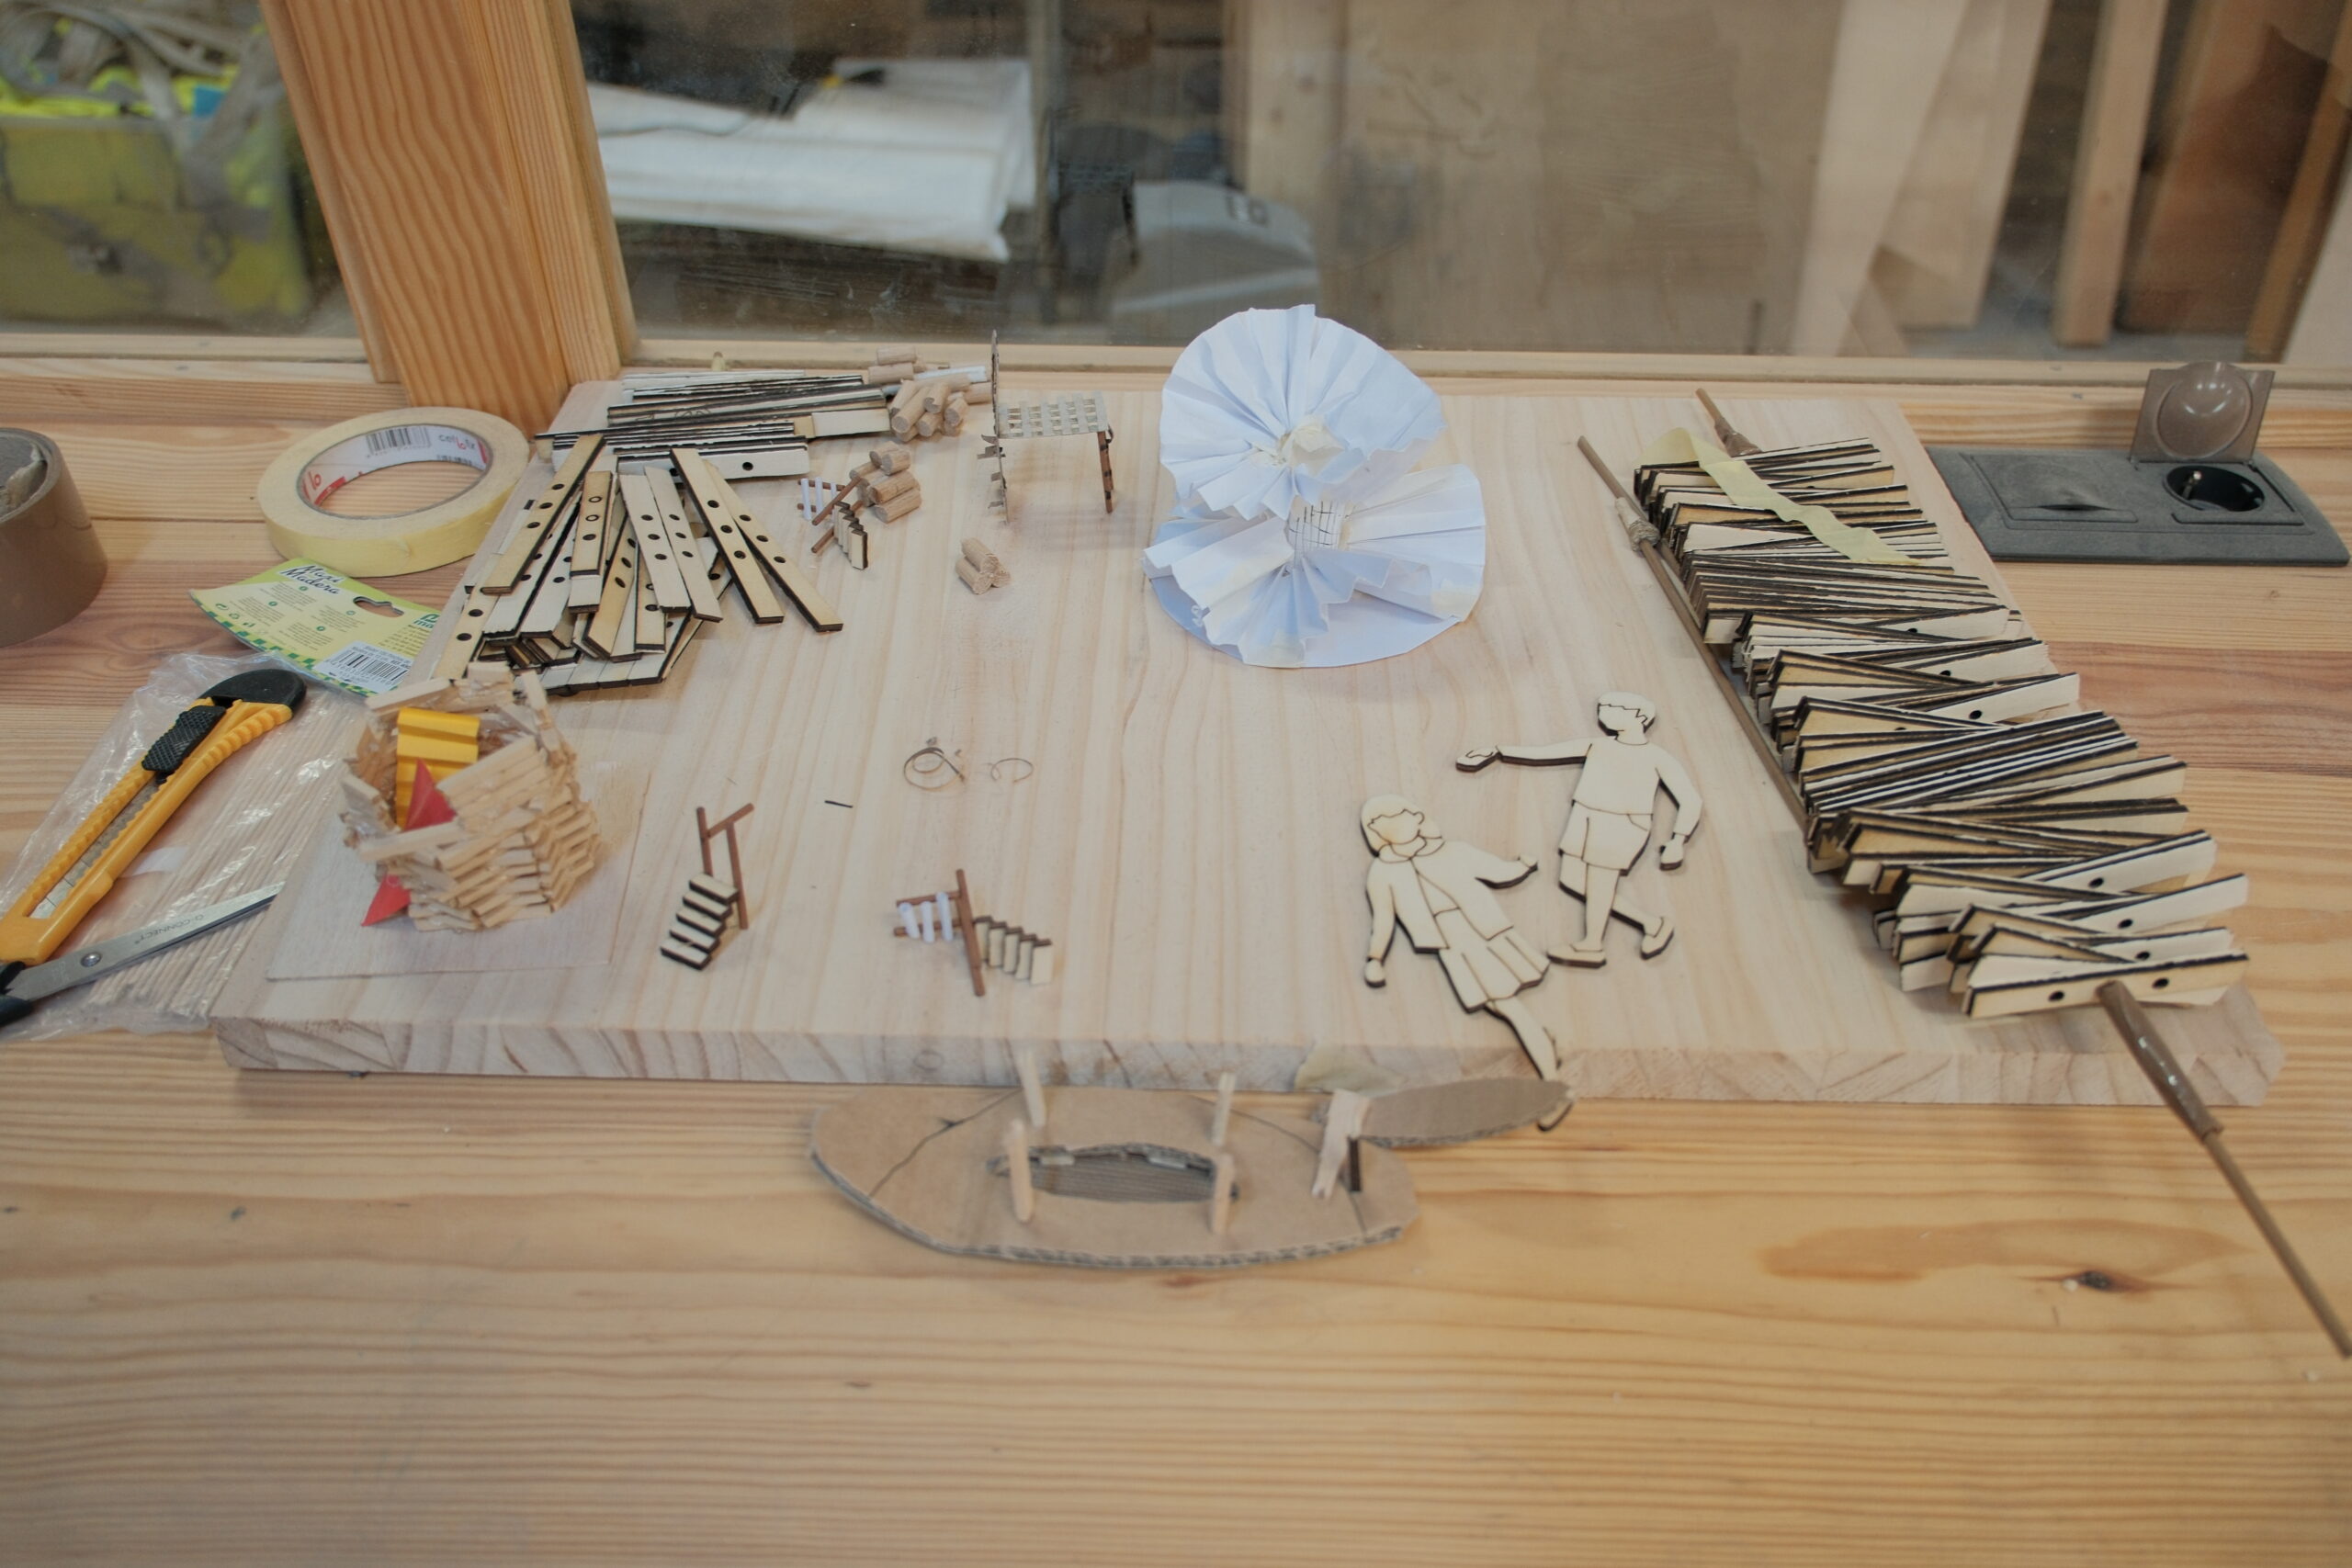
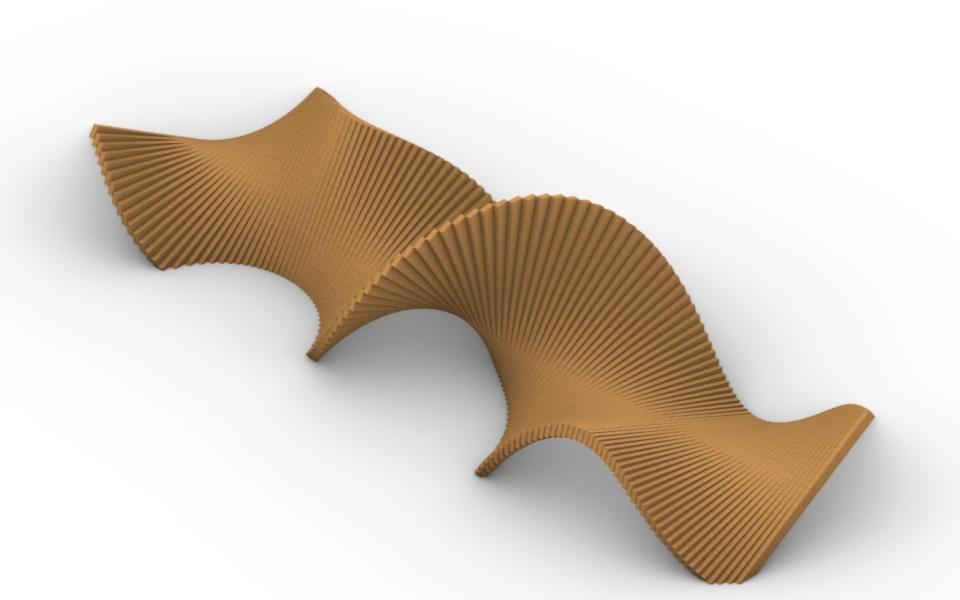
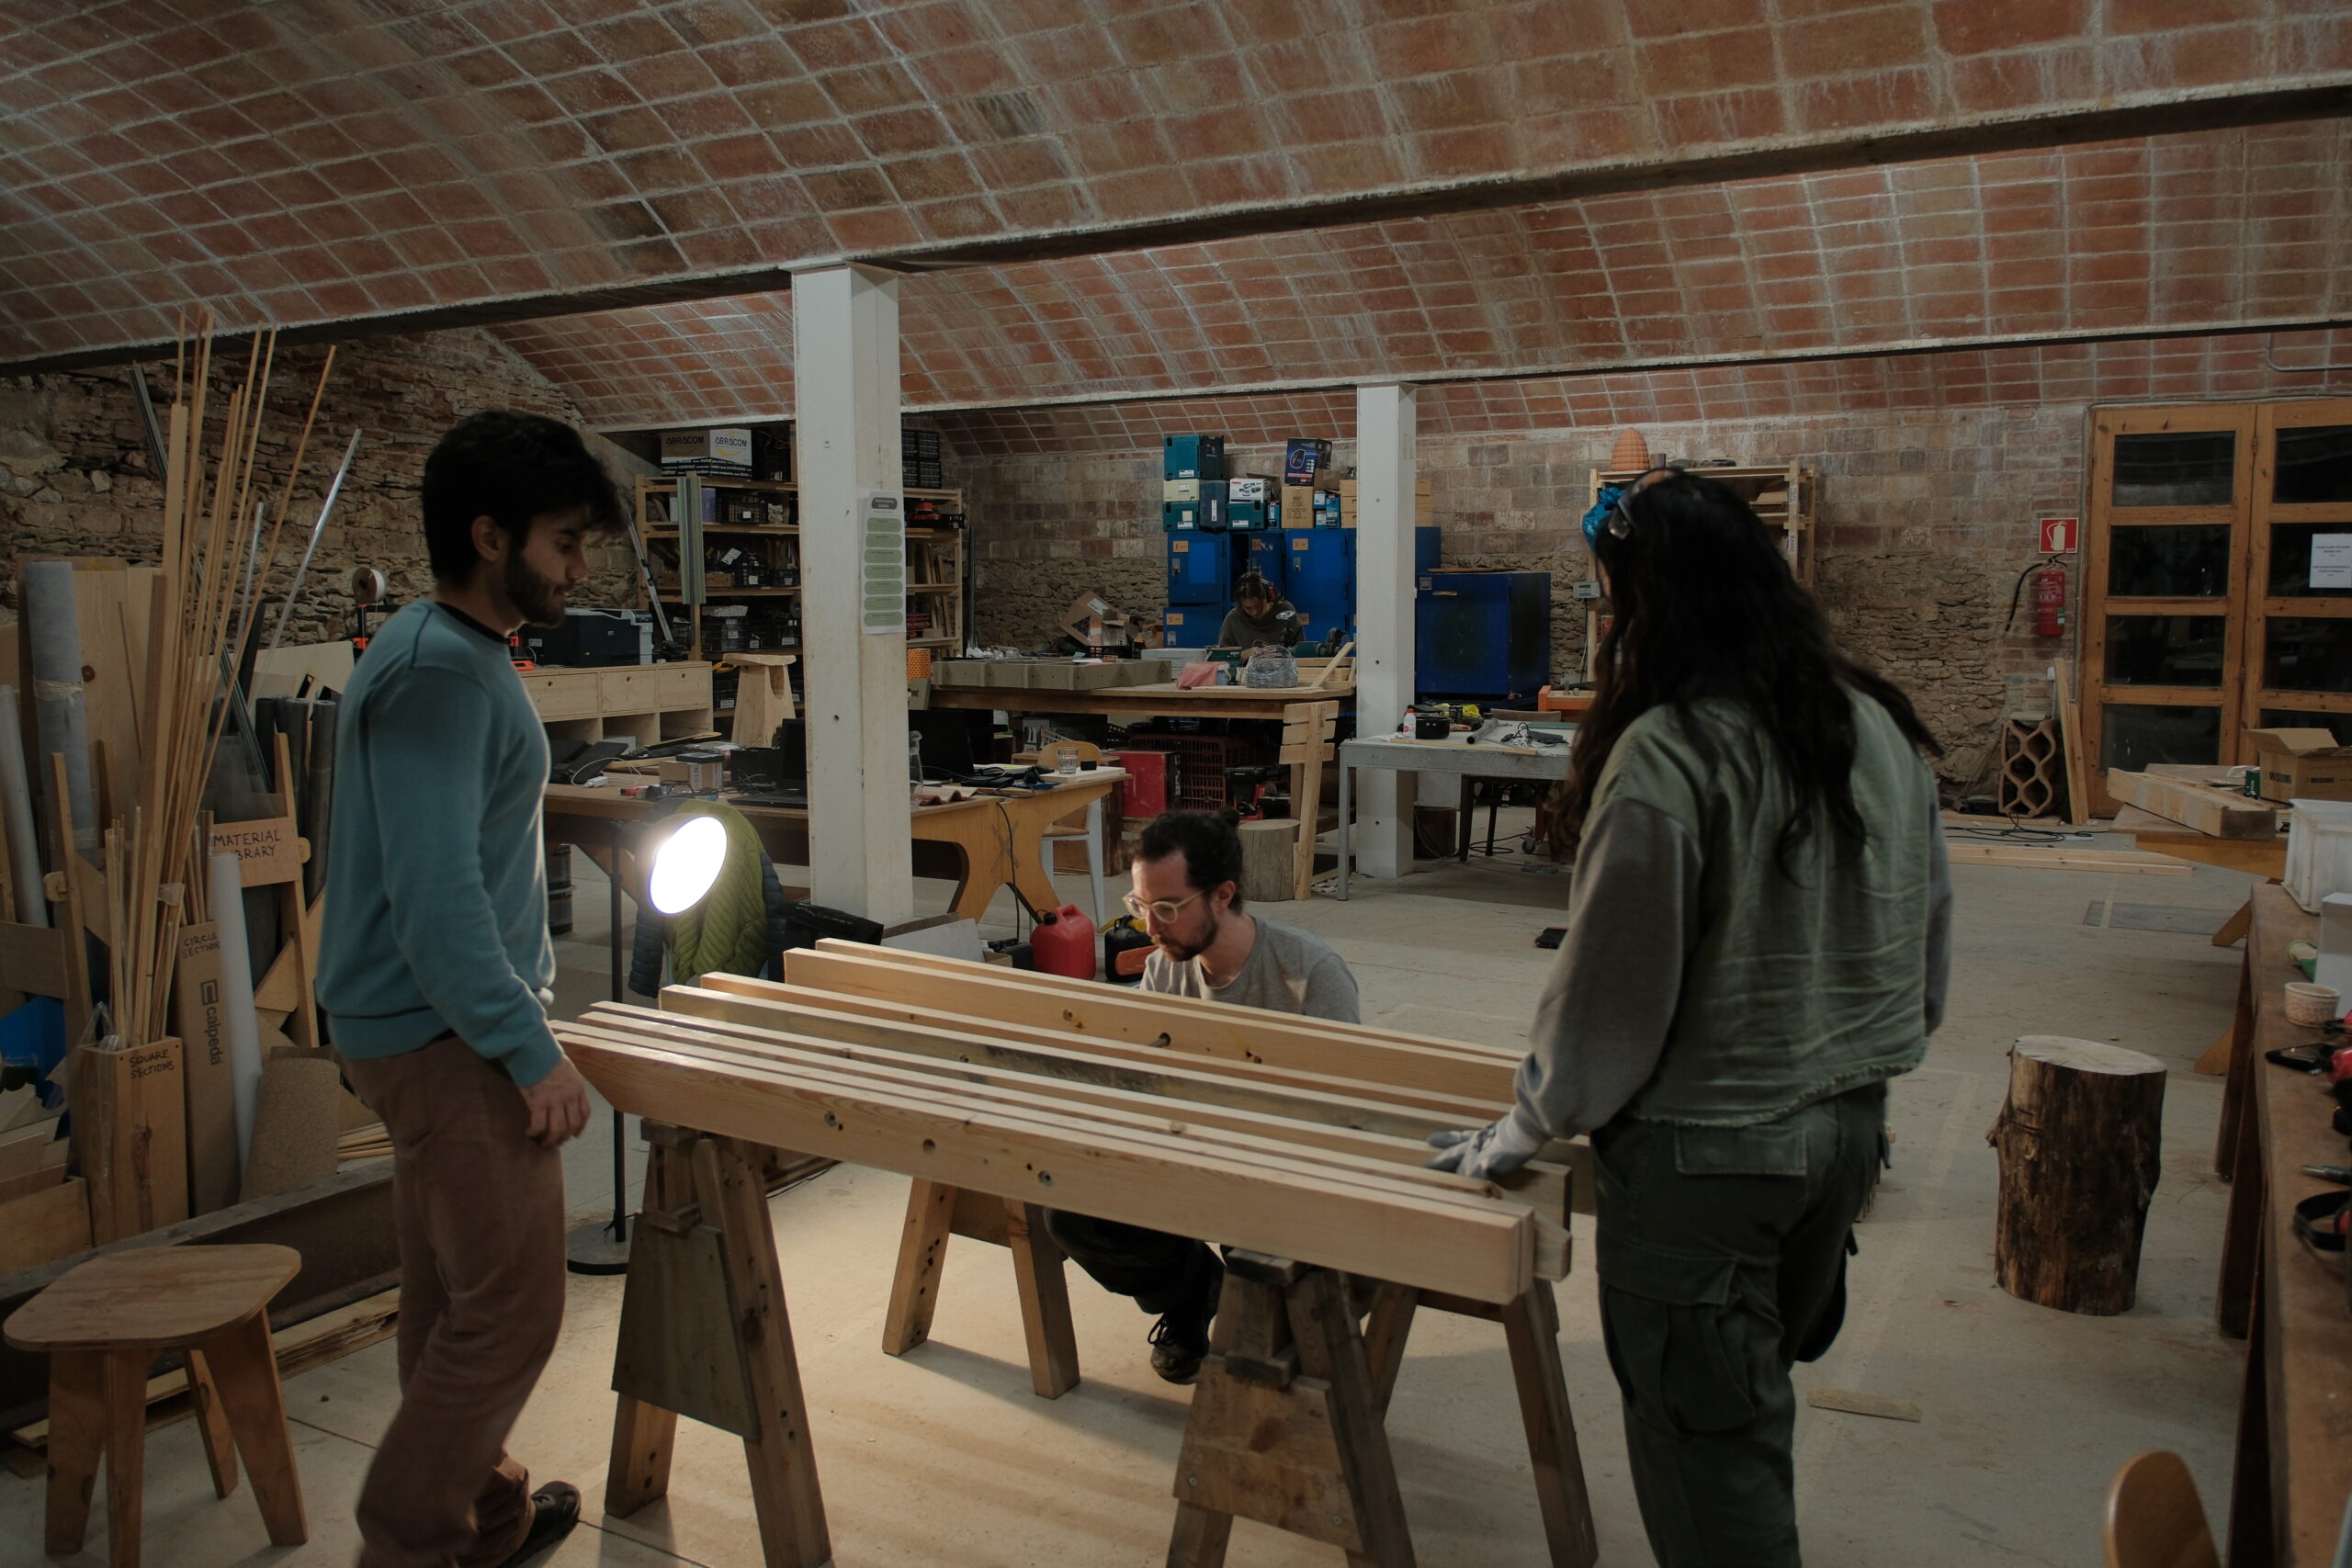
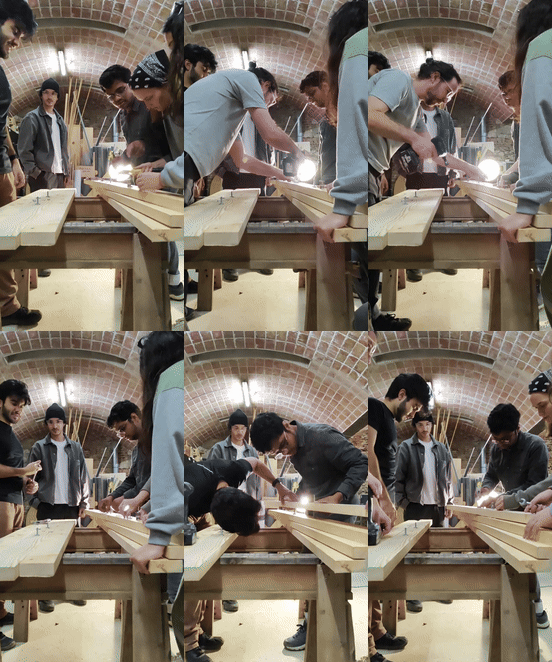
The fabrication part started with several attempts to design the joineries. The main challenge was imagining a method that made all of the 137 planks used in the object stable and resistant to the amount of weight. After the finalization of the structural design, we moved on to the prototyping phase. We replicated one of the curves into a 1:1 scale, using the carpentry’s chop saw to cut 15 4cm thick planks. This stage was really important: we found out what should be the right diameter of the holes and pockets, helped us visualize the best positioning for the bolts in order to achieve stability and indicated that the shapes of the planks were guaranteeing the structuring that we were idealizing.
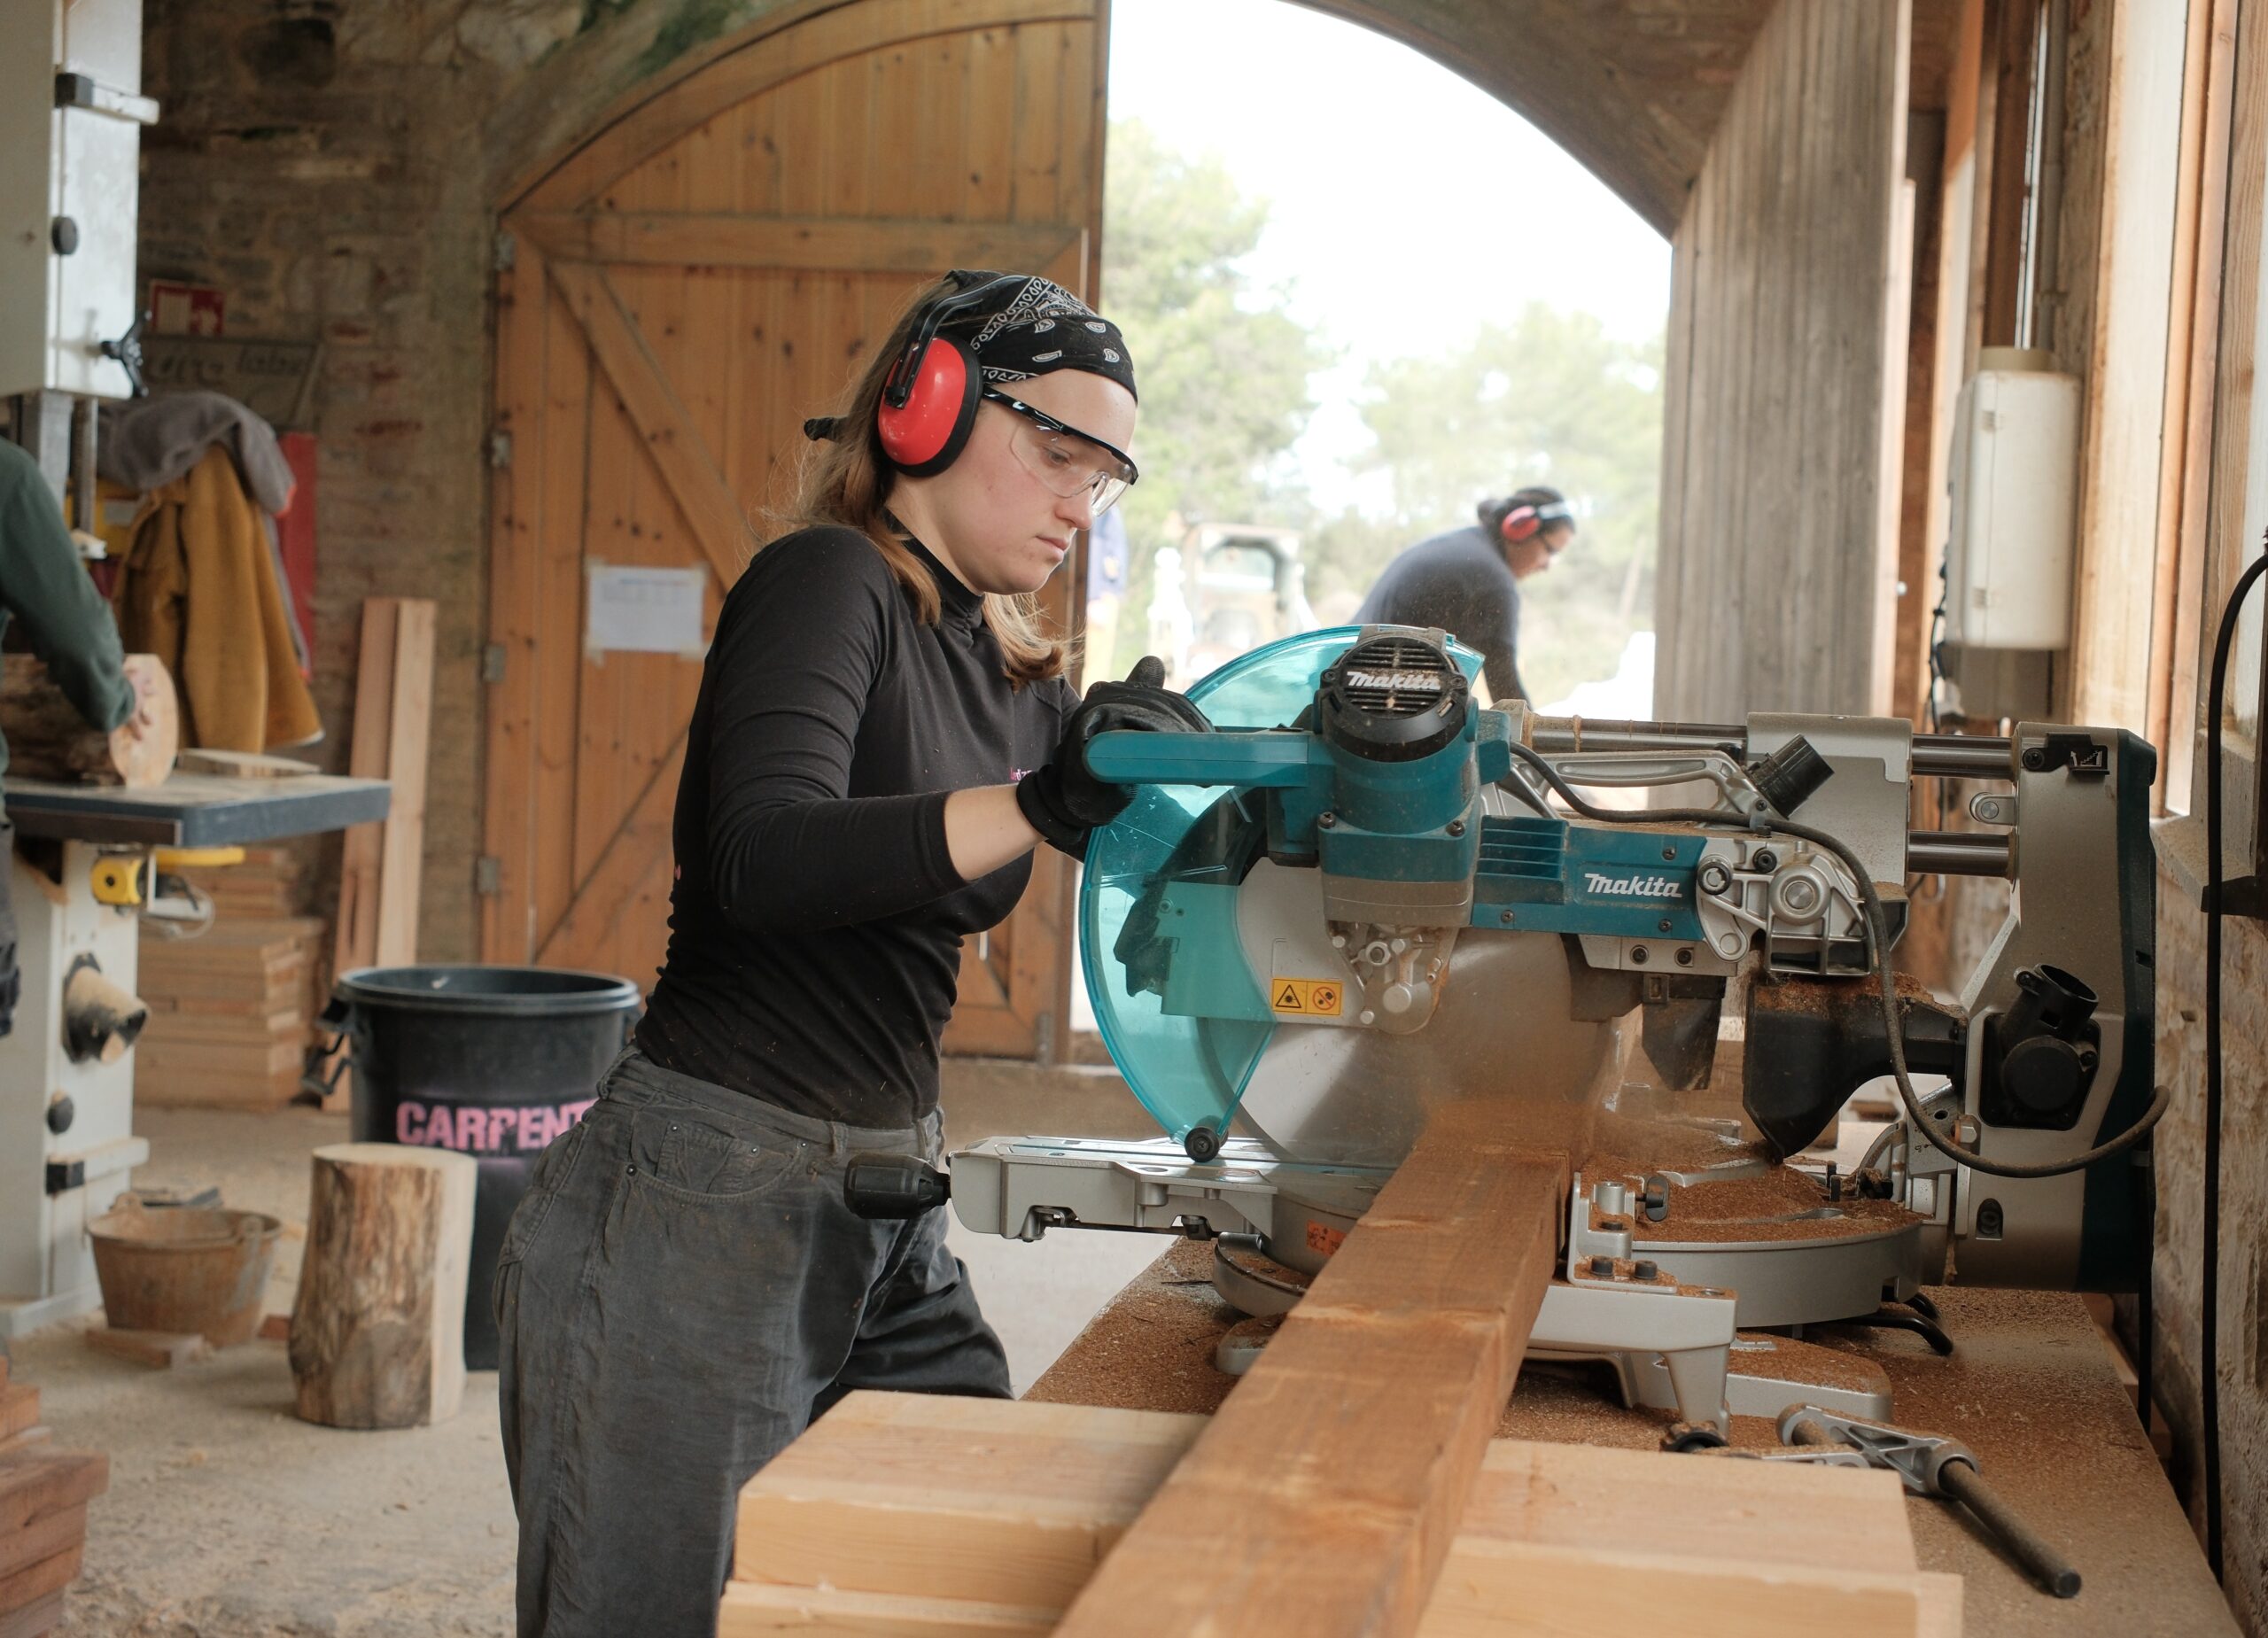
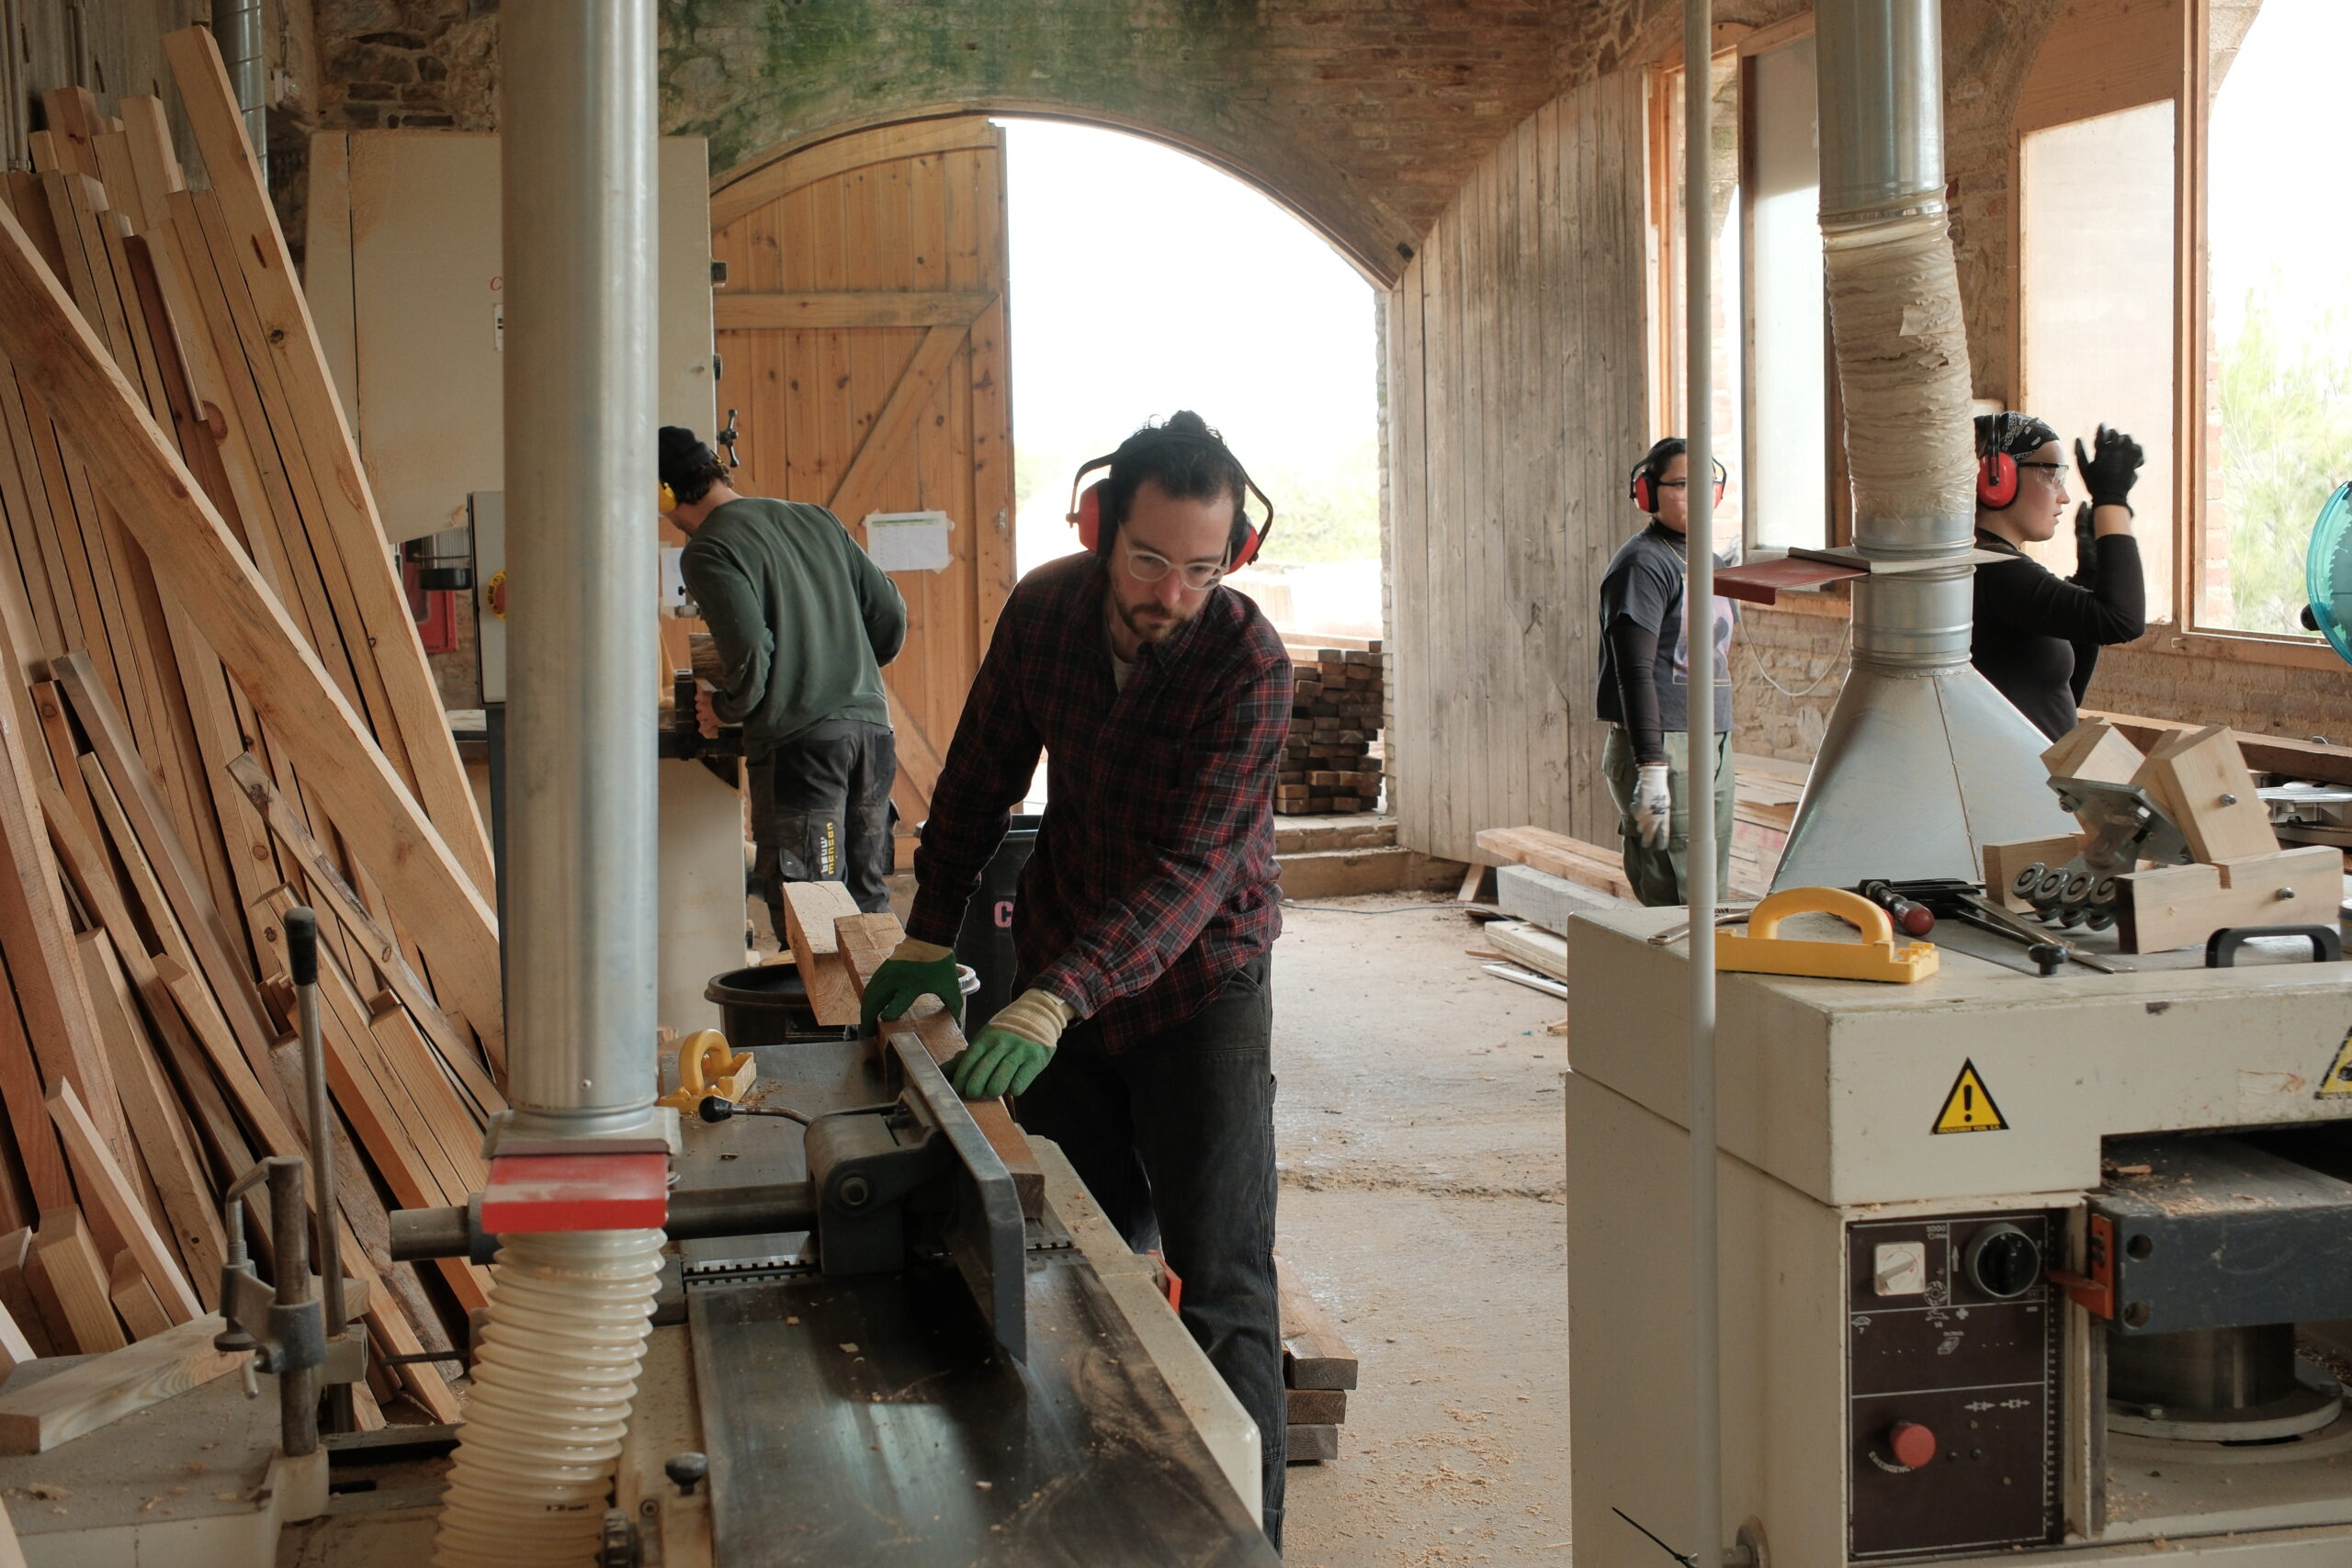
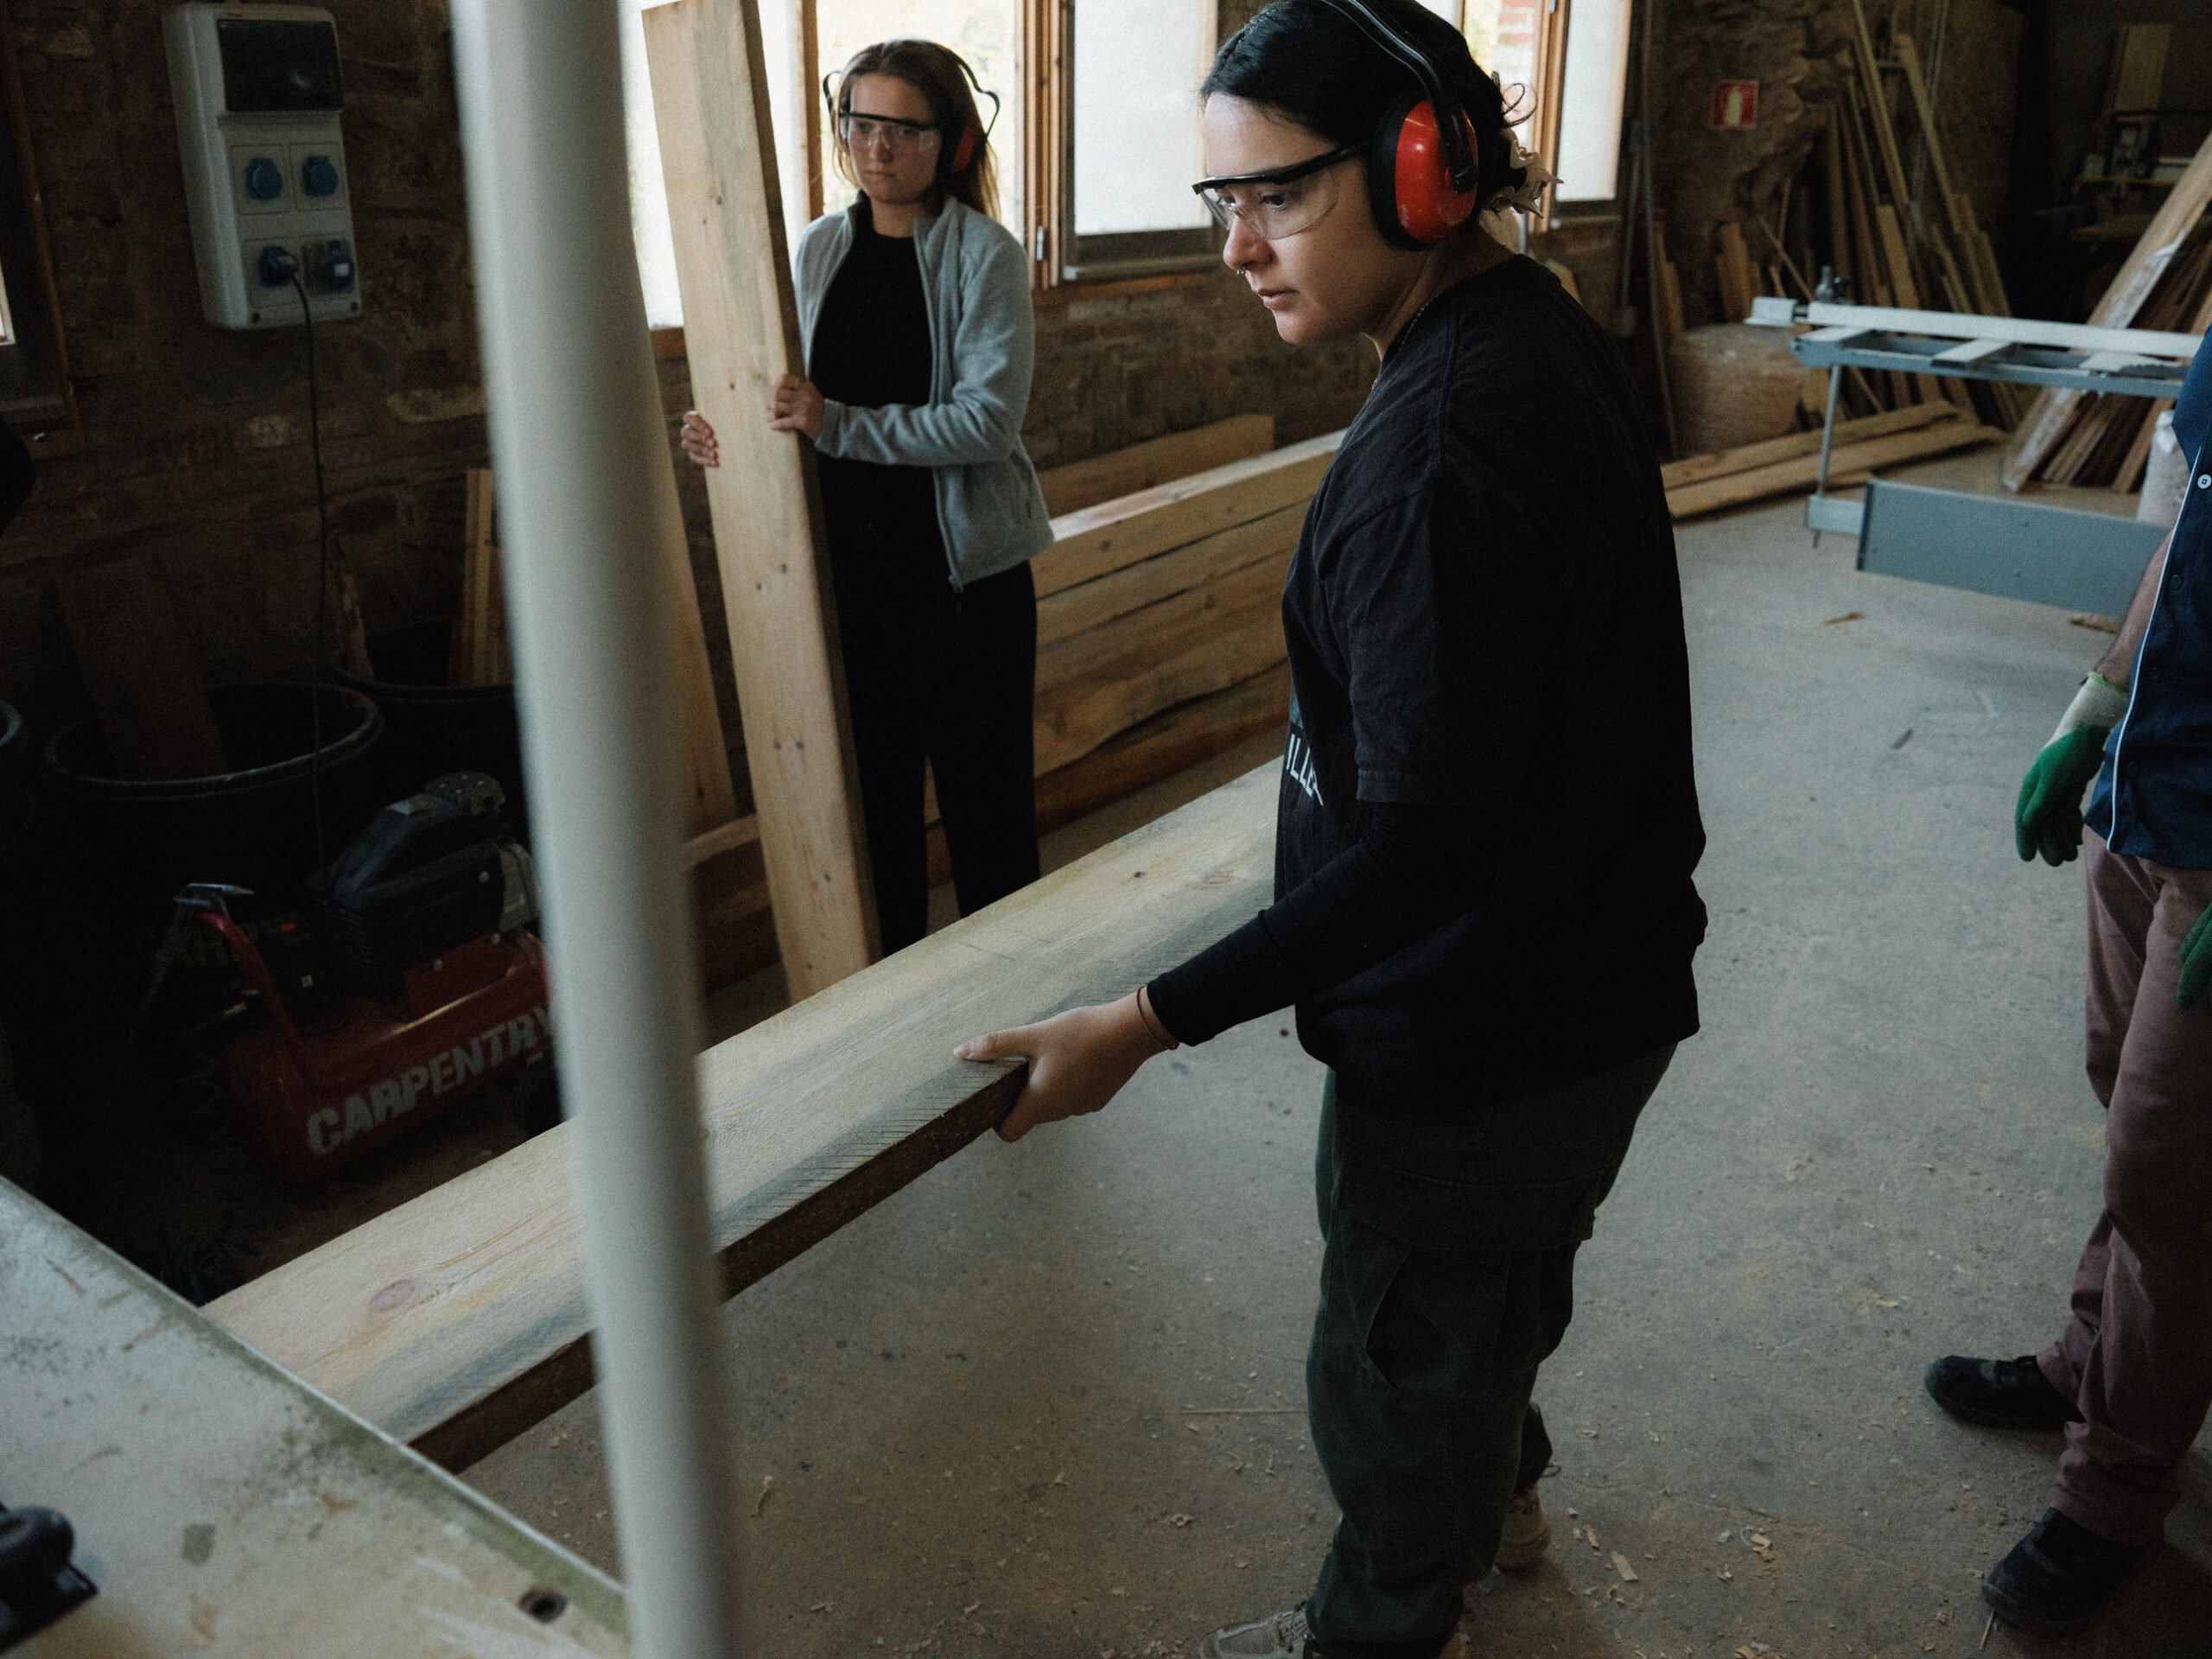
With this considerations, we moved on to the processing part. We ordered sixty-nine 45 x 100 x 3900mm thermowood planks, recommended for our space because of its durability and resistance factors. They arrived on November 29th. Our processing chain consisted of using the chop saw to cut the planks in half. Then, heading to the jointer, where we passed each plank 3 times on one of the larger sizes and 1 time on the thinner one, reducing it to 40mm. The third step was the planar, which made sure the whole plank had a thickness of 40mm. After that, we used the chop saw again to remove a millimetric slice of the smaller faces. The final step on the carpentry was using the table saw to reduce the width of each plank and processing the final of the 6 faces, having a final measurement of 40 x 95 x 1950mm. Everybody on our group went through all of the tools, to ensure that we learned the process.
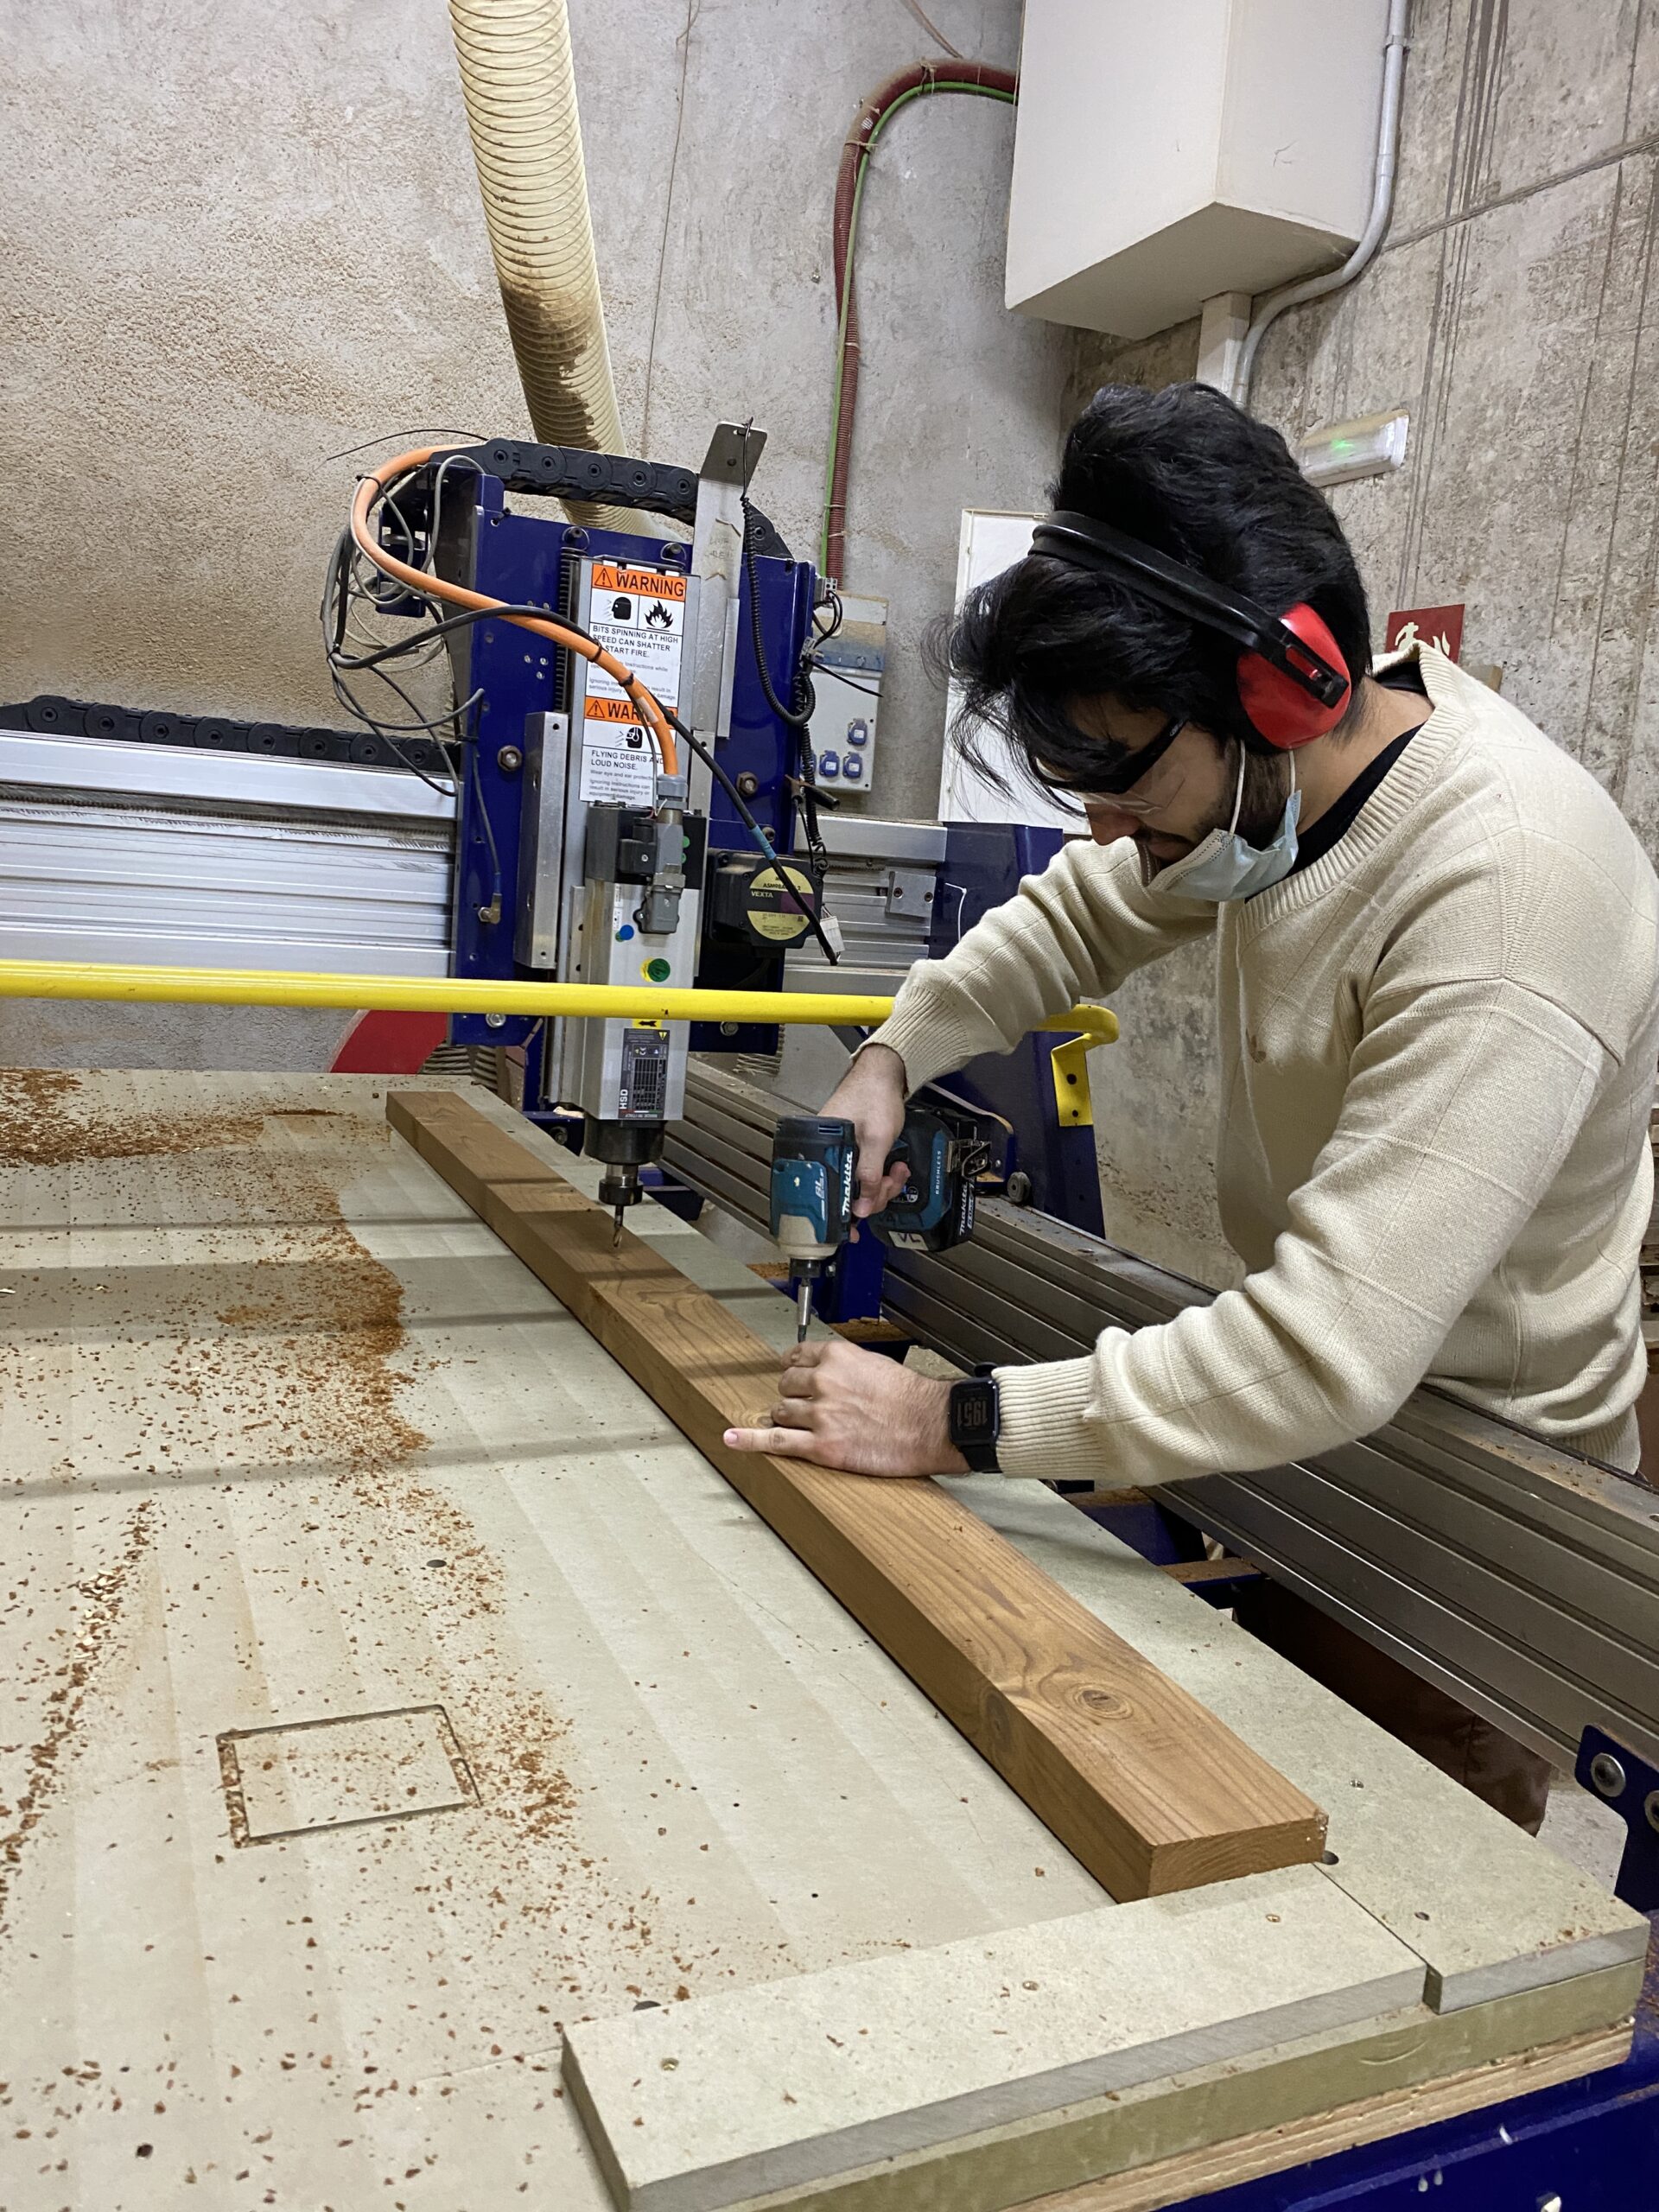
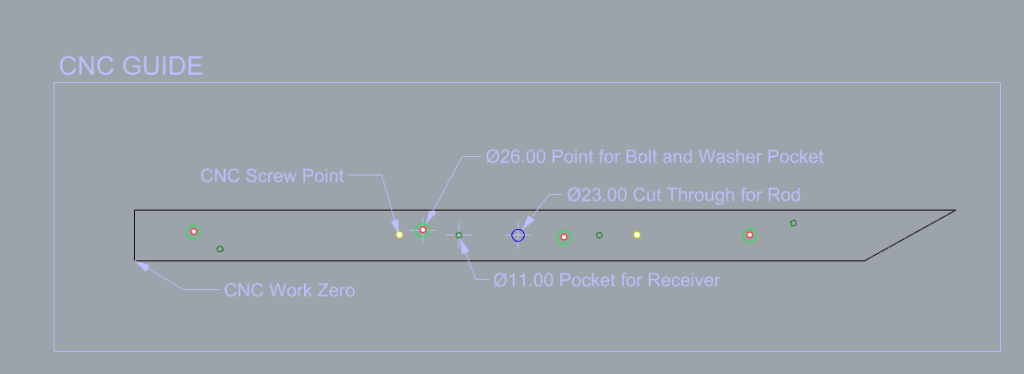
We CNCd all of the 137 planks. Since every plank had a different final reference cut in one of the edges, we made two files for each one, one for the screws, in order to fix the plank into the table bed, and one for the holes and pocketings. Each plank took about 7 minutes, between fixing it, setting the CNC, CNC working time, removal and cleaning the bed for the next one. We created a fast pit-stop system with 2 people. In theory, we would have roughly 16 hours of CNC times. But, because of the fragility of the Shopbot software, that required maintenance very often, we estimate that the final CNC time surpassed 23 hours.
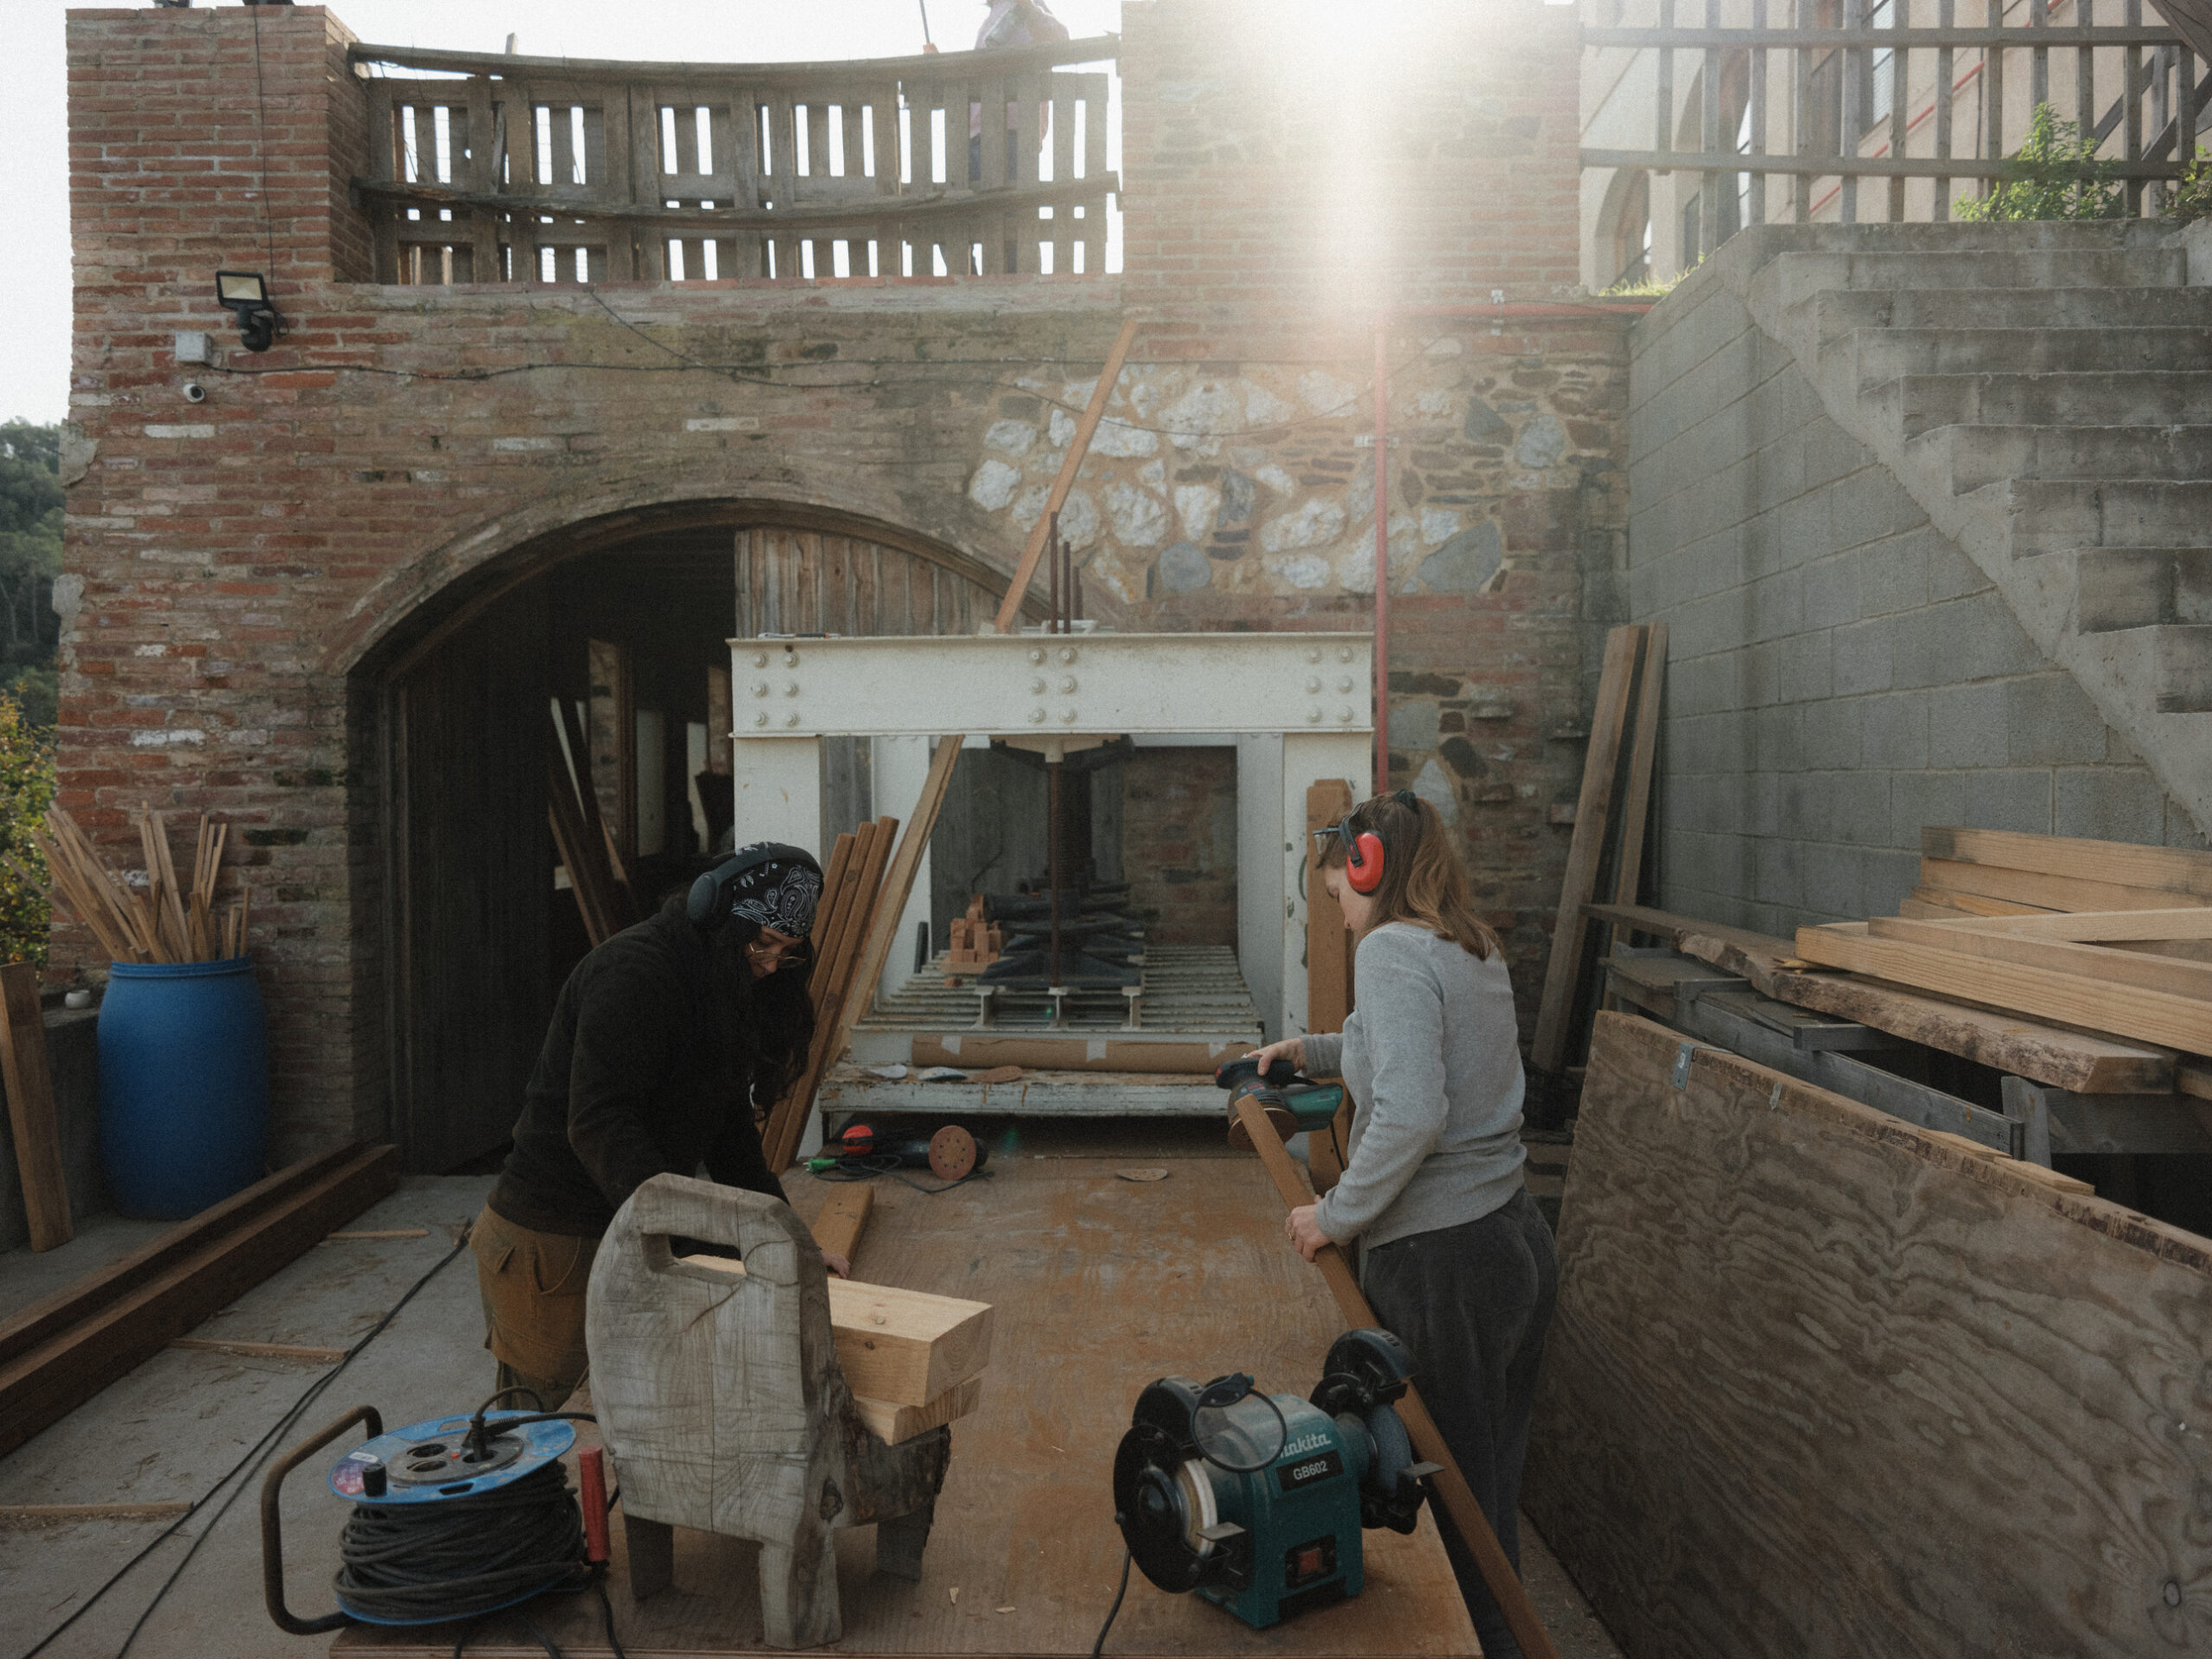
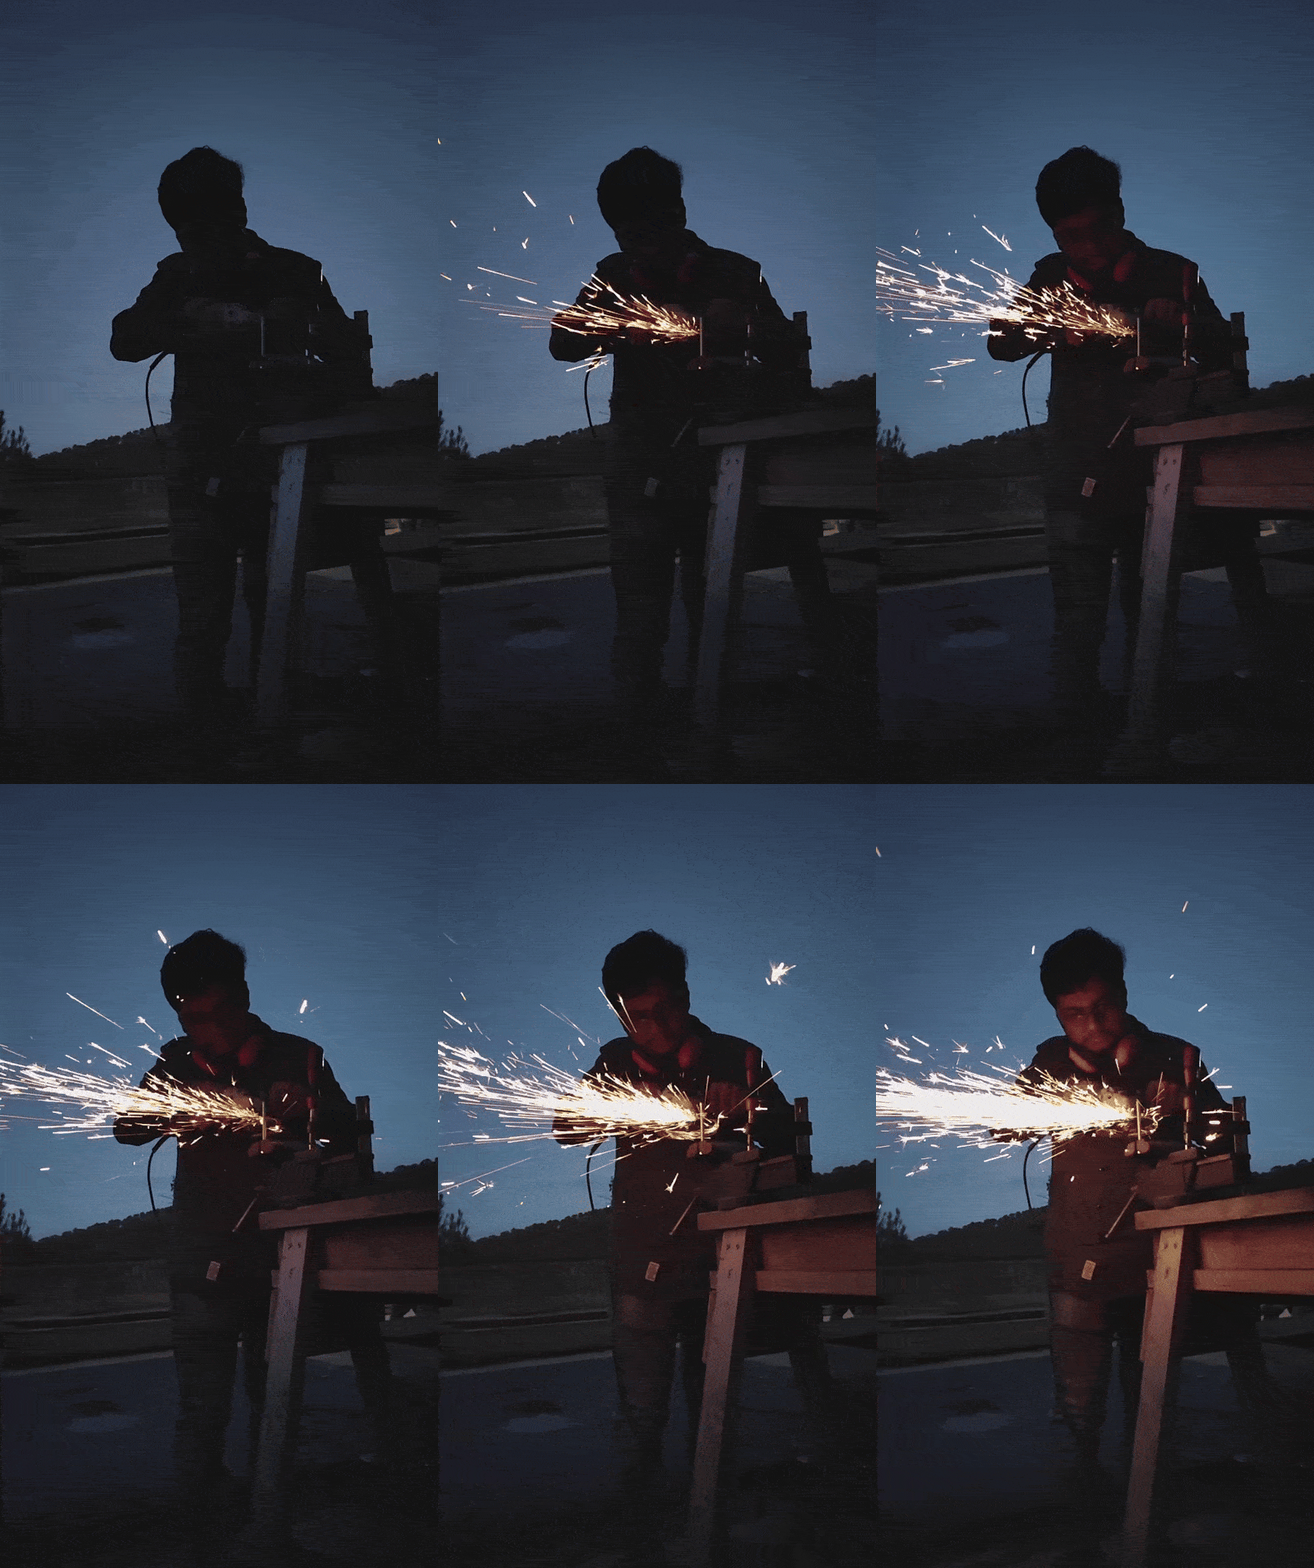
Furthermore, we used a routing tool that we attached to a sawhorse round the edges round. Then we sanded and applied two layers of sealing paint. Between those stages, we cut some bolts (they were longer then we needed) and rounded then.
And finally: we assembled it!
