

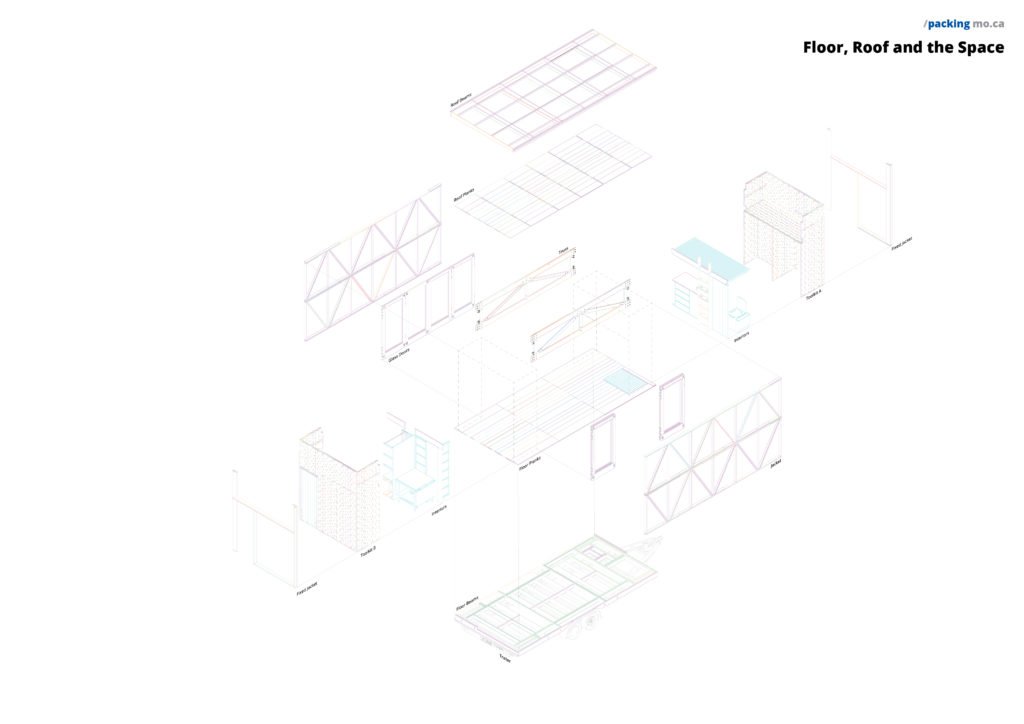
MO.CA construction sequence
Thinking about the sequence of events was vital to a successful construction. With this cascading of events we were able to balance completing design details with progressing towards completion. Proper time management and scheduling was important to maintain momentum. The sequence informed our work in all stages: processing, assembly, and installation. Final sequence was the following:
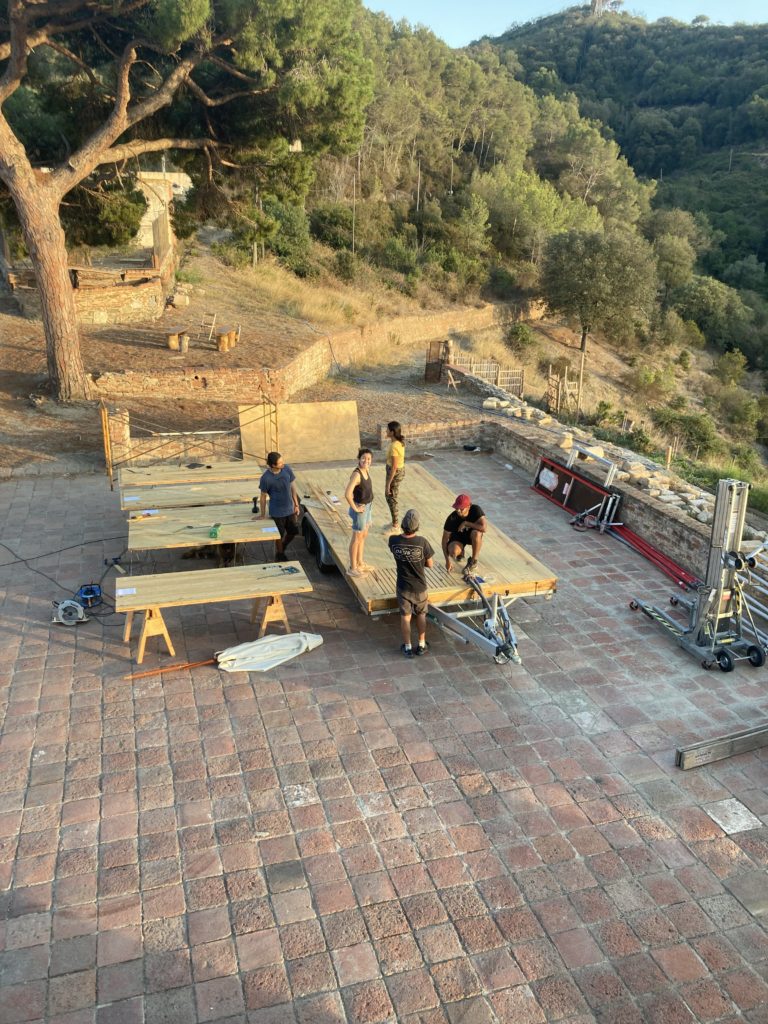
- Floor beams
- Water tanks
- Floor planks
- Toolkit B
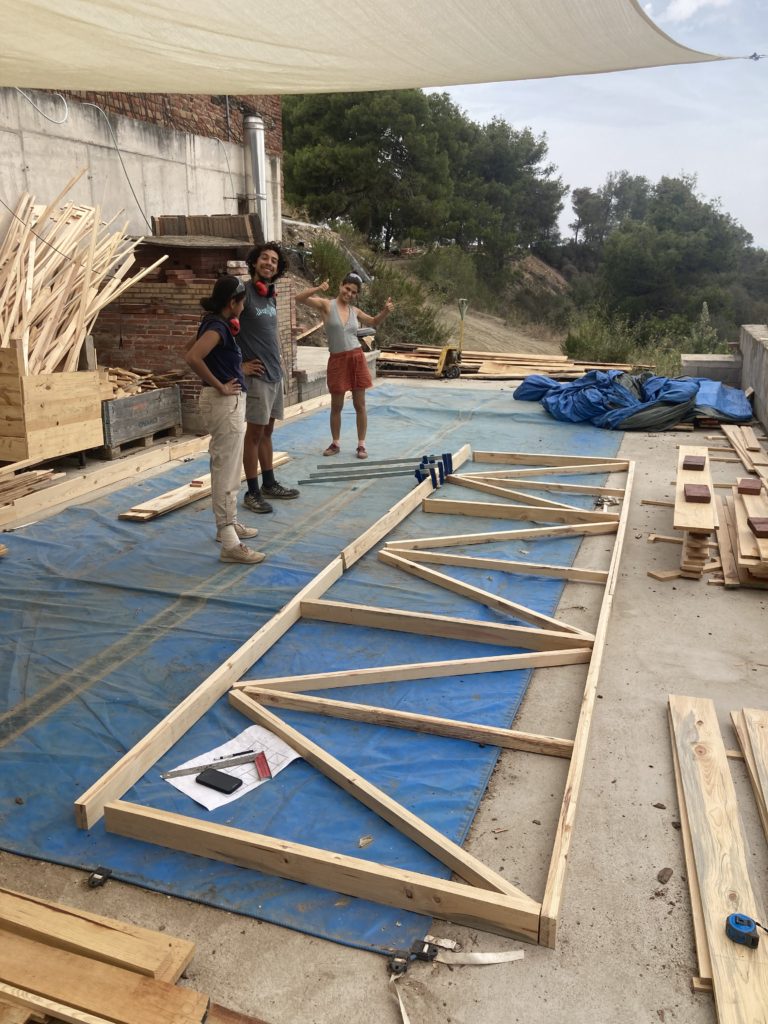
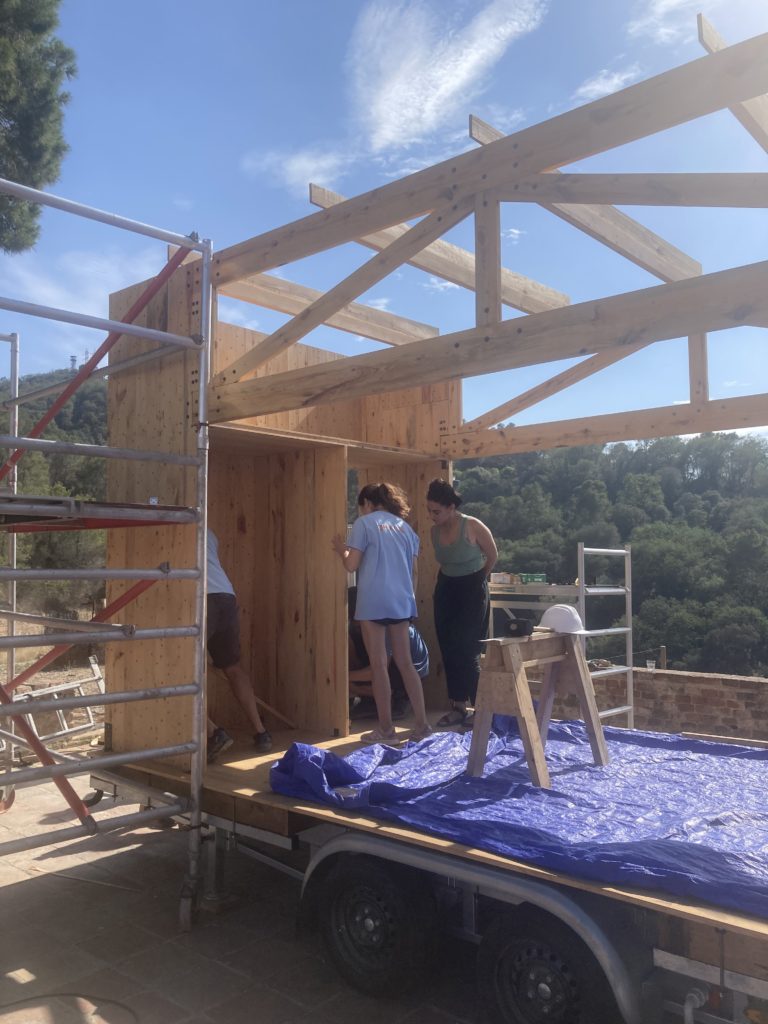
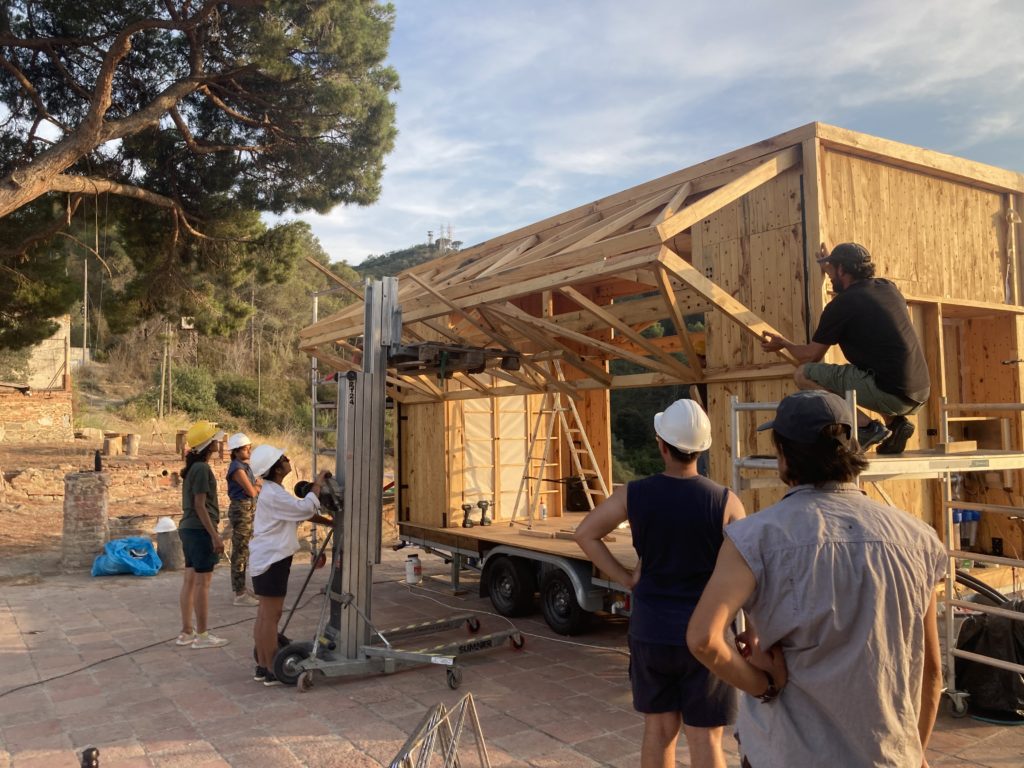
- Truss 01, 02
- Toolkit A
- Roof beams
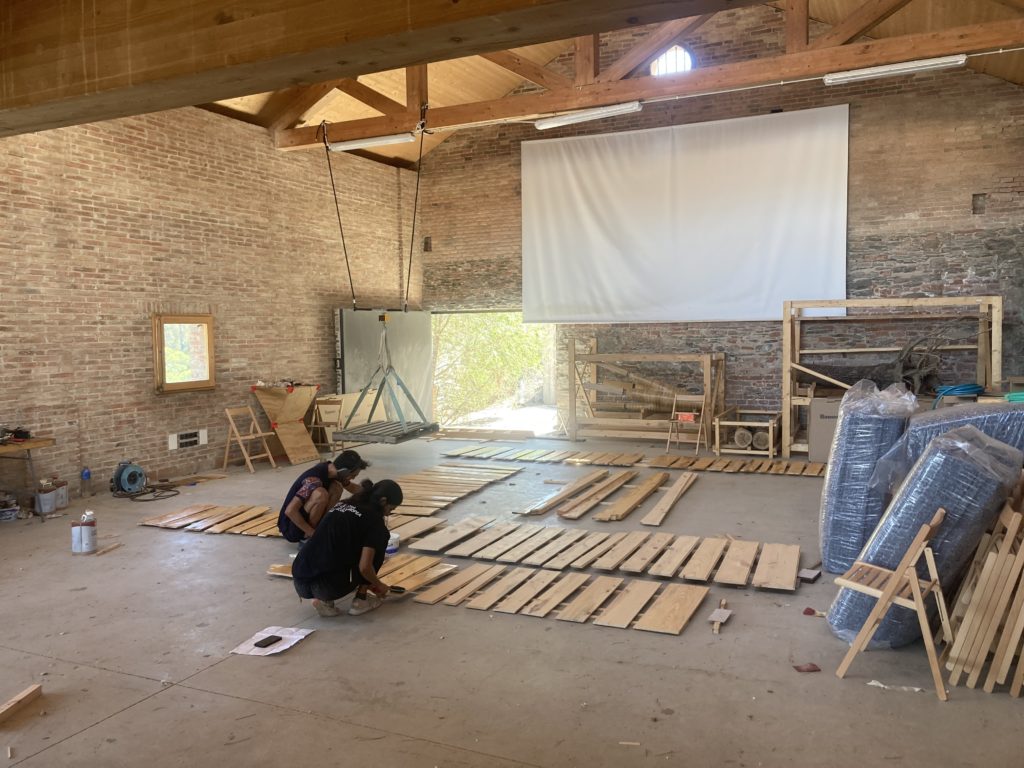
- Roof planks
- Insulation / roof perlins
- Energy/water installation
- Interiors
- Envelope
- Fabric
1. Processing
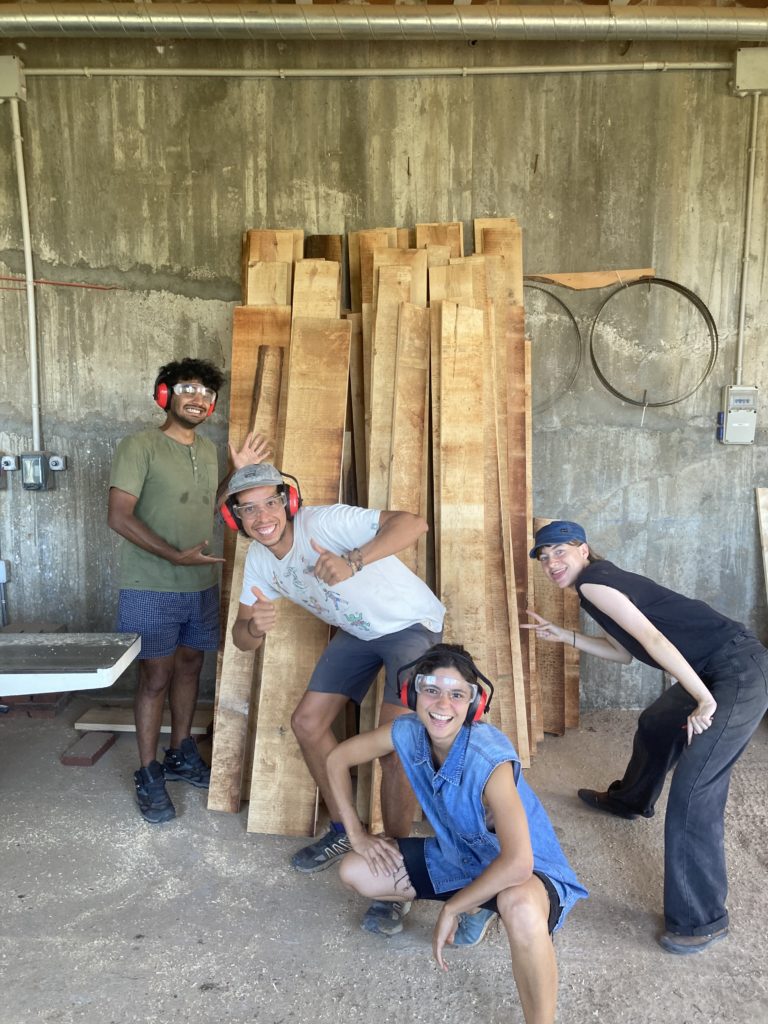
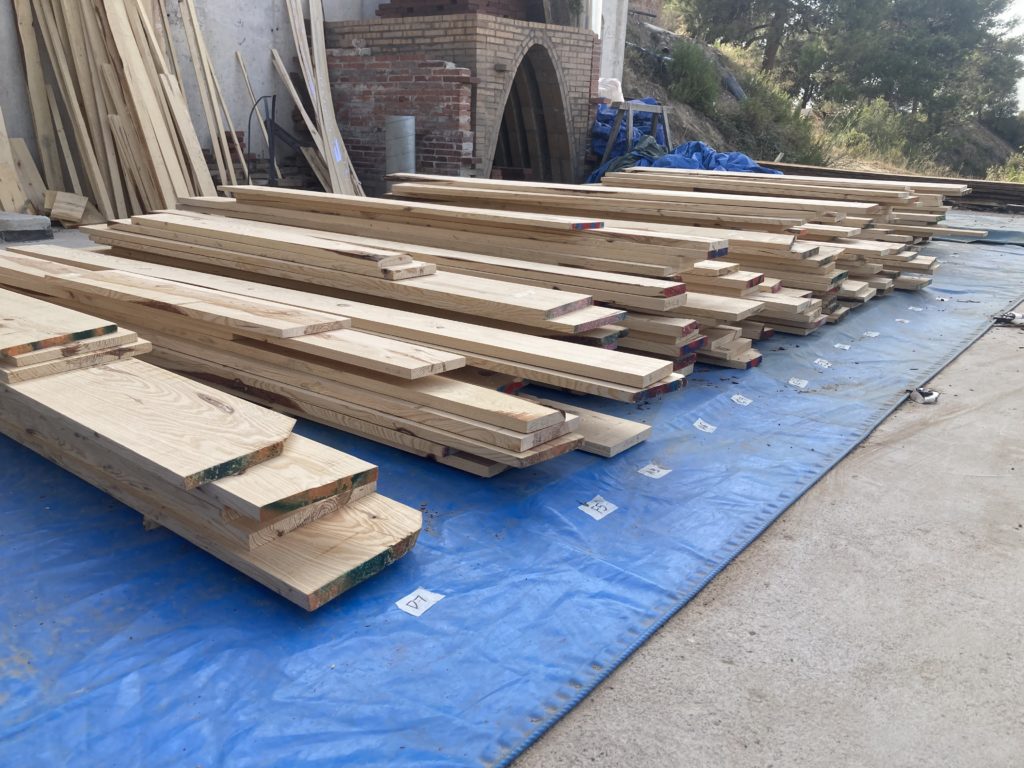
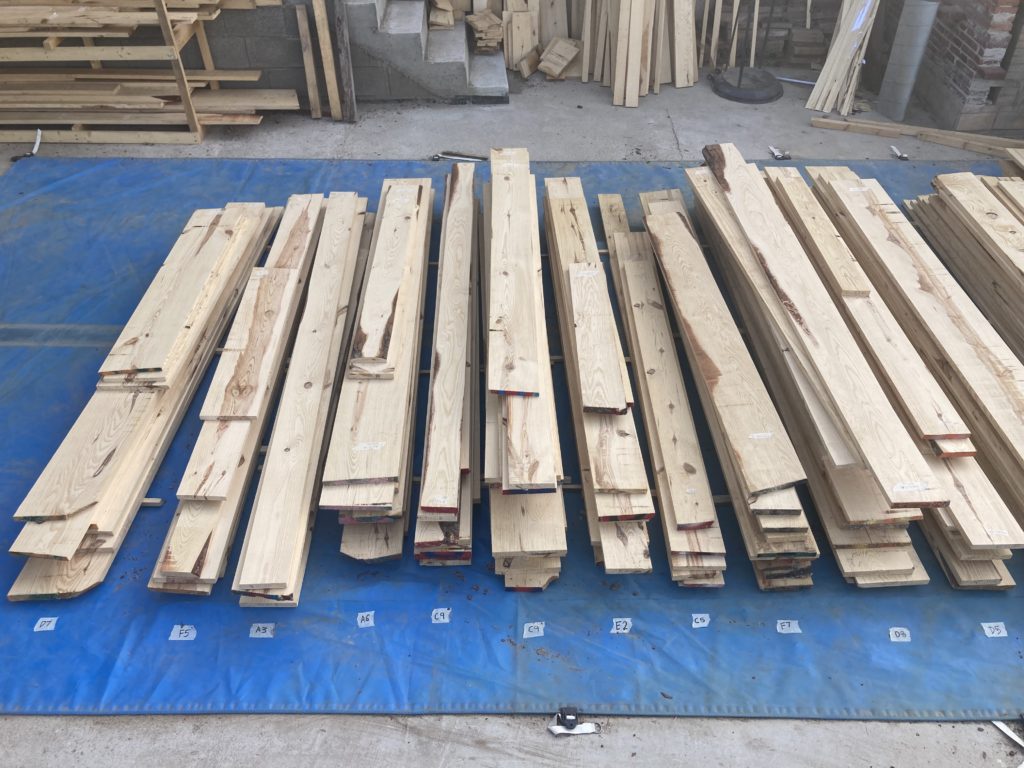
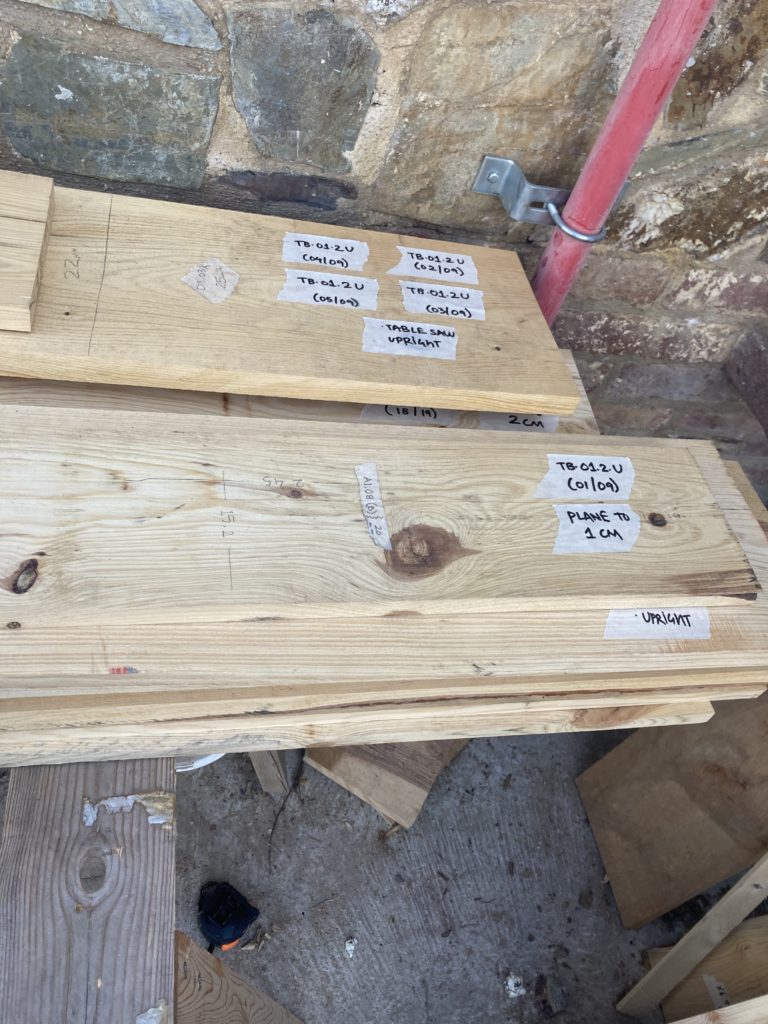
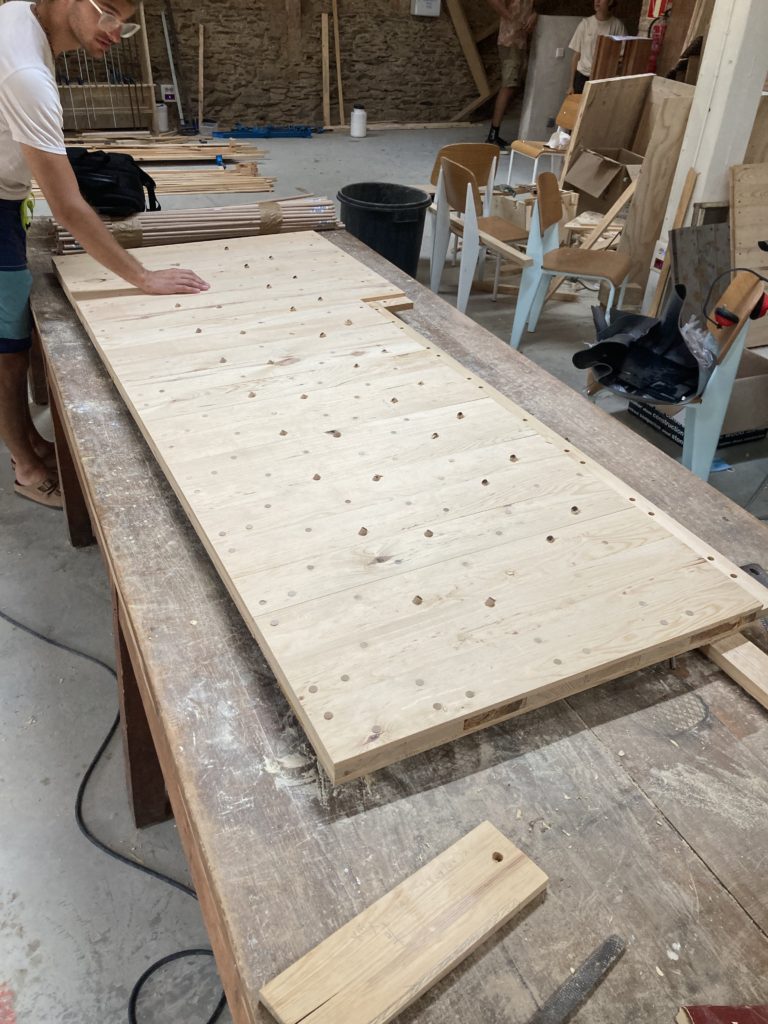
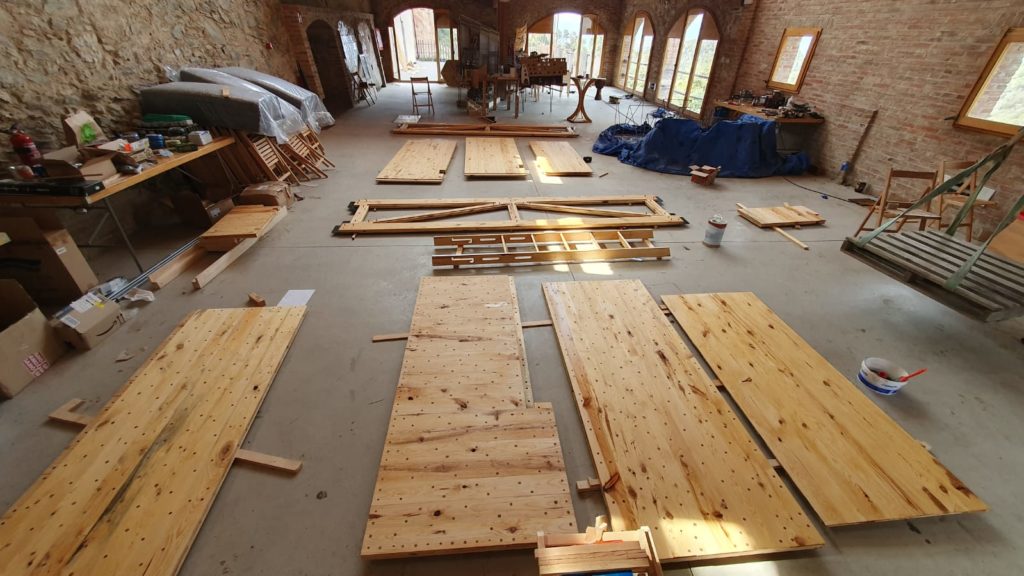
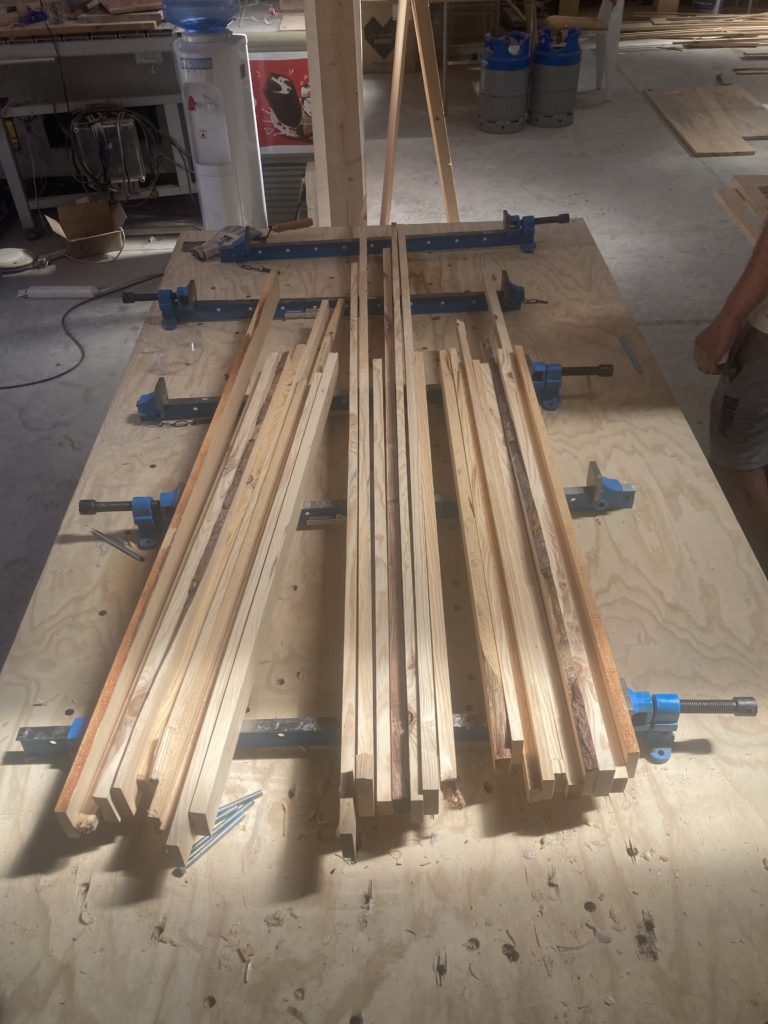
The first step in our construction was turning the rough timber into processed wood. Months before construction, trees were felled and sliced on the sawmill. After, they were stacked with spacers to allow for drying. When it was time to process, first we unstacked the sliced trees and transported to the carpentry with the bobcat. Before any cuts were made, the traceability team logged and assigned the planks. After determining the appropriate length, the planks were chopped in the chop saw, edged in the table saw, and initially planed in the jointer and thicknesser. After each cut, labels on the wood were maintained with pencil tags. After this processing, boards were neatly stacked in the lumber yard so as to avoid warping. Different techniques, such as using clamps and bricks, helped prevent significant movement of the cut wood. Based on the lumber dimensions at this initial processed stage, boards were assigned to specific lamellas in the structure and re-stacked in a pile. This selection aspired to minimize wood waste during final cuts by choosing the best fit board. Next, final planing and table-saw cuts were performed to produce the necessary lamellas. Once a group of boards were to their final dimensions, they were kept inside with labels before assembly.
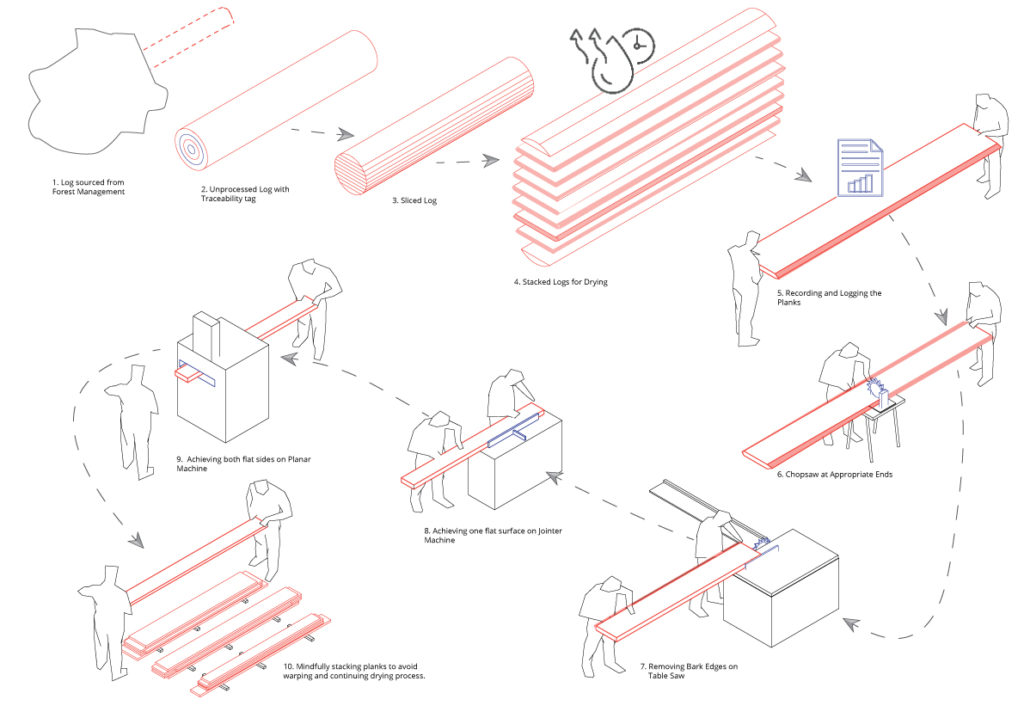
10 intentional steps to transform lumber from a tree to processed timber planks.
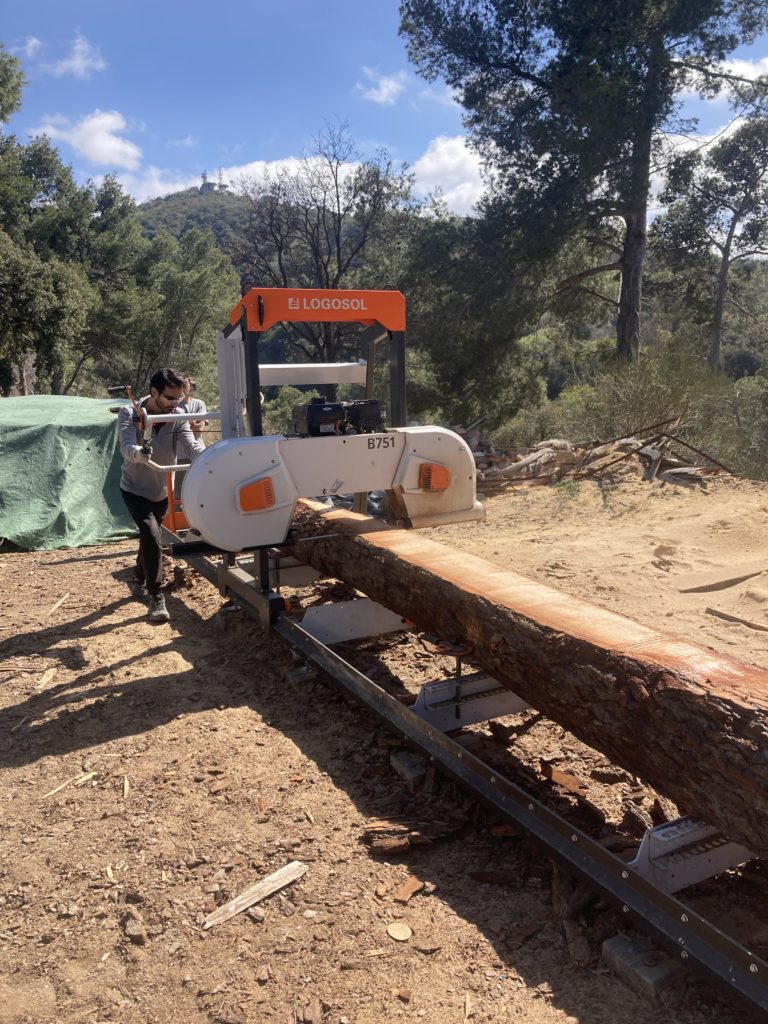
Slicing logs into 3.5cm thick rough-sawn planks with the logosol machine. (Ata, Bruno)

Unprocessed planks – 3.5cm thick, 4.5m length
Unstacking rough planks – ready for transport
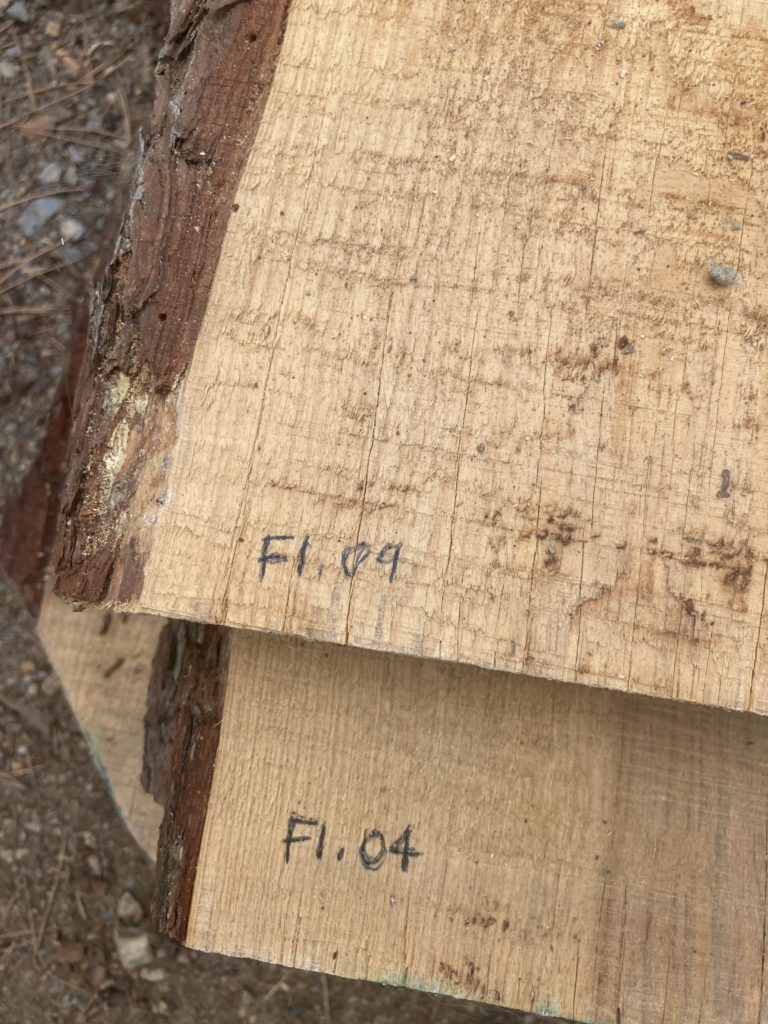
Labeling and recording rough plank dimensions before carpentry cuts.
Rough boards ‘ready for jointer’, after being chopped to length and edged. (Indraneel, Mariano, Julia, Jackie)
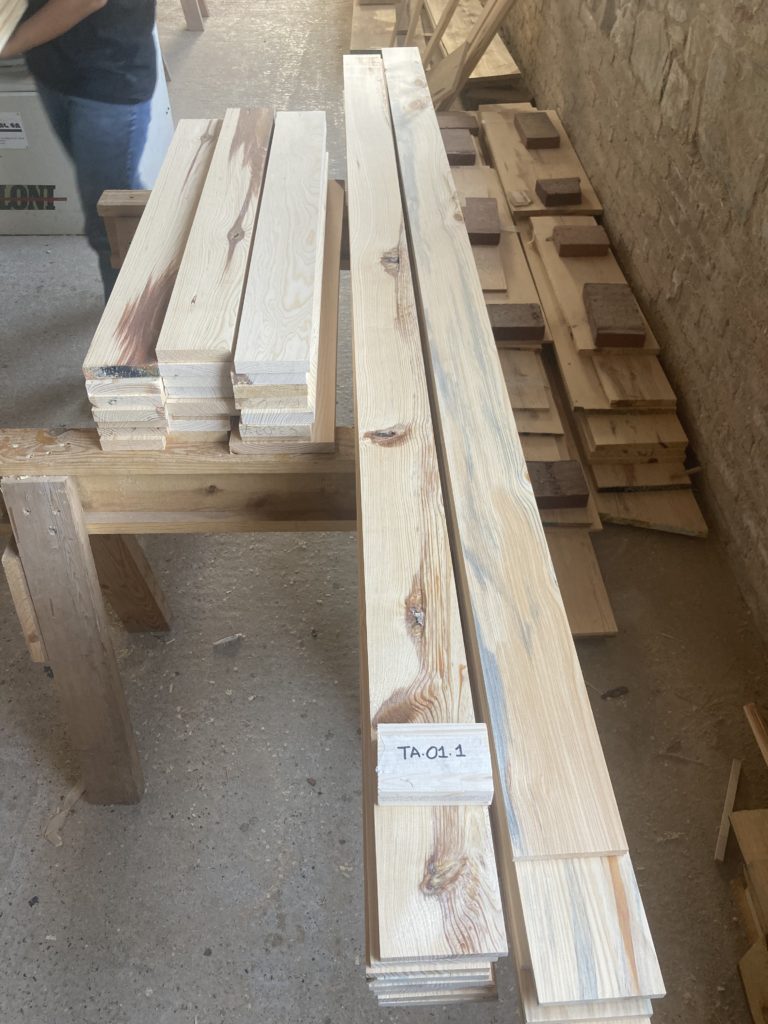
Lumber yard
It was essential to clear behind the carpentry area and have a space to store the processed wood. Boards were stacked in piles of their trees to maintain traceability efforts. To keep boards as straight as possible, we stacked in increasing size, placed bricks on top, and covered with a tarp to shield from excessive sun and rain.
(Rujuta, Sneham, Disha, Shruti)
Assigning
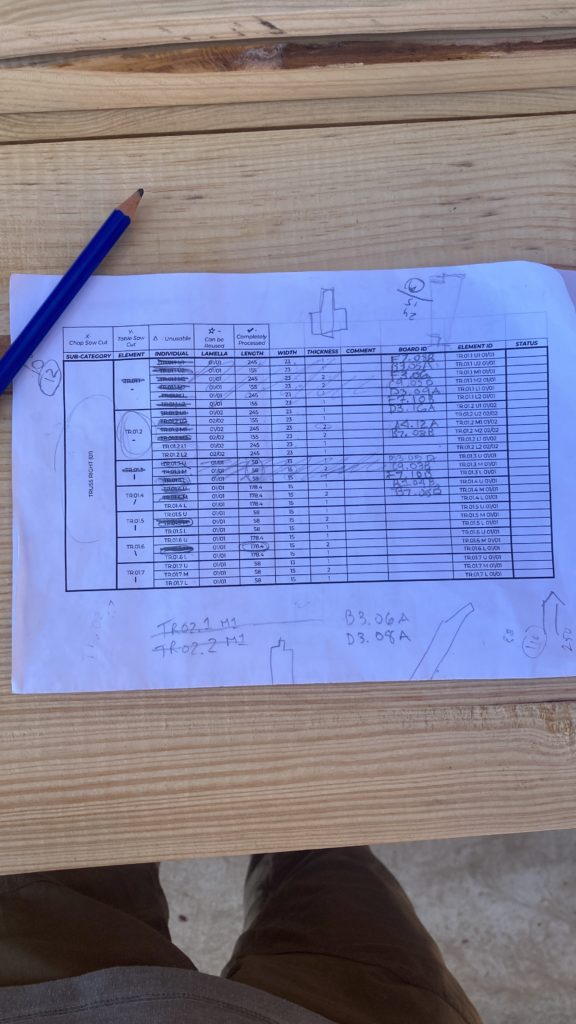
As the design was finalized, we produced lamella lists with specific quantities and dimensions of final cuts. With these excel lists, we could gather necessary boards and re-stack in groups to become elements. This grouping allowed us to perform final cuts in sequence of assembly.
2. Assembly
After final cuts were made on each lamella, groups of boards were assembled into their elements in preparation for trailer installation. This stage of the process involved glueing, CNCing, doweling, and any metal connections to prepare the pieces before they reached the trailer. Detailed assembly keeping in mind final dimensions ensured for a smooth installation.
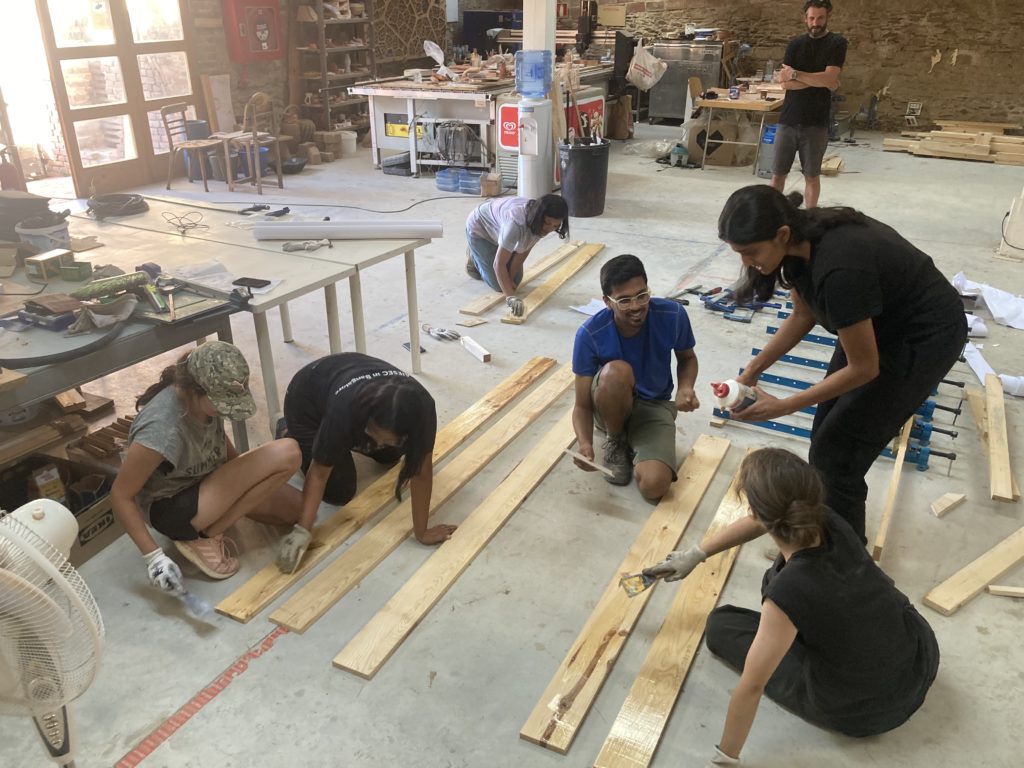
Glueing floor beams (Carla, Sneham, Nishanth, Jackie, Rujuta, Shruti, Charles)
Floor beams stacked – ready for pine tar waterproofing.
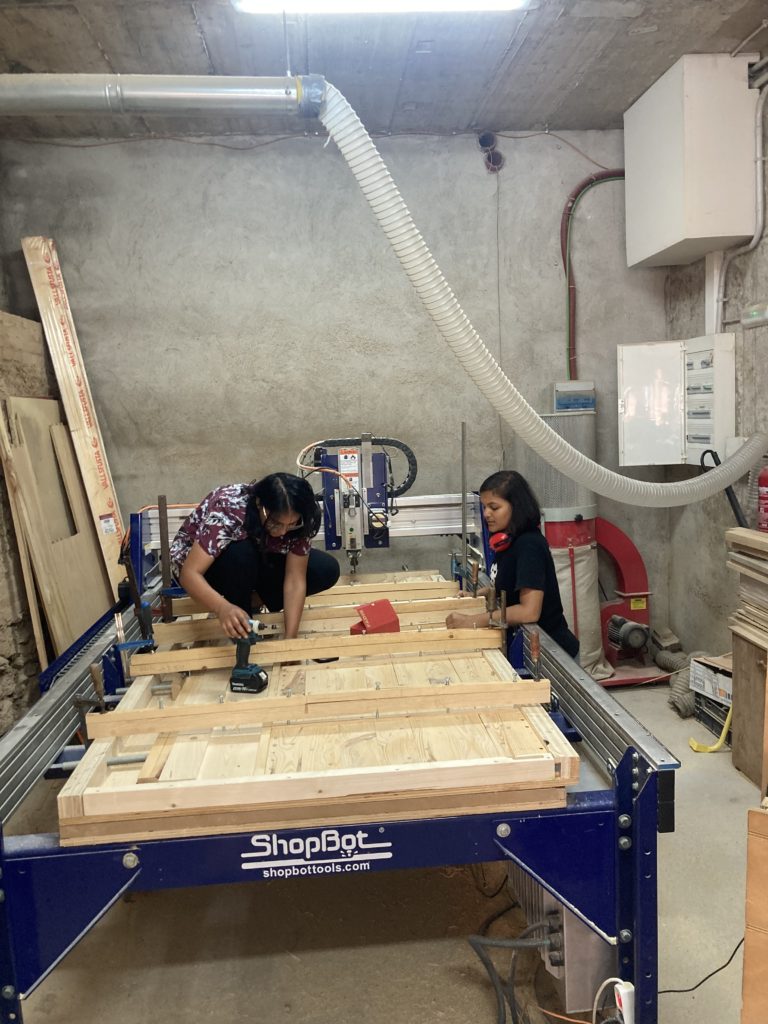
Screwing and doweling the wall panels on the CNC machine. (Sneham, Shruti)
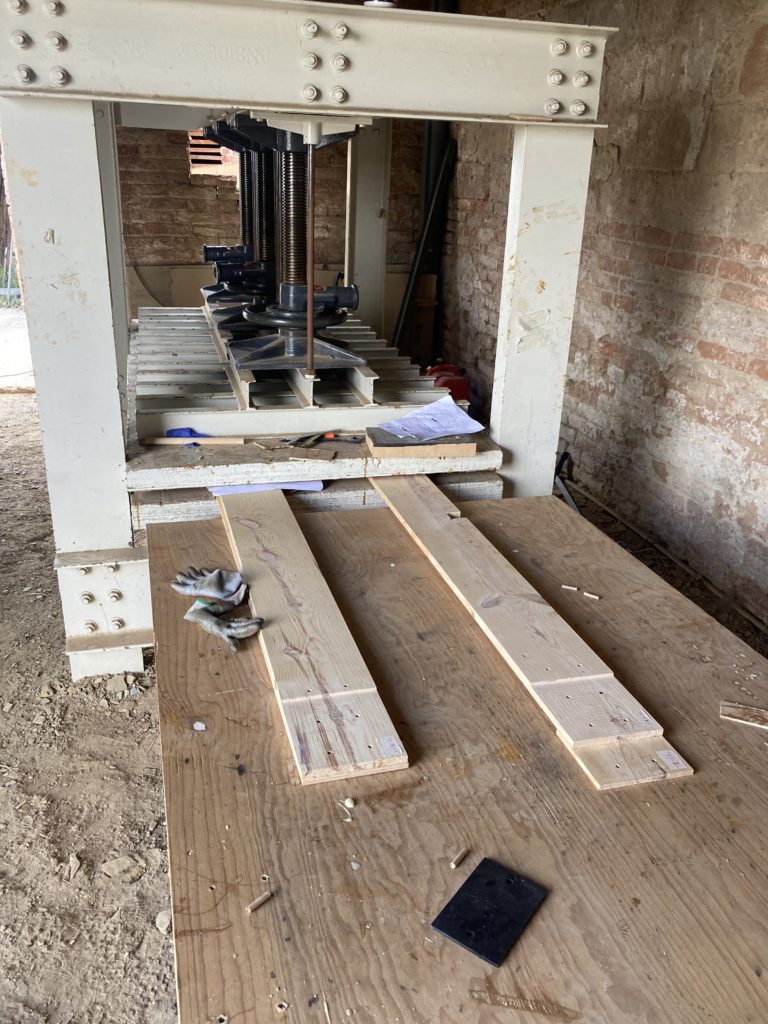
Glueing truss elements in the CLT press clamp. CNC’ed dowel holes were drilled on each lamella to lock the lamellas in perfect position to be glued. These truss pieces with staggered lamellas were glued in 2 phases to achieve the necessary length.
Moving envelope layout after glueing 2 layer glulam elements. (Ruhani, Mariano, Julia)
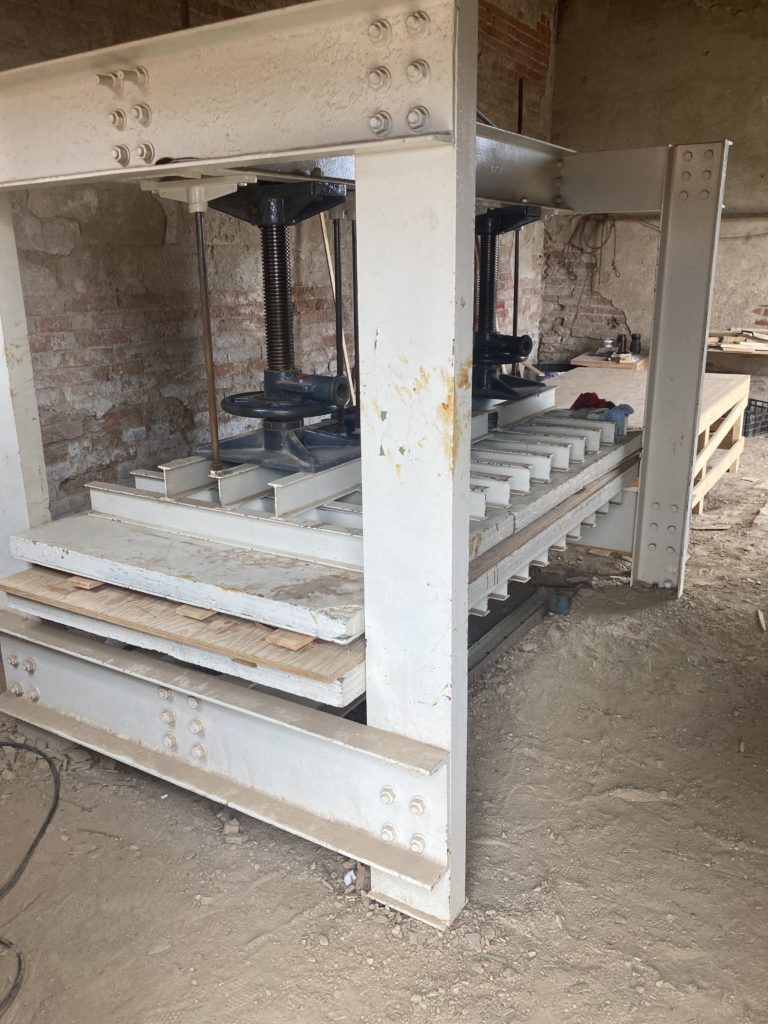
3-layer roof beams in the CLT press.
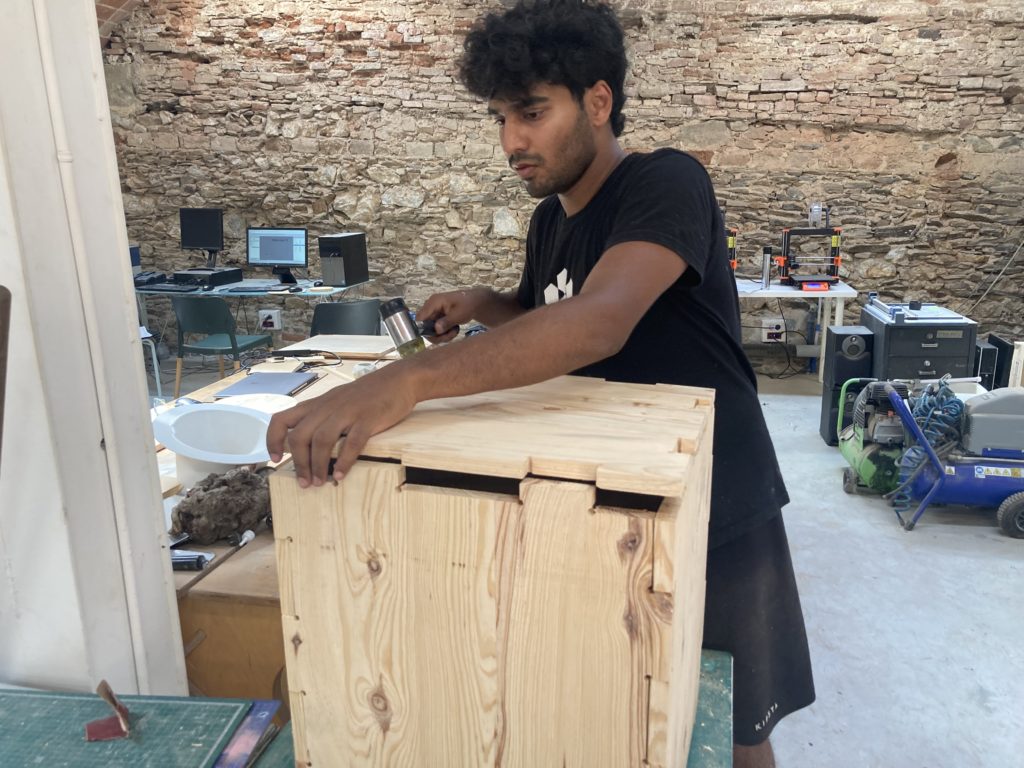
Dry-fitting the toilet box pieces before final connections. (Indraneel)
Post Processing
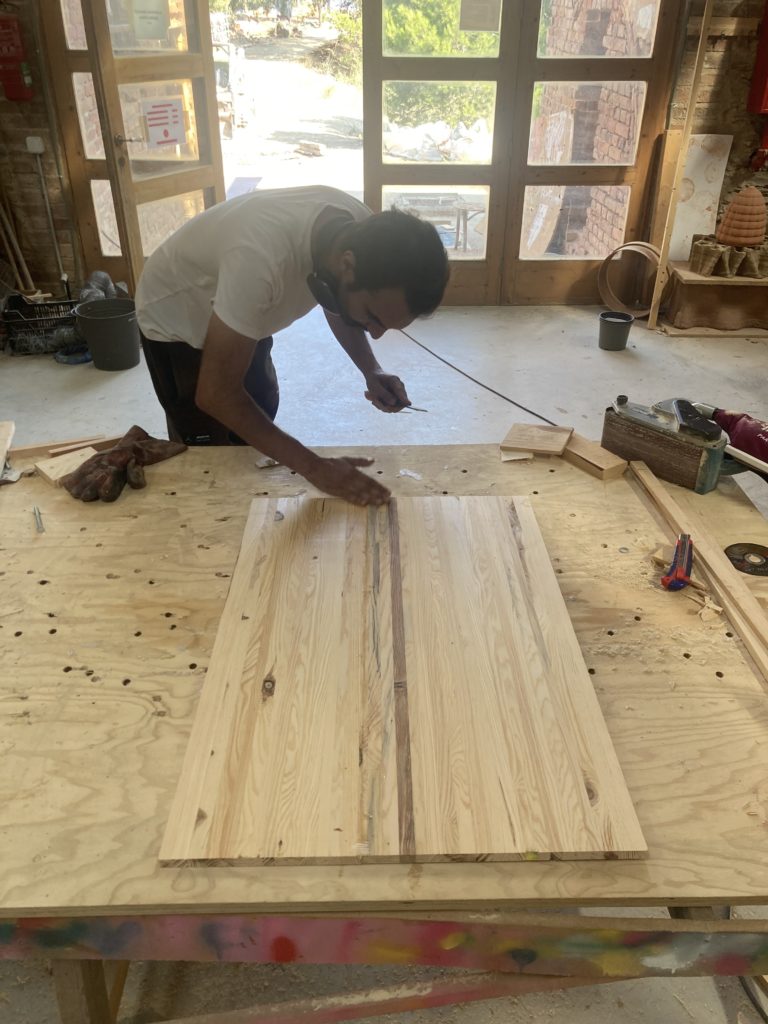
The second step in assembly process was “post processing”, where elements were cleaned from glue, sanded, and stained with linseed & pine tar. This process occurred mainly in the fab lab and auditorium, while some work was needed in the carpentry with specific machines.
DLT wall panel after diagonal dowelling. Ready for final sanding, then linseed treatment. (Antoni)
Removing excess glue from kitchen offcut panel. (Ata)
Applying linseed to roof planks. (Rujuta & Ata)
Staging DLT wall panels, Truss, interior ladder, & interior wall panel before installation. All elements with linseed oil on both sides.
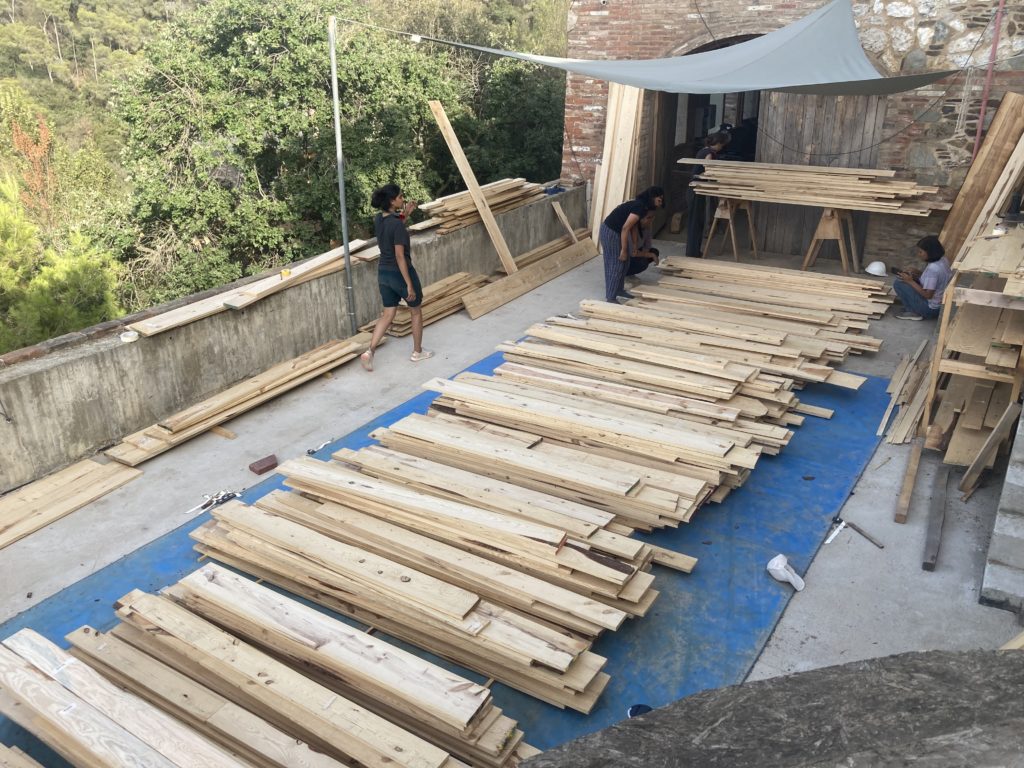
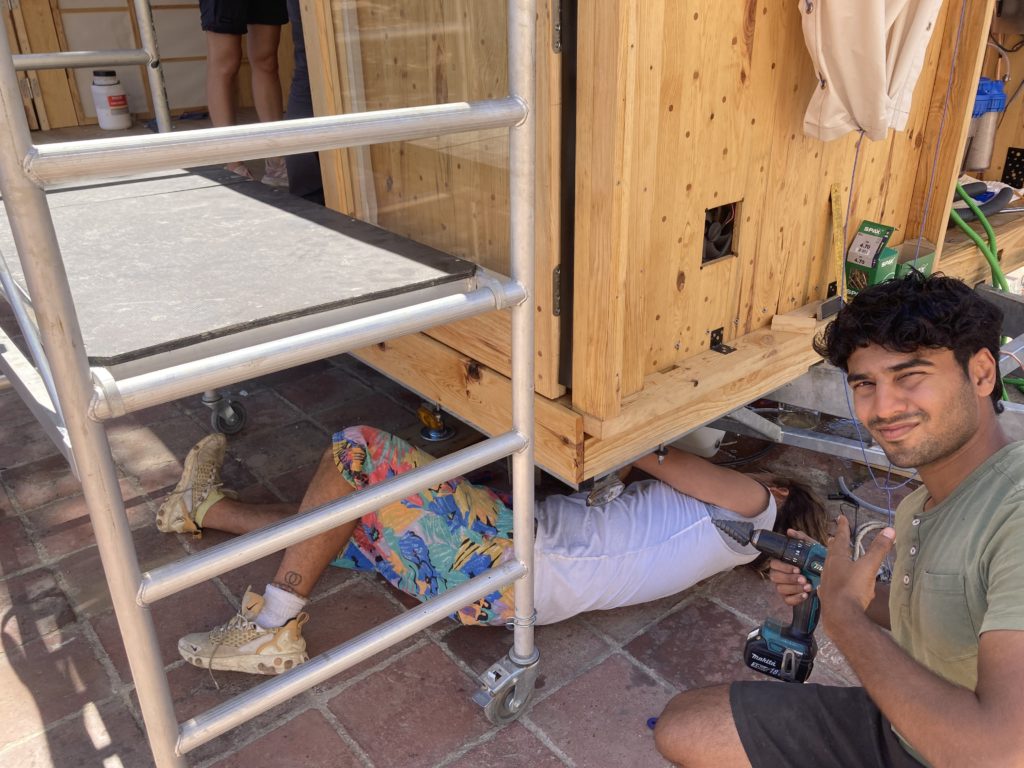
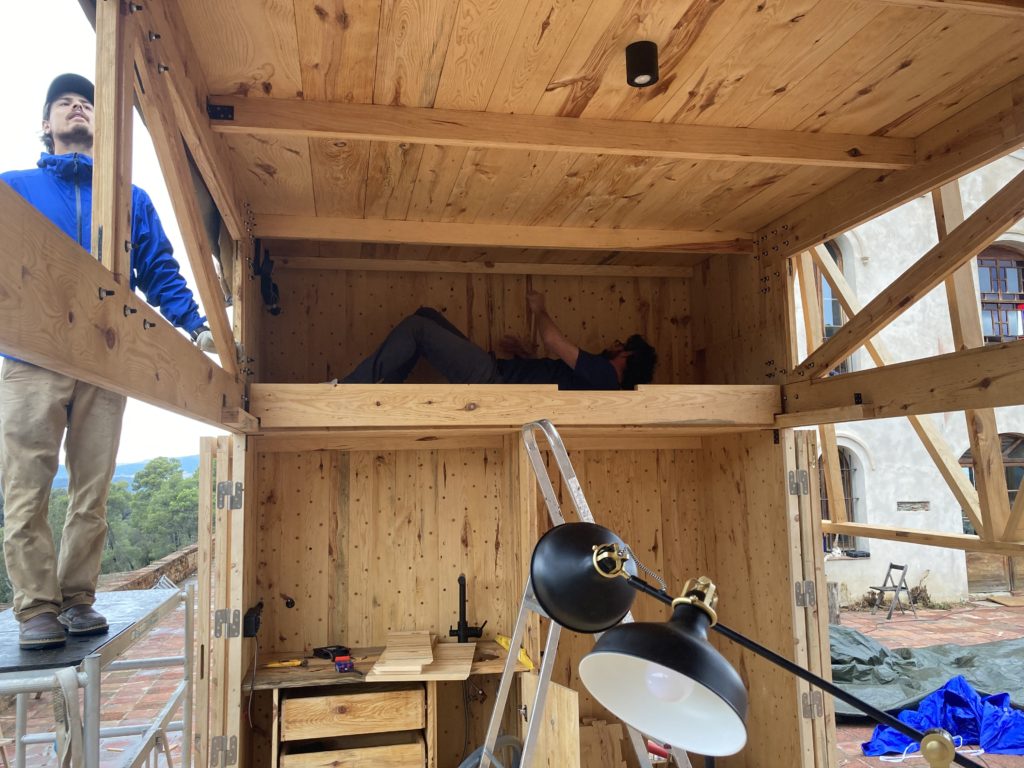
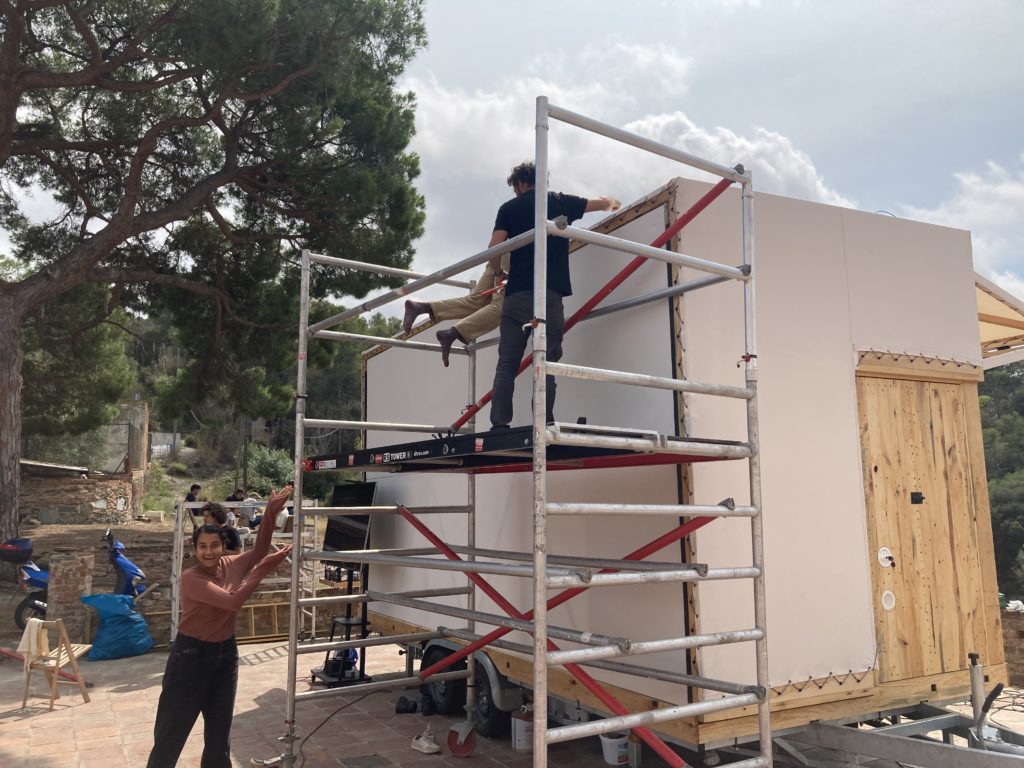
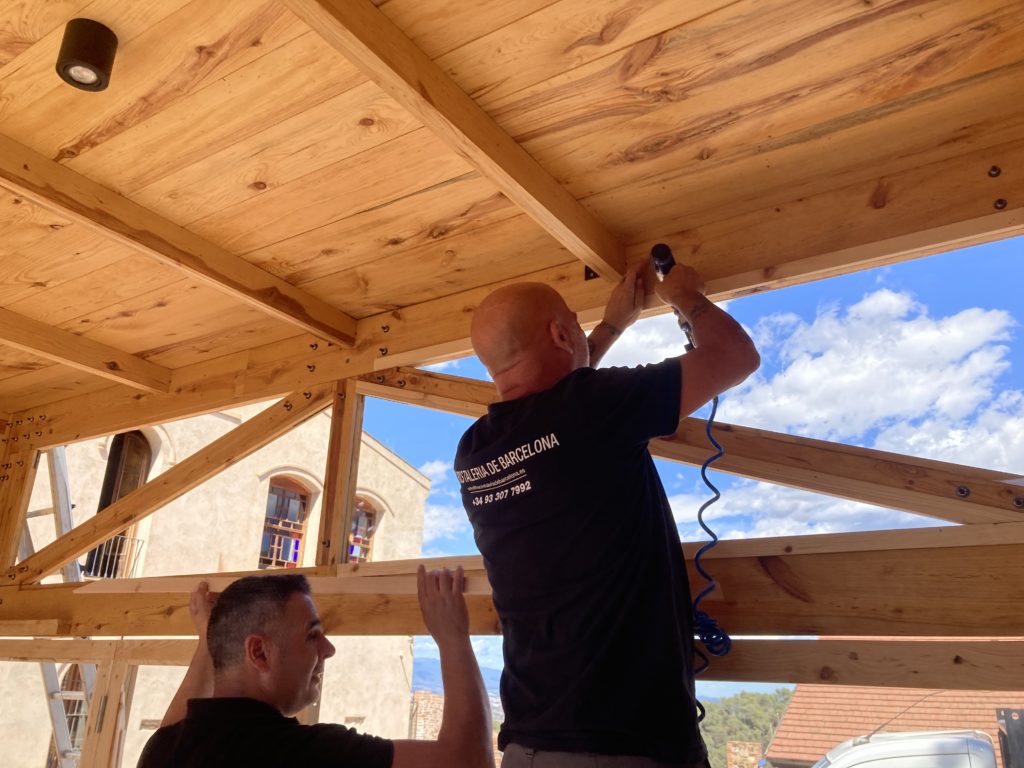
3. Installation
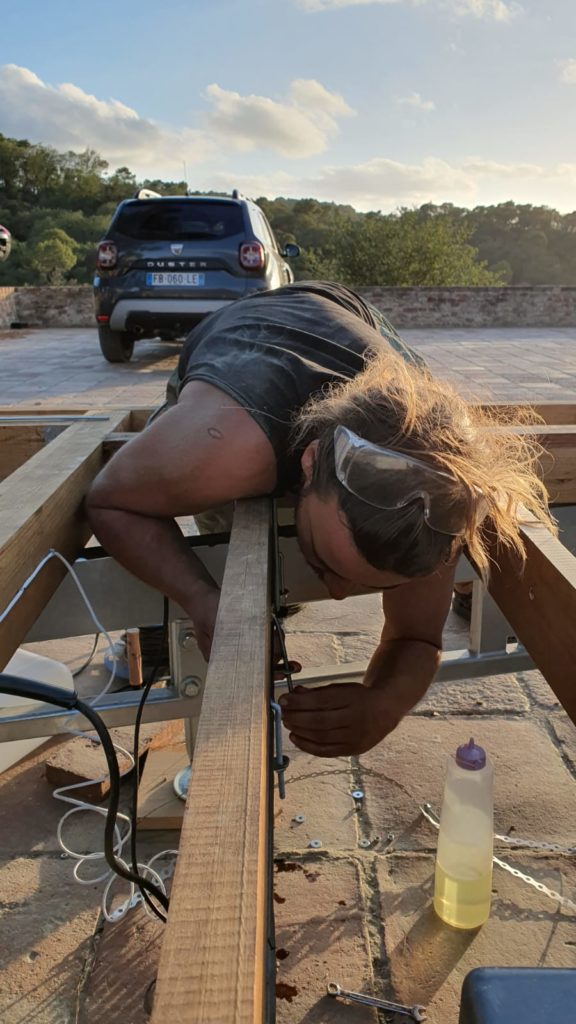
After assembly and post processing, elements moved from the auditorium to the front terrace of Valldaura, where the installation crew worked to secure the floor to the trailer, and connect the structural elements. Using scaffolding and a wall lift, the group was able to build the entire structure without heavy machinery. As on-site problems arose, adjustment cuts were made with the circular saw or in the carpentry.
Construction components for installation. Teams were created to understand and solve design details of each component through its production. It was important to pass this knowledge to the installation team.
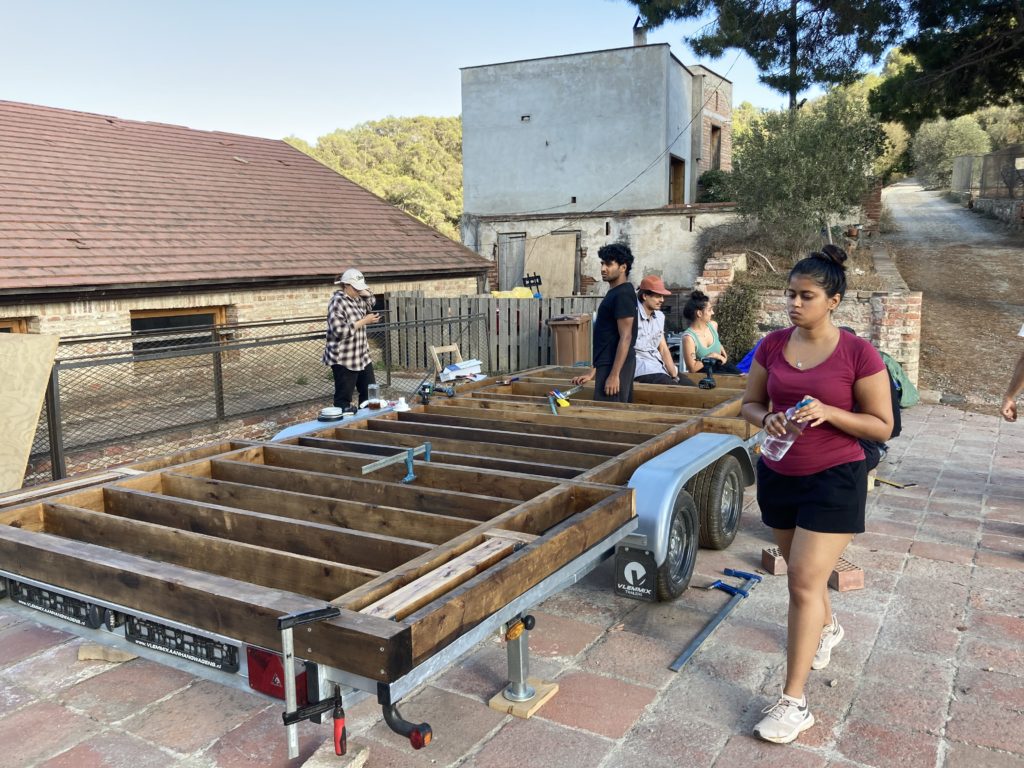
Floor beam installation. (Basant, Indraneel, Austin, Esin, Aishwarya).
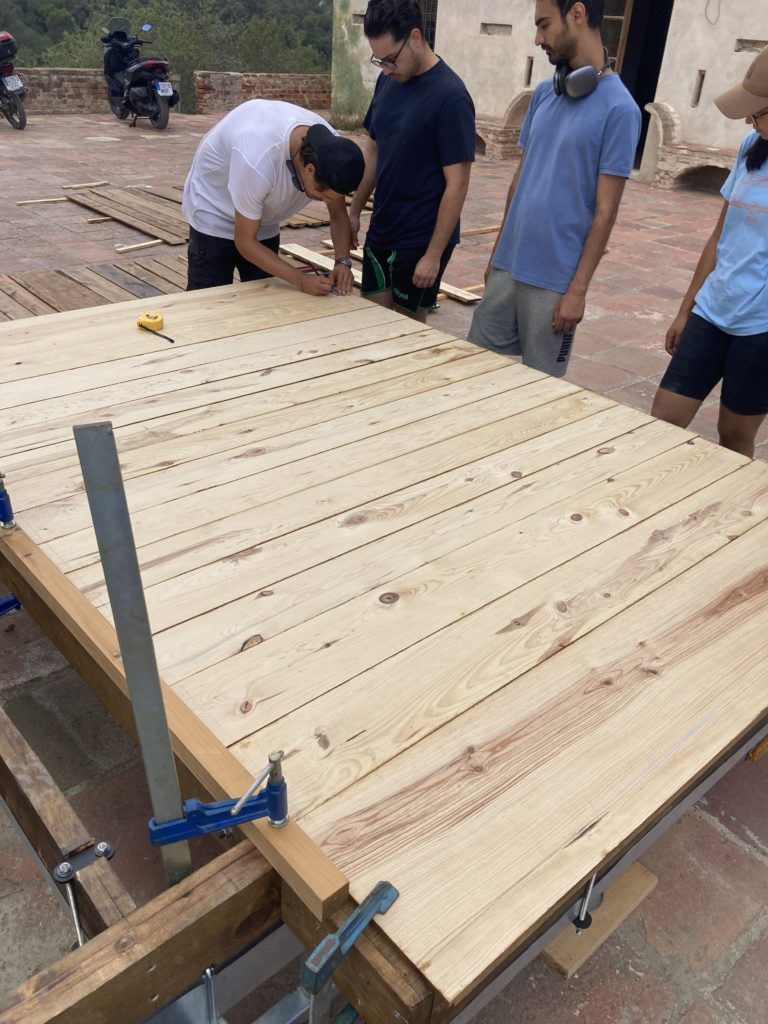
Floor plank section 03 layout and dry fitting before screwed to floor beams. (Austin, Raffaele, Ata, Santwana)
Wall installation prep. Exact measurements were taken and cross-checked with 3D model. (Austin, Carla, Ruhani, Indraneel, Charles).

DLT wall installation – squaring the first corner and securing to floor. (Ata, Indraneel, Antoni, Austin, Shruti)

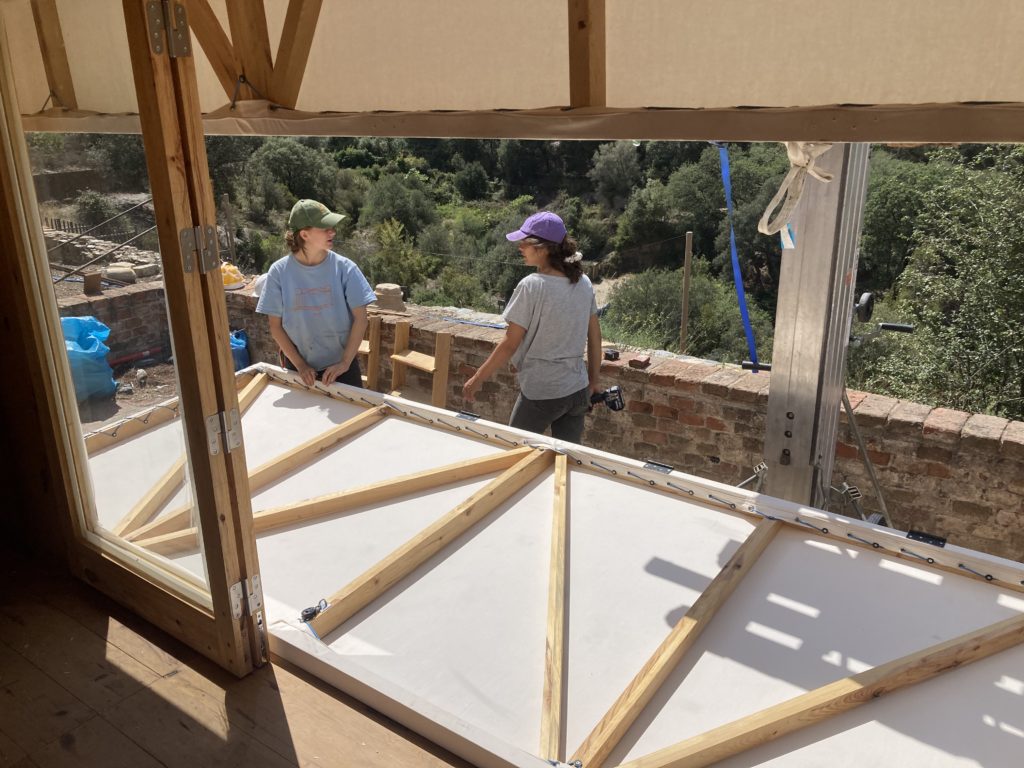
Truss installation with wall lift. After jacking up to adequate height, the metal plates embedded in the truss were slid into the pre-made notches of the wall panels. (Disha, Lorenzo, Bruno, Shruti, Ata, Austin, Charles)
Interior wall (3 layer thin CLT panel) installation. (Charles, Carla, Esin, Austin)
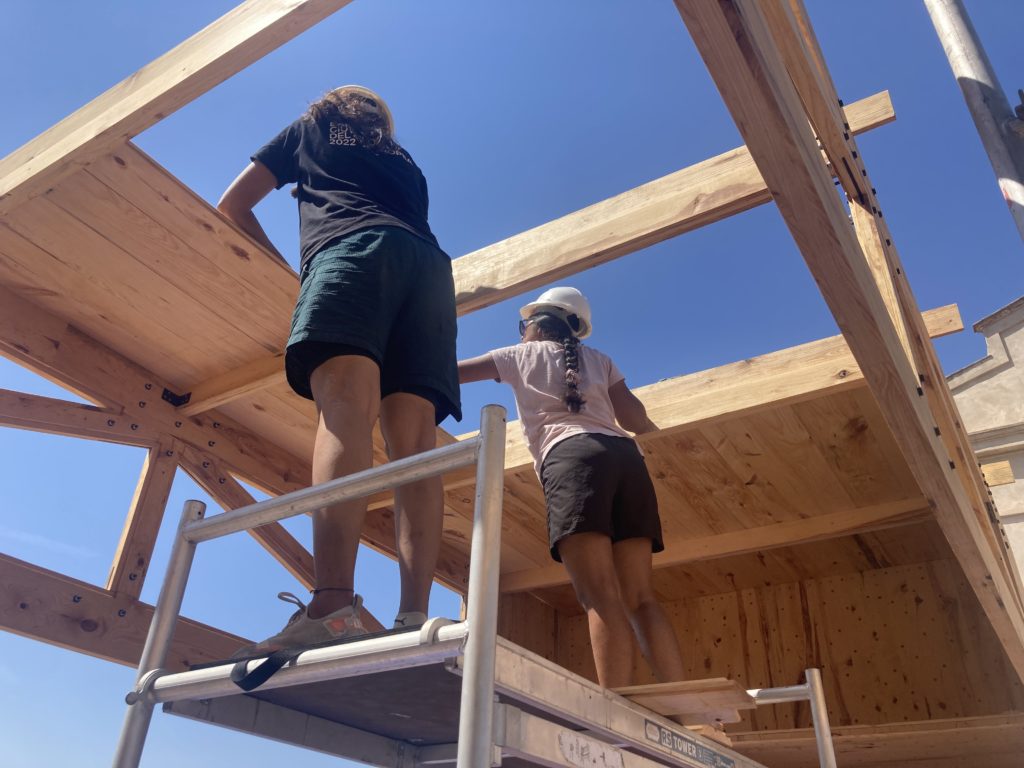
Roof plank (with lap joints) installation. (Rujuta, Prati)
Envelope testing & adjustments. After initial on-site trials, the thickness of envelope members were reduced for smoother and lighter functionality. Metal rails were also replaced after these findings. (Rujuta, Ruhani, Prati, Raffaele, Austin, Charles)
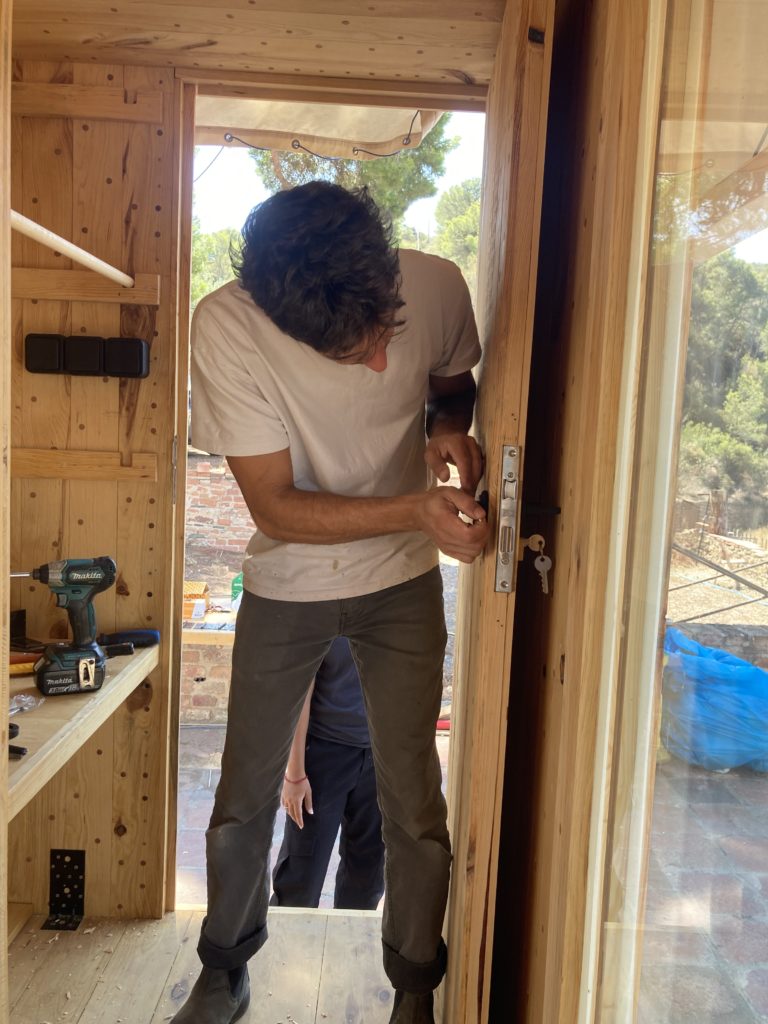
After installing the glass doors, Bruno assisted with install and trim-out of all doors. Hinge adjustments were made to allow for proper closure and smooth operation. (Bruno)
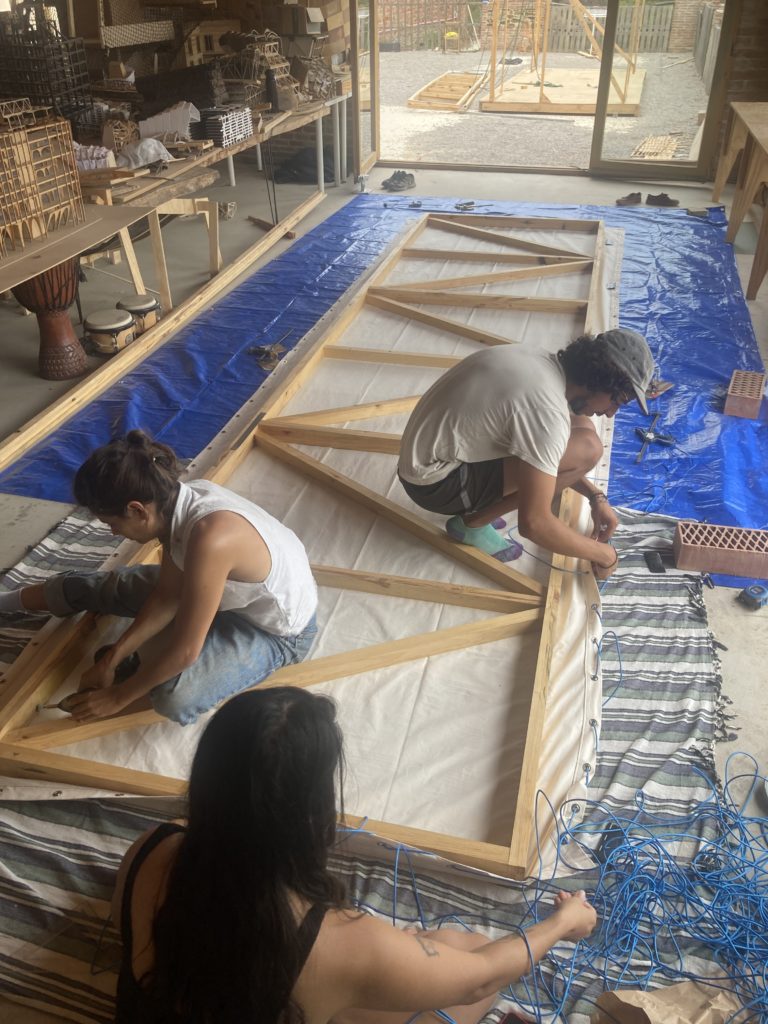
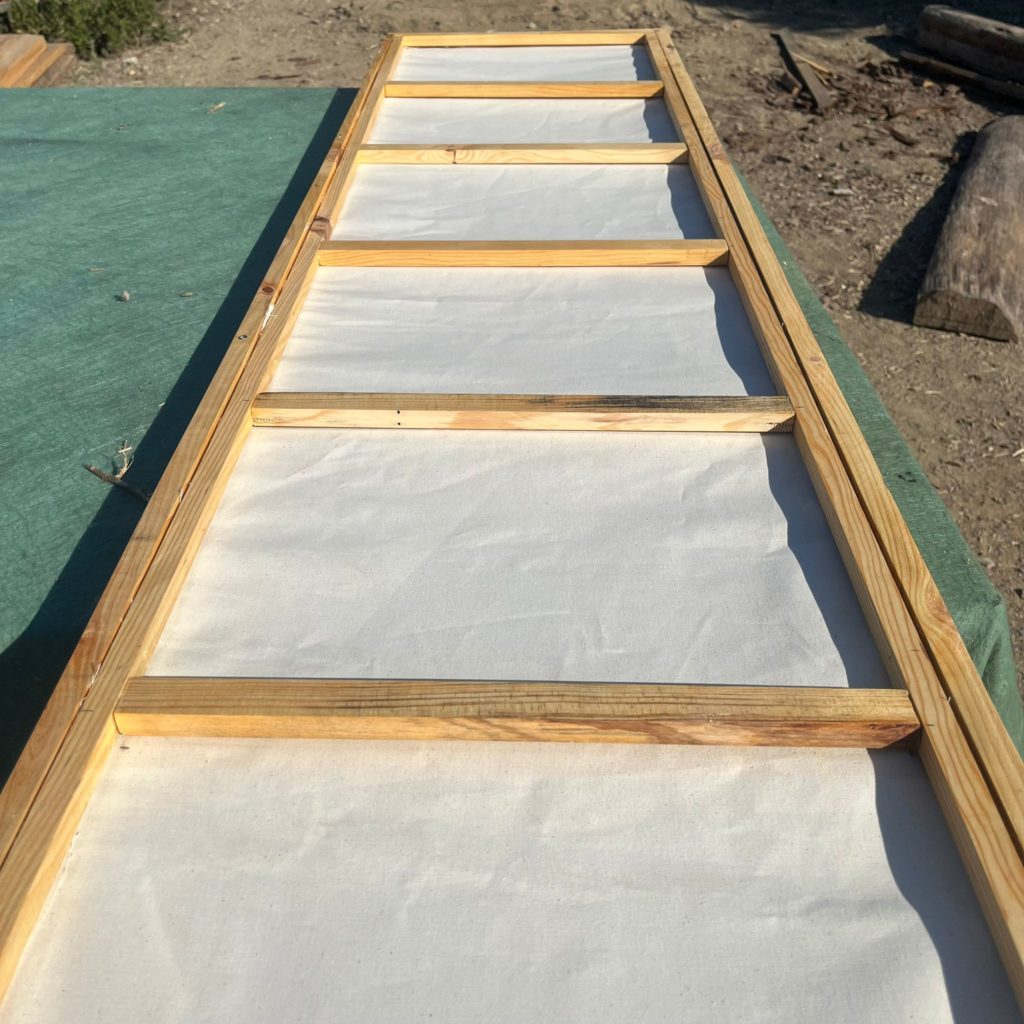
After finalizing moving envelope wood frame, fabric was pulled taught and secured with rope and screws before final installation. (Julia, Esin, Mariano)
Completed fabric on moving envelope frame. (Julia)

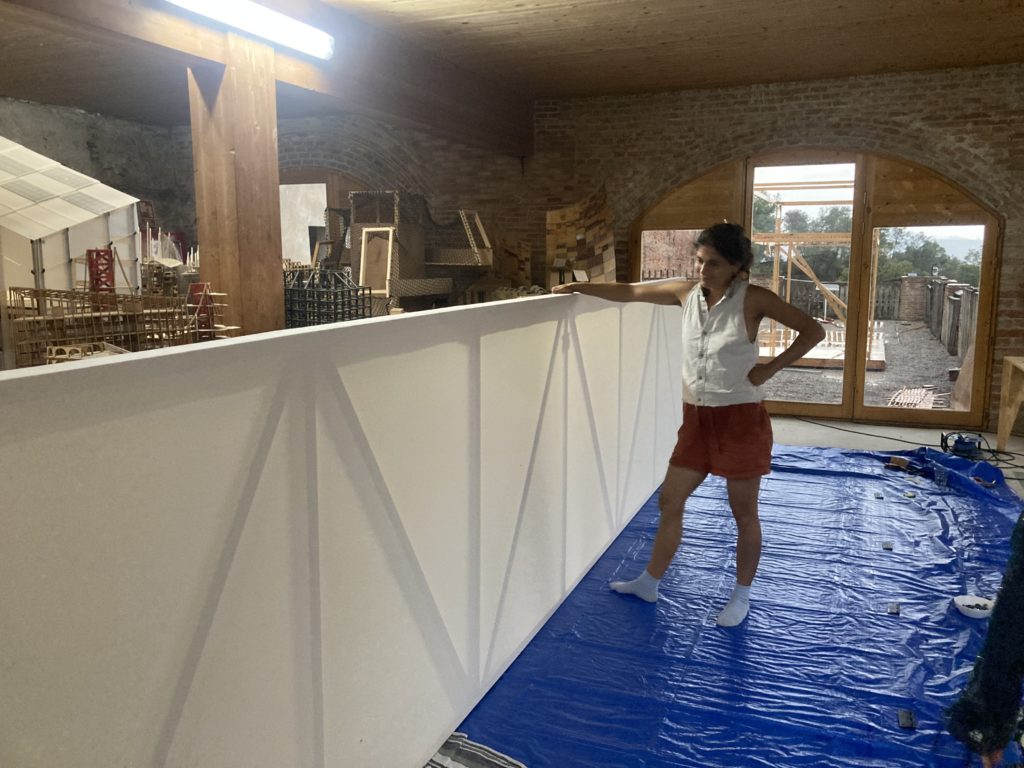
The moving envelope was installed in 2 pieces – the upper and the lower. Upper envelope was secured with hinges to a the structural ring beam above the roof planks. (Bruno)
The fabric cap was installed during the heat of the day and secured with rope and screws to the wooden structure. (Santwana, Nishanth, Jackie)
Lower envelope hinge installation before connection with the upper panel. (Jackie, Julia)
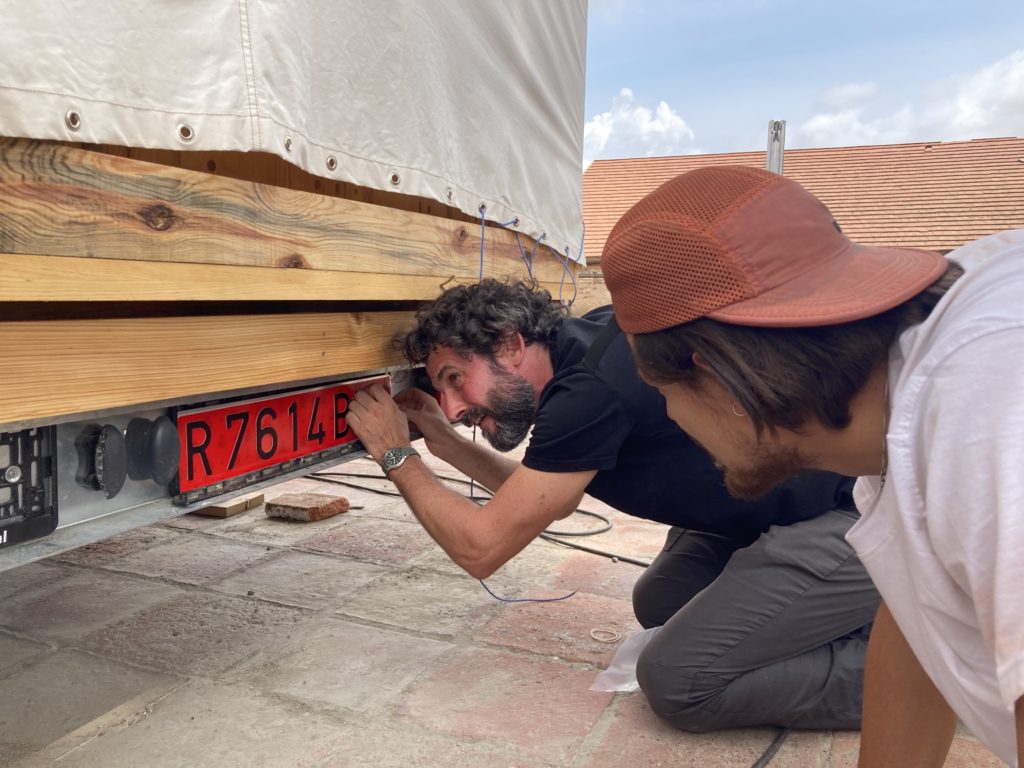
License plate installation. (Charles, Austin)
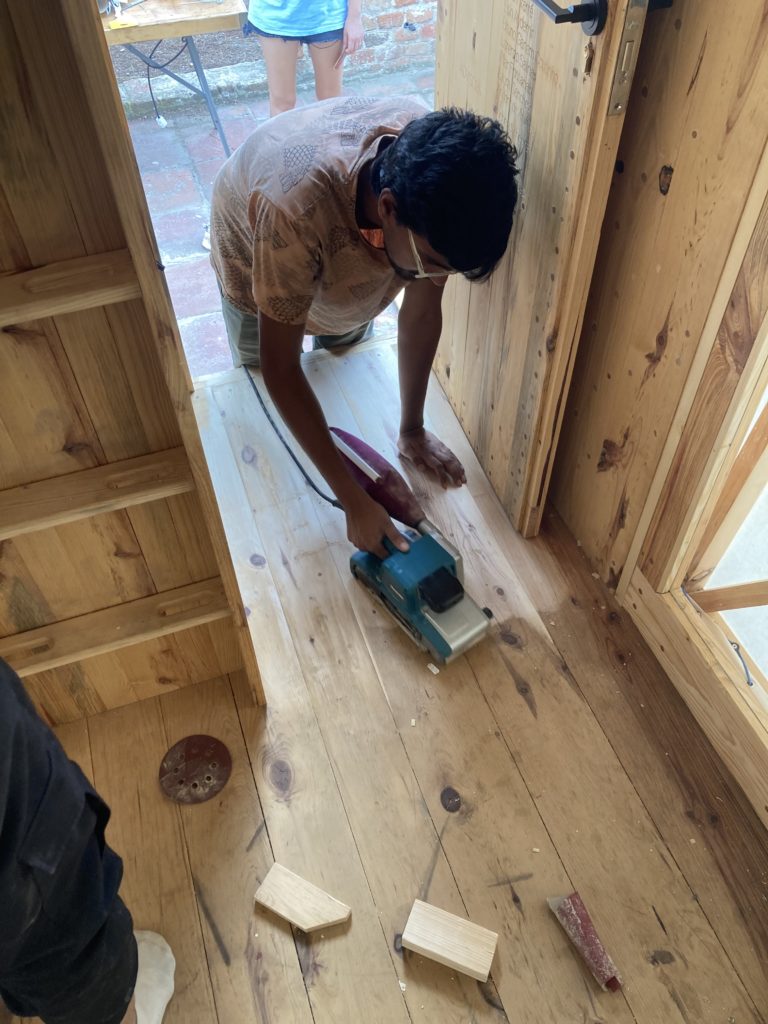
After interiors, envelope, and glass were complete, the floor was final-sanded. After, a thorough construction clean was performed with scrapers, brooms, vacuums, and rags. (Nishanth)
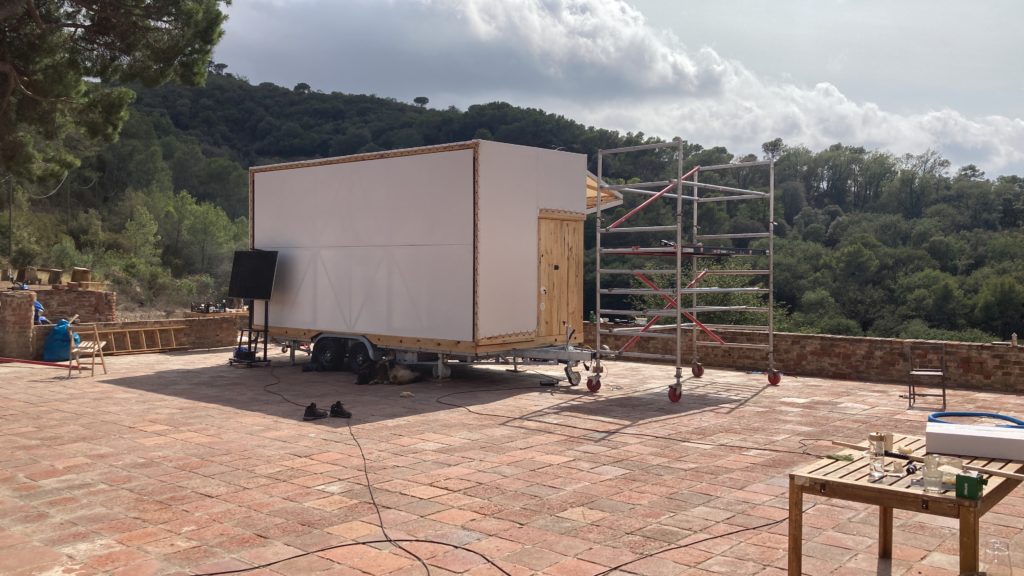
Installation complete, construction clean complete before final presentation.
Metabolic Systems
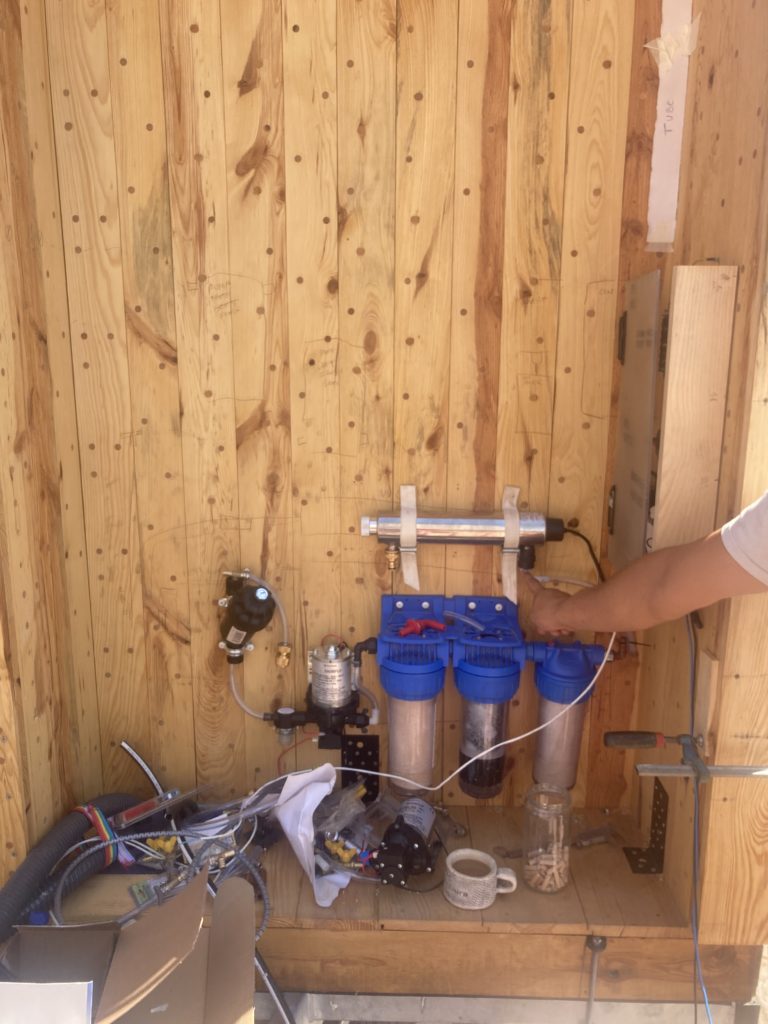
Water installation
Plumbing systems were sequenced in coordination with structural installation. Before floor beams were installed, metal fasteners were secured to the trailer frame for the water tanks. Then, with floor beams installed, “rough-in” was completed. This involved preparing the tanks for plumbing connections, fixing them to the frame, and running wiring and tubing to the water shelf location. Preliminary testing was performed after pumps were installed. The shower pan was installed in the floor cavity with adequate sealing of the wood members in the wet area.
Attaching metal fasteners for water tanks. (Nic)

Water ‘rough-in’ in the floor cavities.
Water shelf installation progress.
Final connections. (Nic, Indraneel)
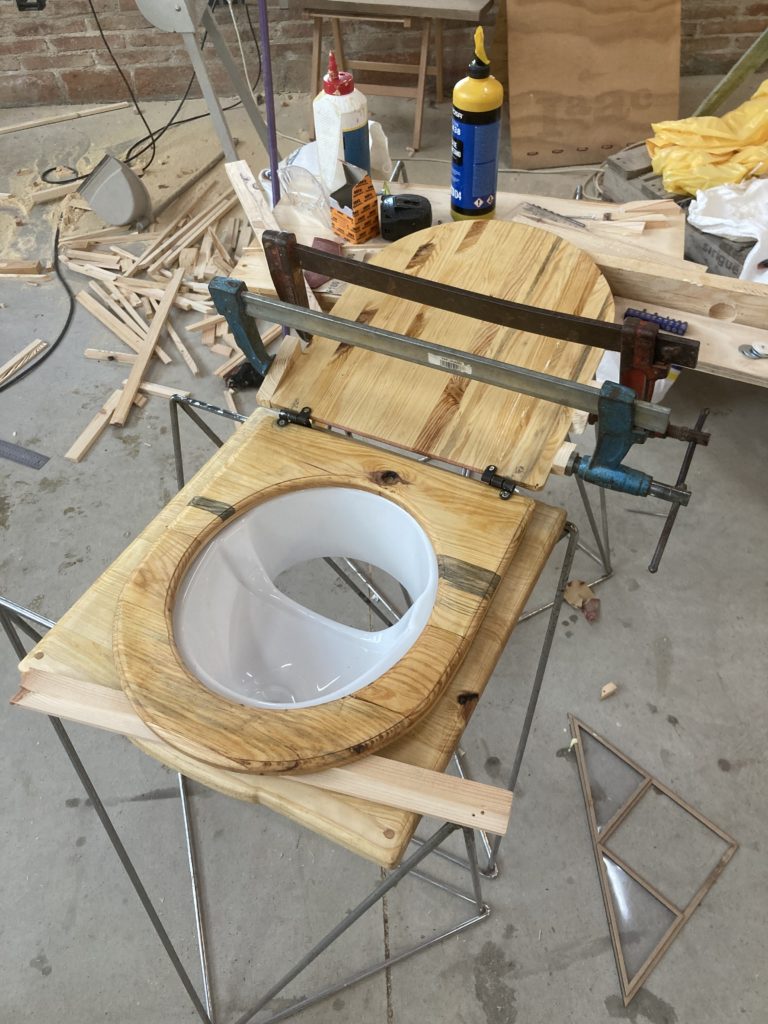
Final touchups on toilet seat.
Electrical installation
With the help of a local electrical contractor the energy program was completed. After an initial meeting and site visit, we were able to finalize the design and procure material. Next, we laid out electrical locations in the structure with paper and tape, using the front and back wall faces, as well as the roof cavity to contain our tubing. We worked closely with the installation to ensure a swift installation. After the panels and battery were hooked up, the solar panels were installed on the roof fabric and secured with roofing screws to the additional perlin supports.

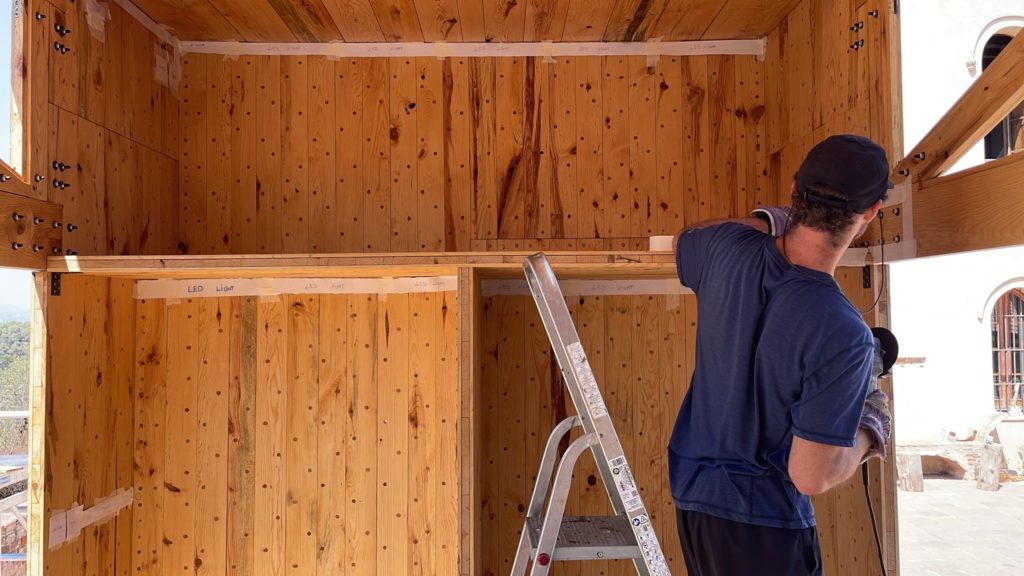

Charles installing wood light cove pieces.
Electrician contractors completing final trim out.
Testing interior and exterior lighting.
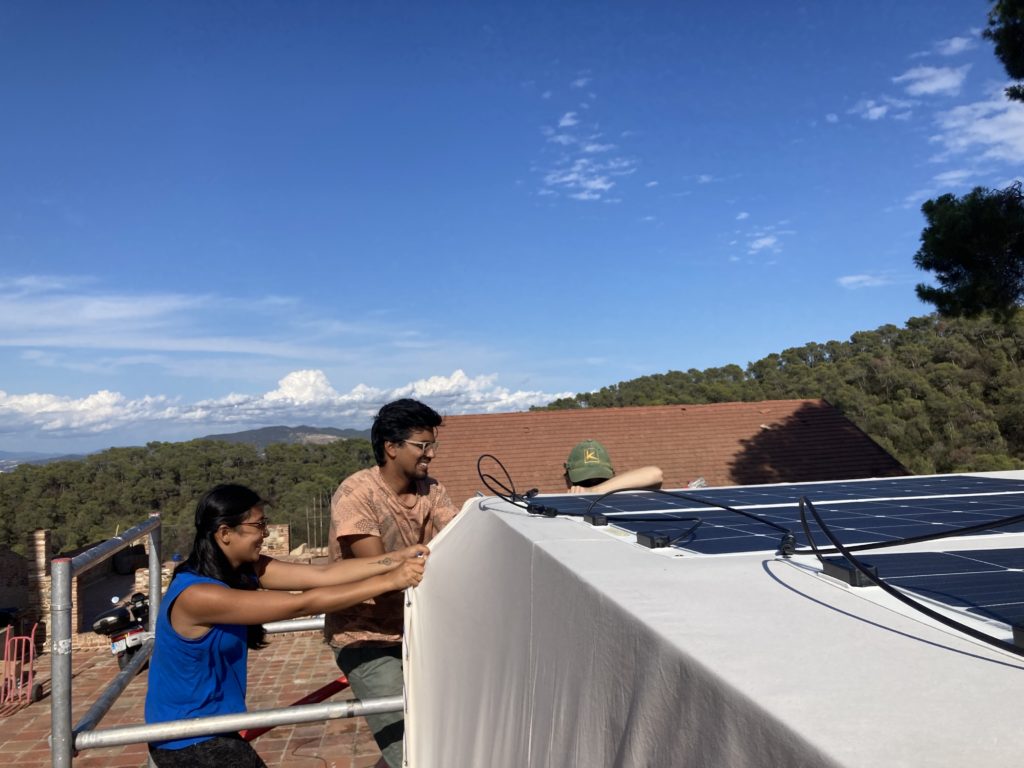
Solar panel installation after completing fabric cap. (Ruhani, Austin, Charles)
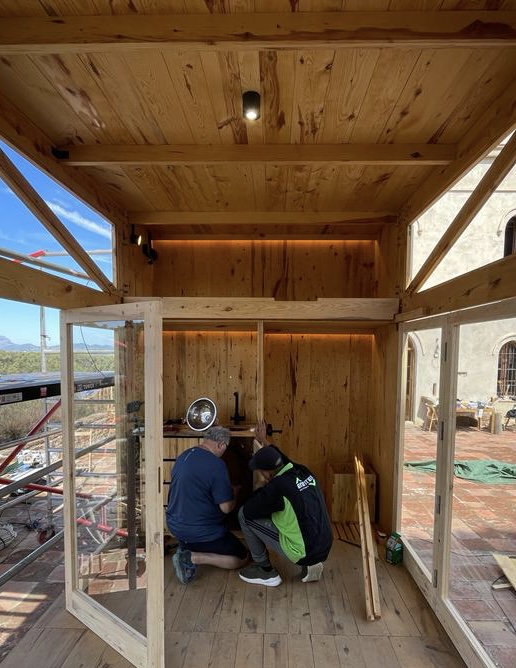
Interiors
With the structure installed, interior installation could begin. Our framework for sourcing material followed the same methods of assigning, processing, assembling, and finally installing. As our offcut-collection grew from final cuts of structural lumber, we developed a method to combine waste into panels which could be used for various interior pieces.
Fabric integration
A major component of the interior design was fabric integration in the furniture and toolkit install. This included hammock chairs, stools, fabric doors, and fabric ‘toolbox’ shelving. Based on the design, fabric was measured, cut, folded, stitched, and installed.
Glass installation
Glass of the double-hinged doors and the triangular truss openings all was installed in 1 day by local contractors La Cristeleria in Barcelona. Their measurements were based on final design decisions made weeks prior. The doors were designed to incorporate the glass and wooden trim piece to be flush on the inside.
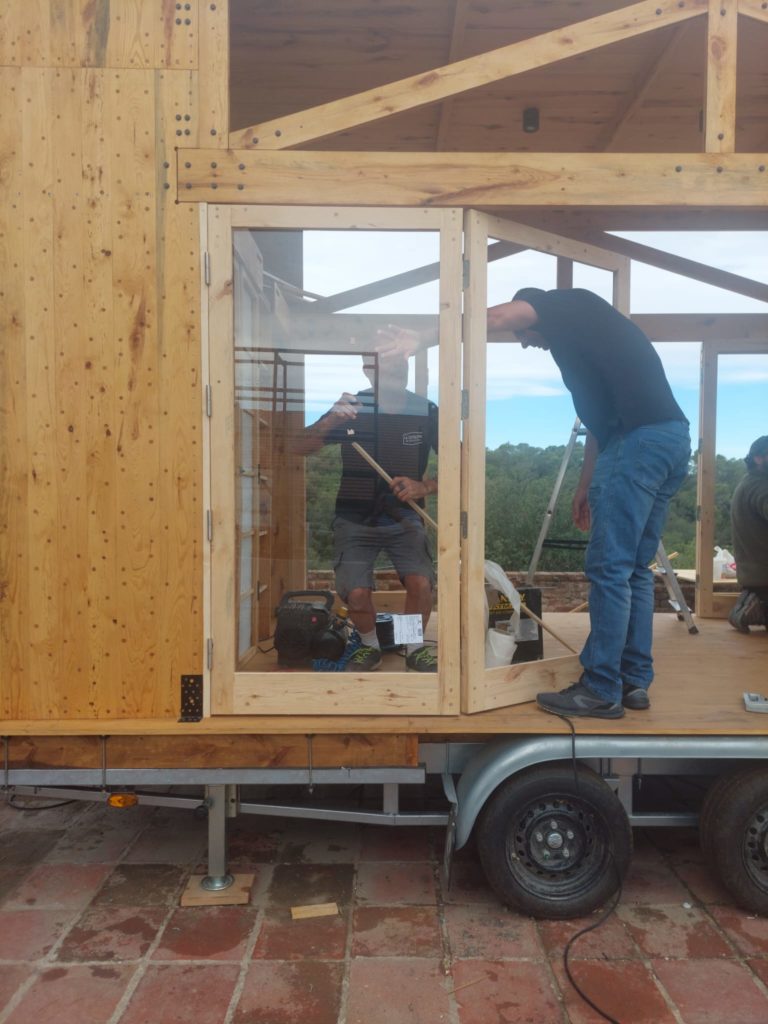
Double-hinged door glass install. (La Cristeleria)
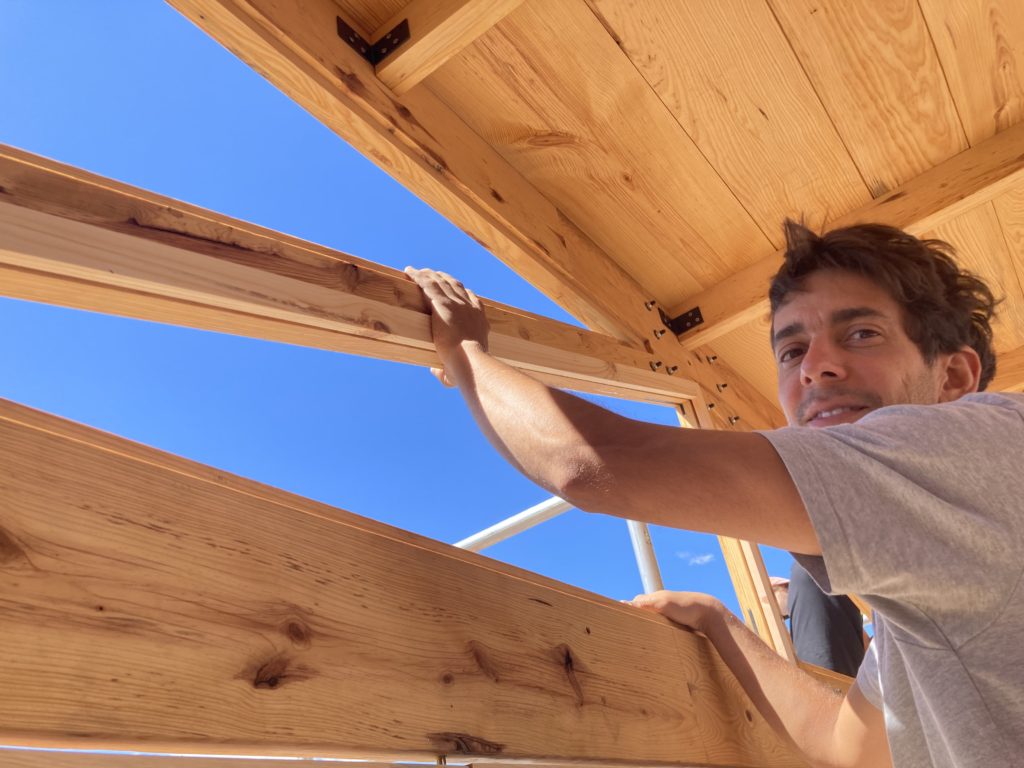
Wooden “L” notched trim pieces were custom made for the triangular openings. (Bruno)
Glass contractors securing 4mm glass to opening with wooden trim piece.
Doors
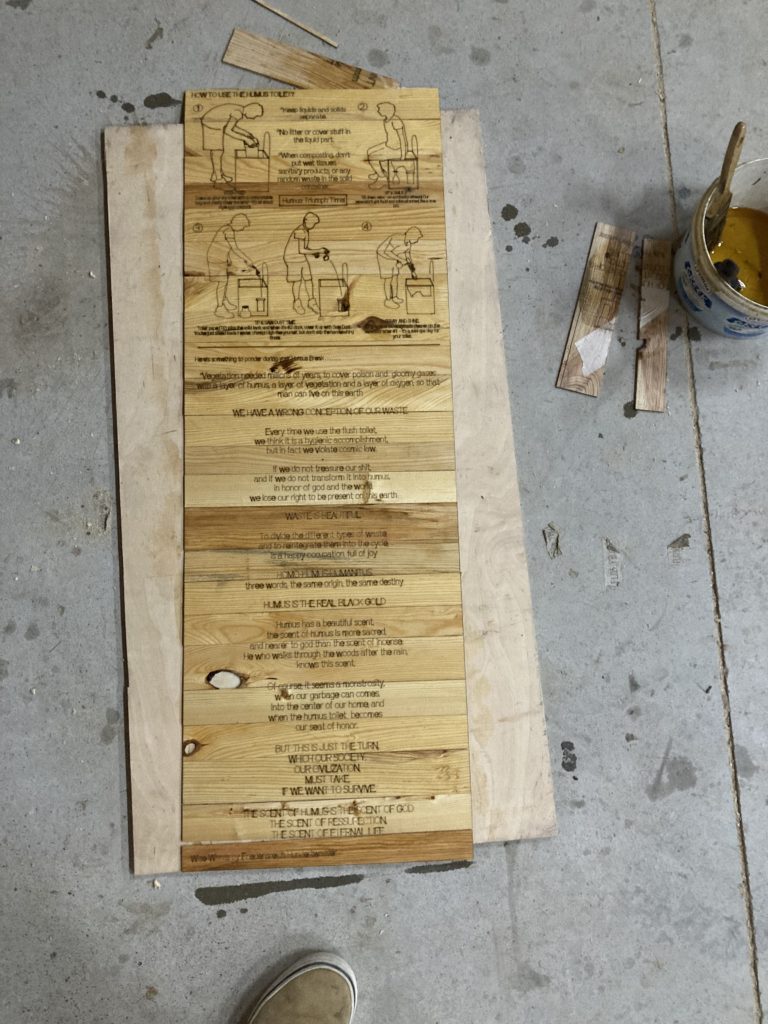
The exterior doors of the building are made of light DLT and bathroom door of hollow CLT. 2mm lamellas were laser cut and embedded into the bathroom door as instructions for use.
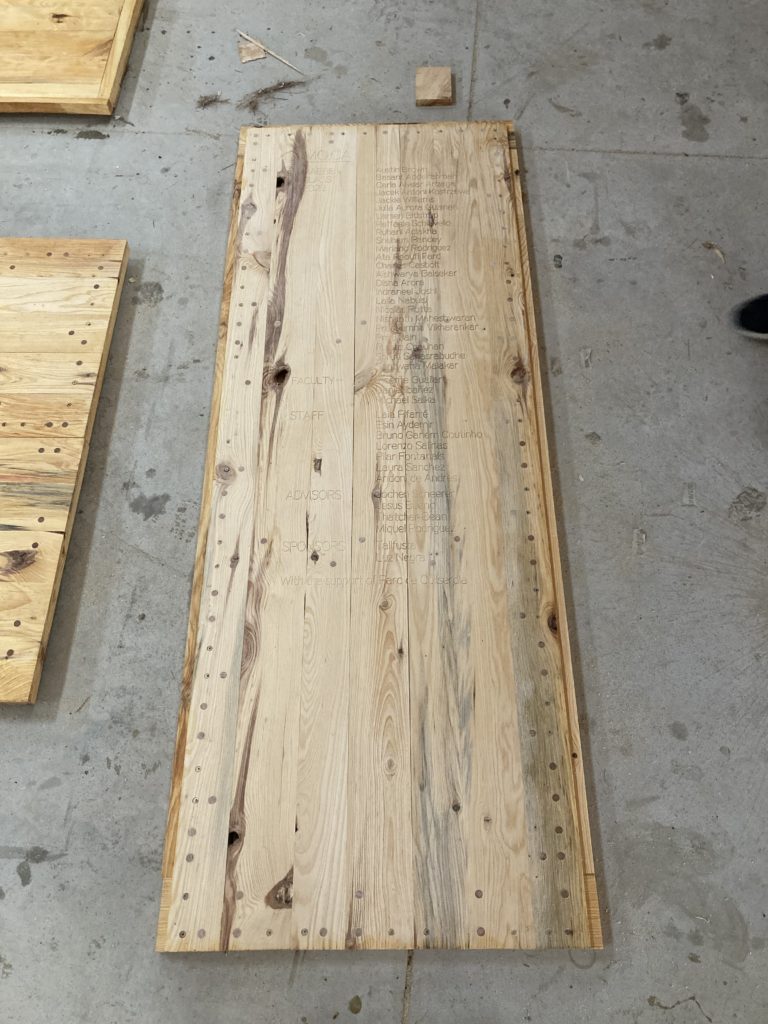
Hollow DLT panel with names inscribed.
2mm offcut lamellas laser cut for interior water installation.
Kitchen Cabinets
Glueing offcuts for face panels.
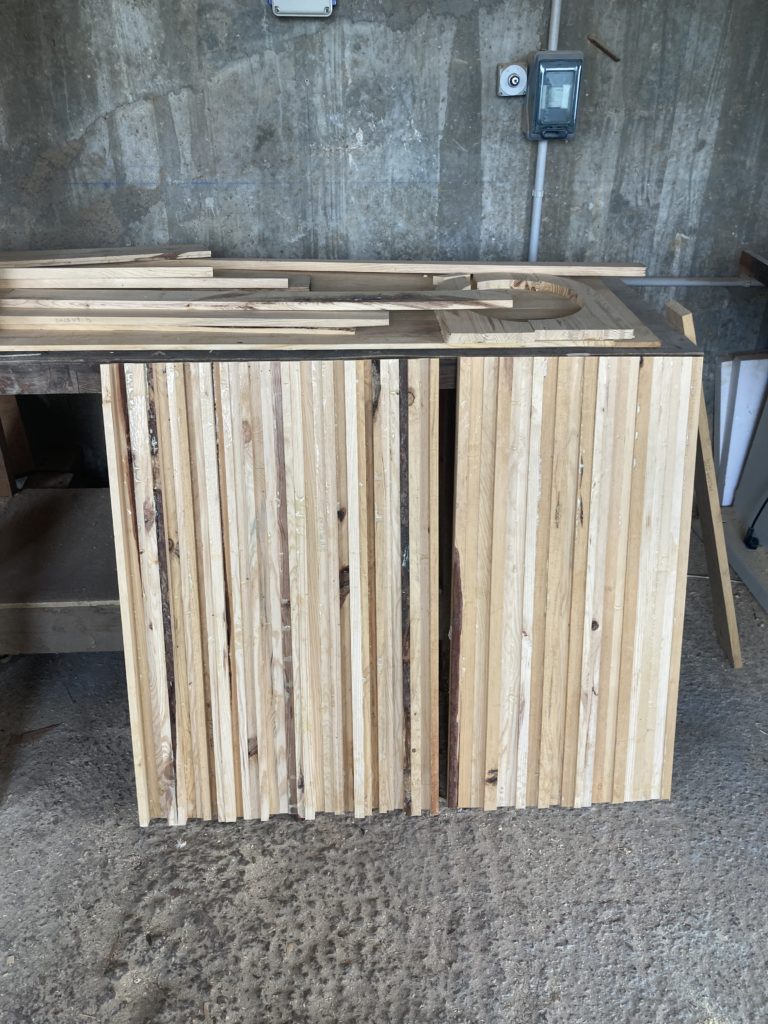
Offcut panels ready for post processing.
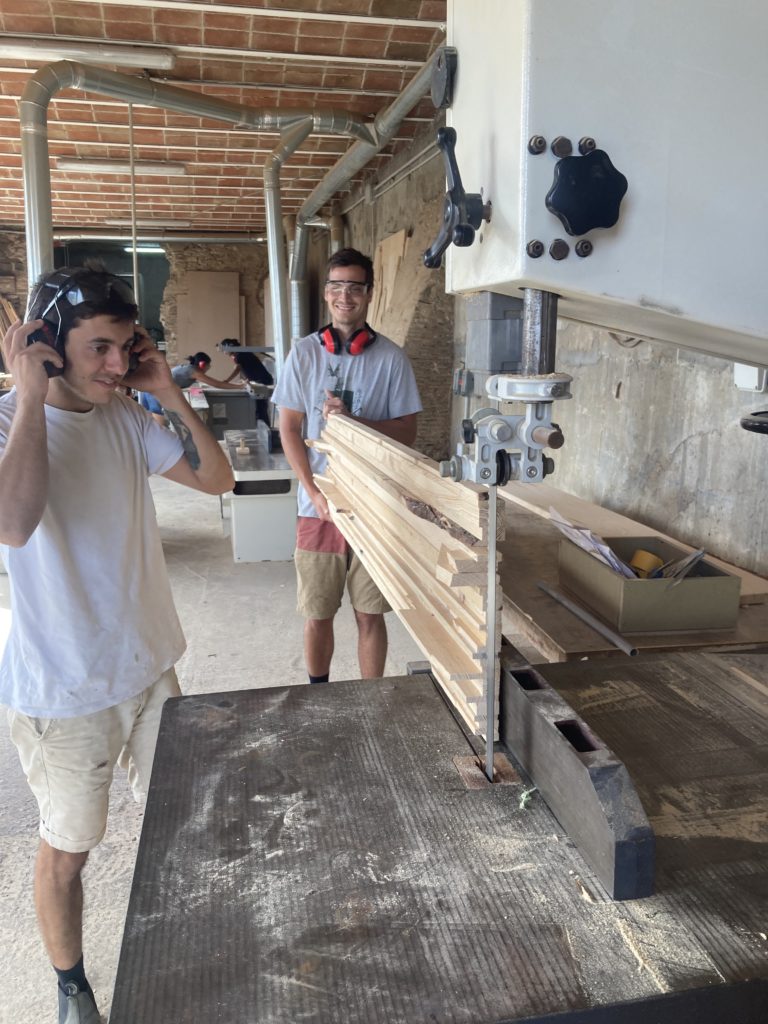
Post processing of offcut panels involved jointer, band saw, and planer to achieve smooth surfaces. (Bruno, Lorenzo)
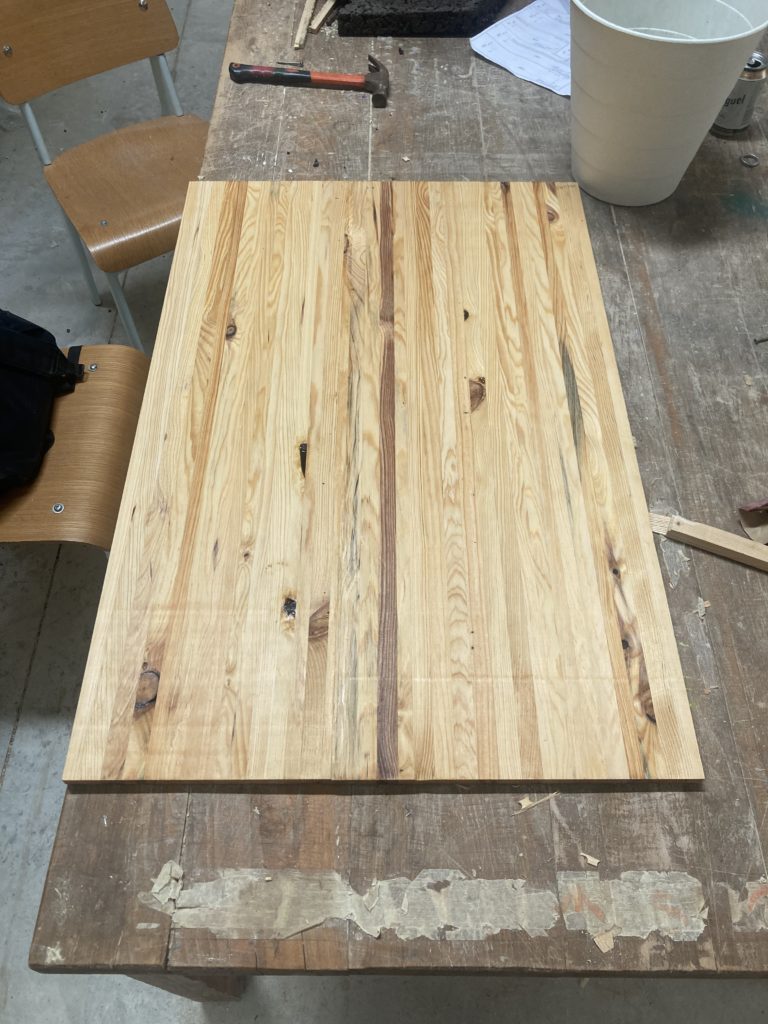
Offcut panel after carpentry processing.
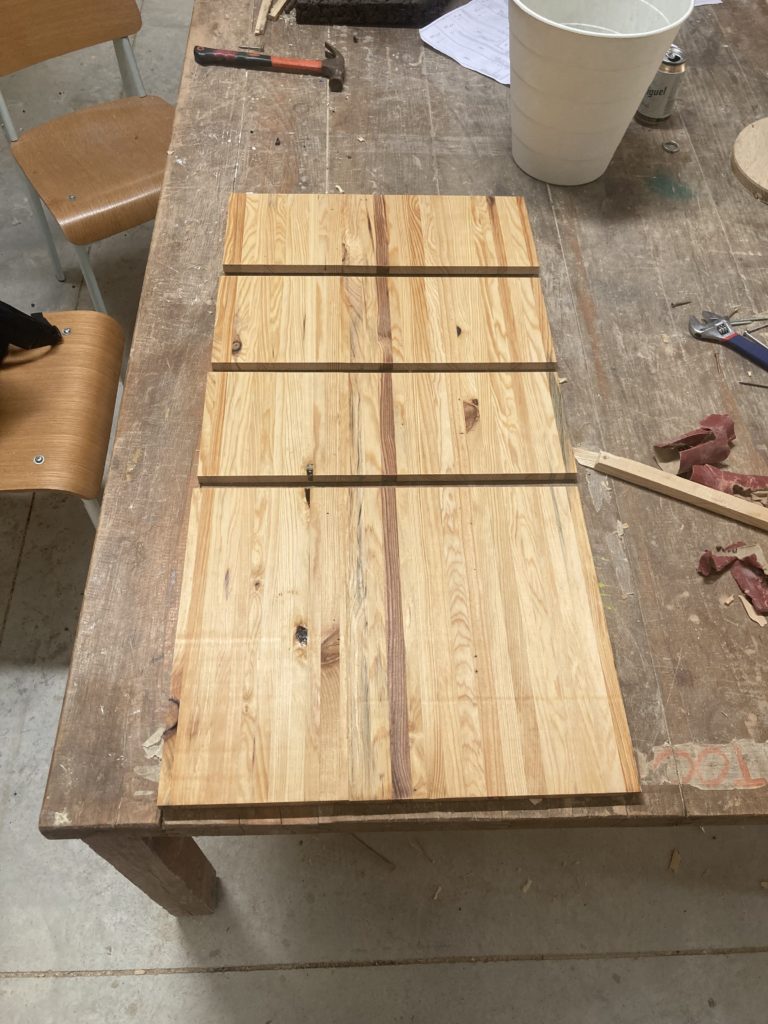
Offcut panels cut for kitchen drawers.
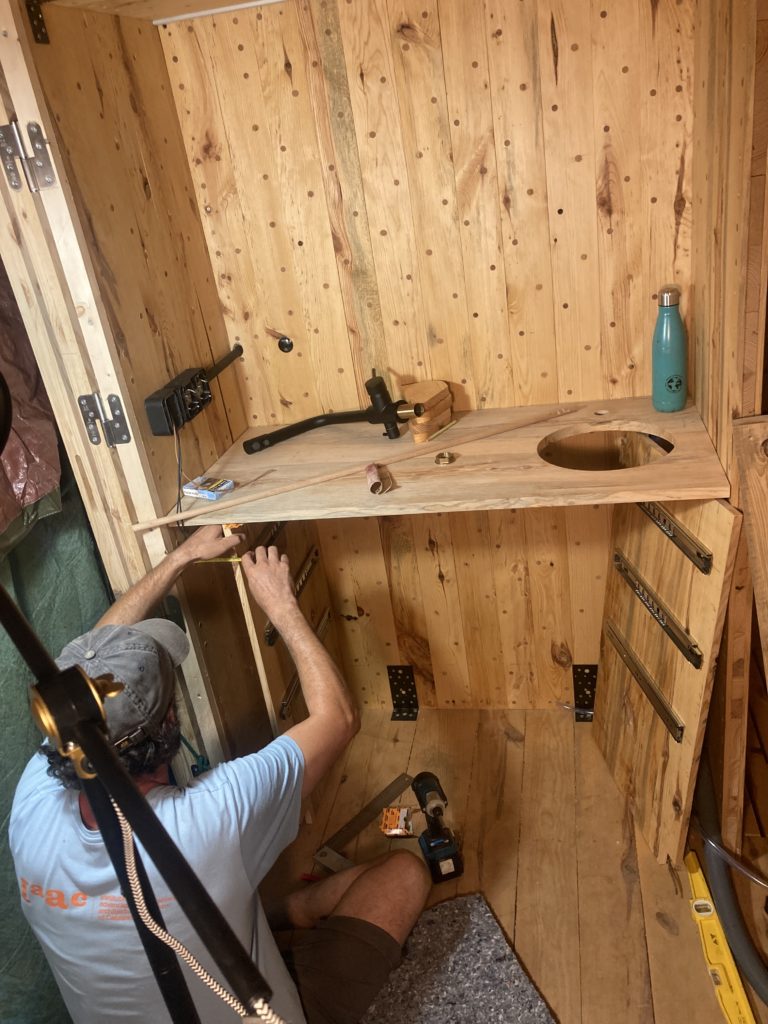
Field measuring kitchen layout. Final adjustments made for countertop piece and kitchen structure pieces. (Charles)
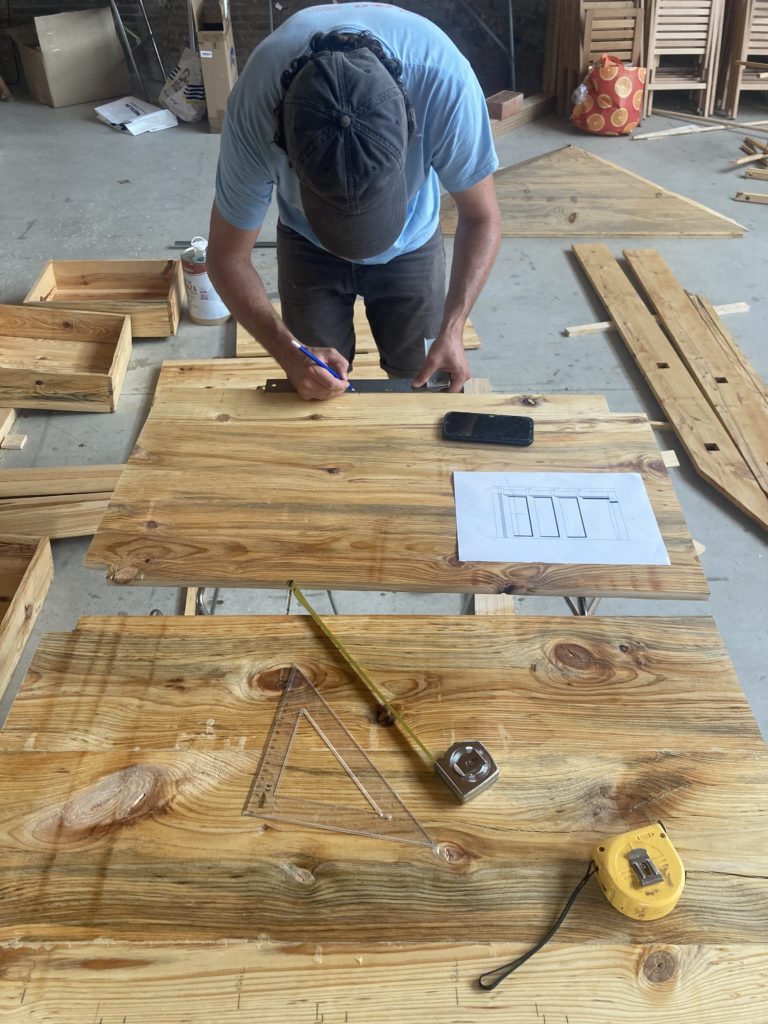
Kitchen wall final cut layout and measurements. (Charles)
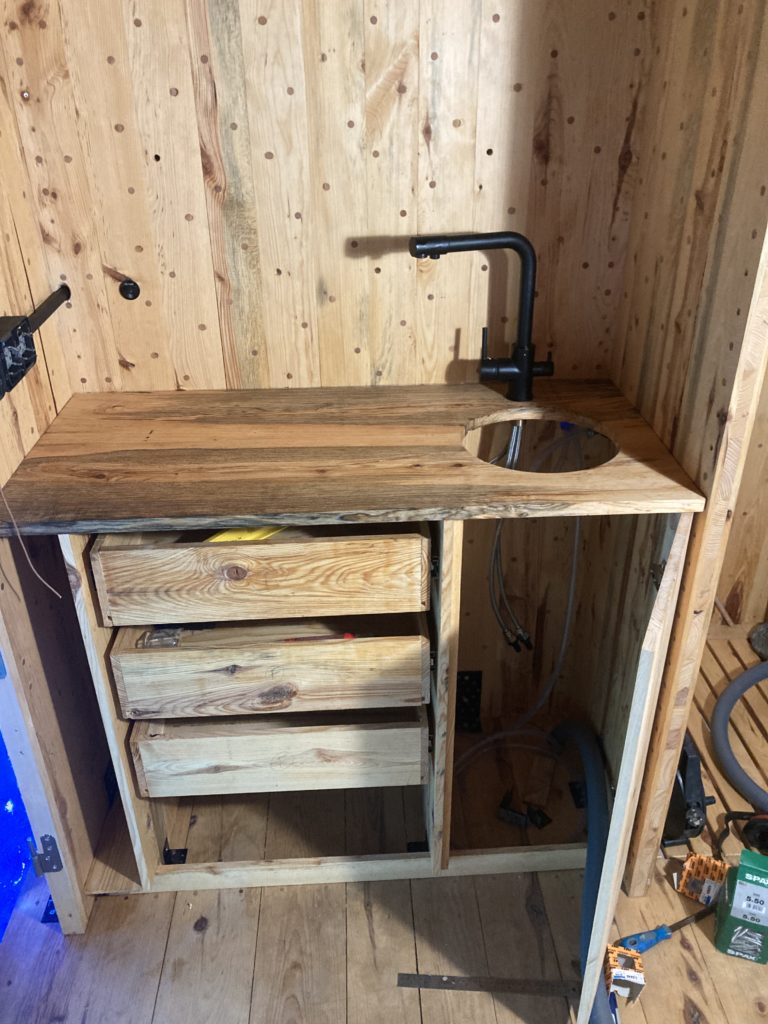
Kitchen walls and drawer box installation complete. Drawer boxes were made with a tablesaw groove in the bottom of each side to hold the 1cm thick floor pieces.
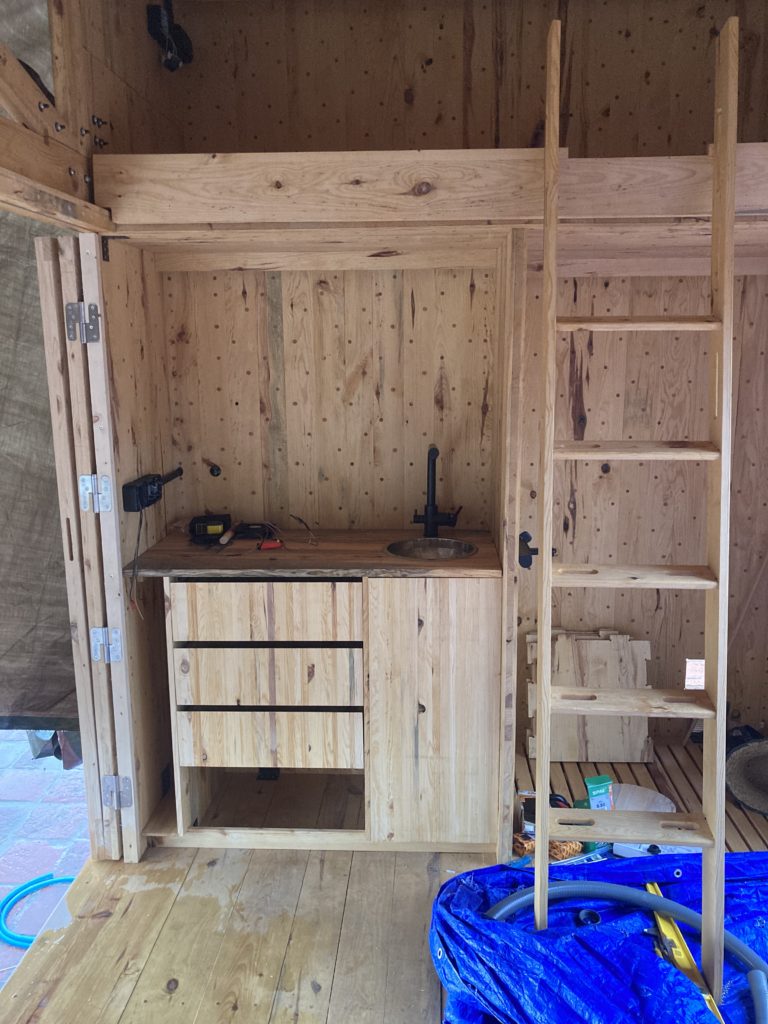
Face panels installed to drawer boxes, and drawer panel complete.
Waste management
With any construction project comes waste. In order to mill specific lamellas, we were left with many offcuts. Before processing began, we designated locations for waste streams.
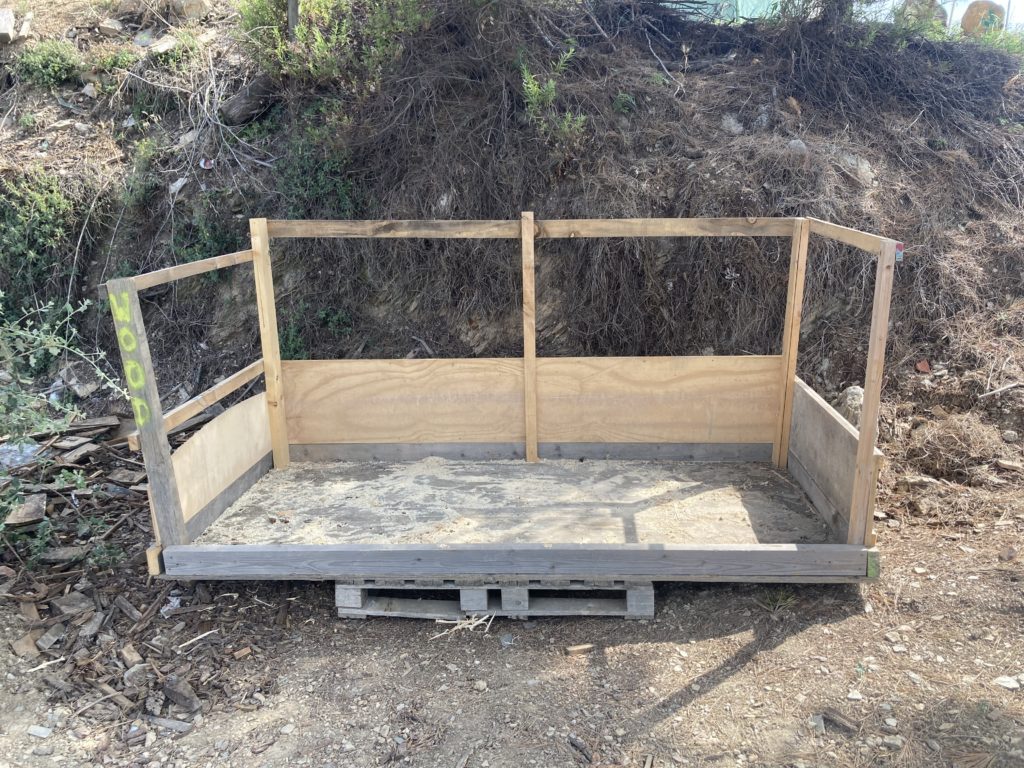
Dumpster constructed to hold wood waste (no glue).
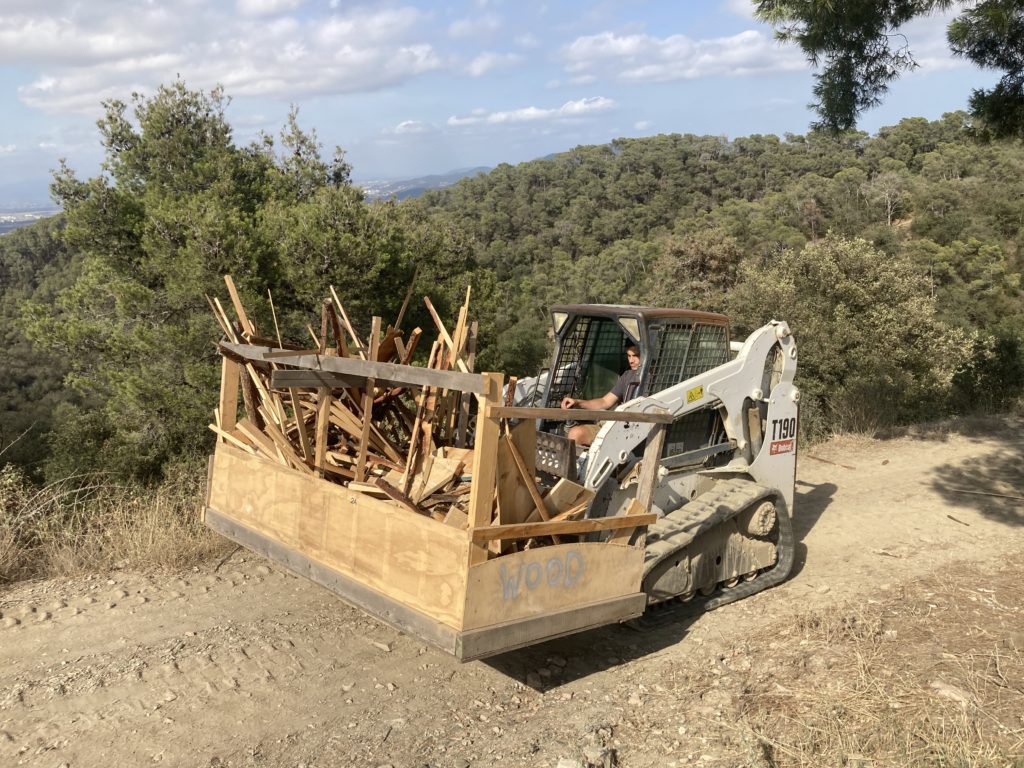
Transport of wood waste to collection point. (Lorenzo)
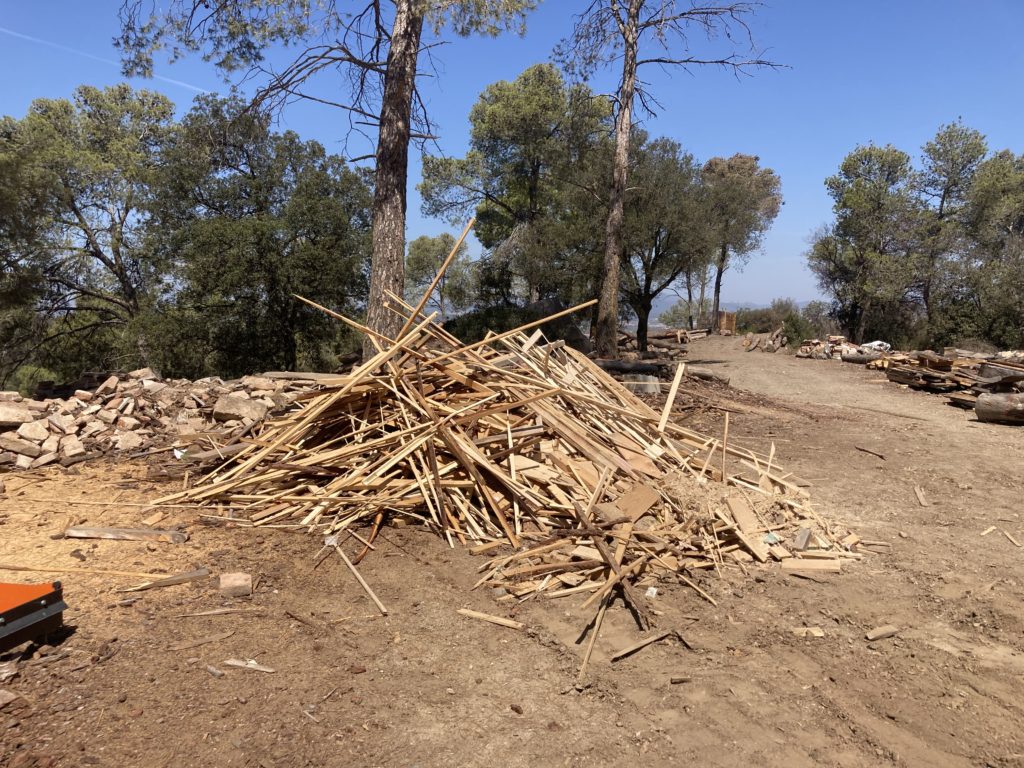
Final offcut pile after 3 wood dumpster loads.
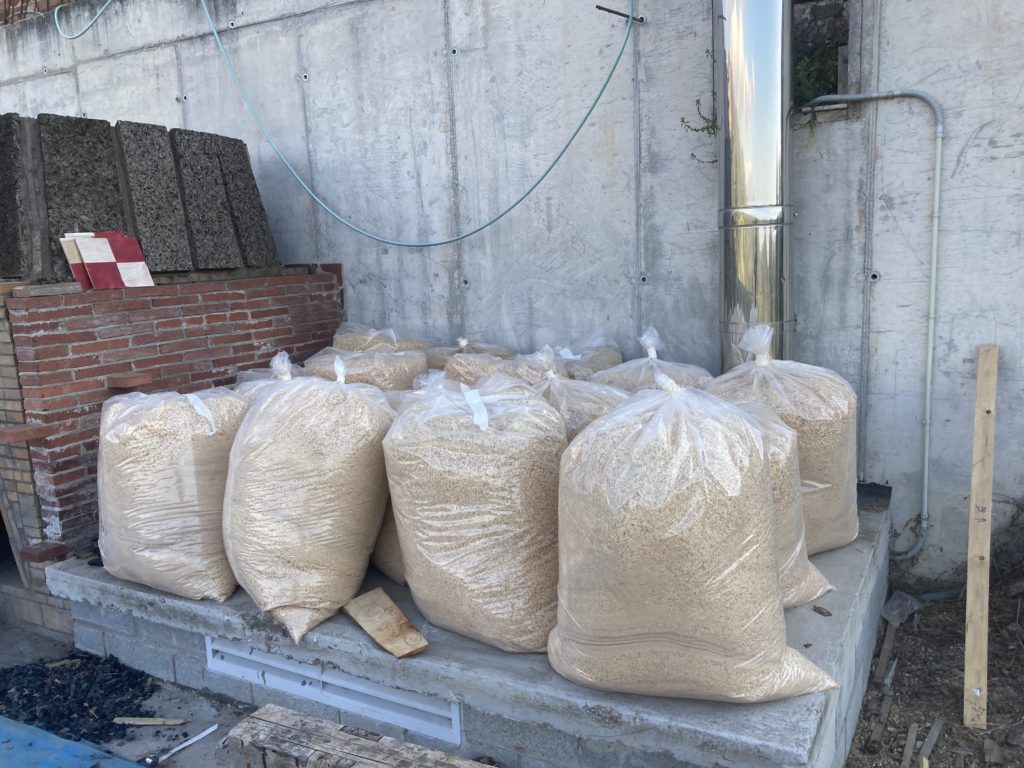
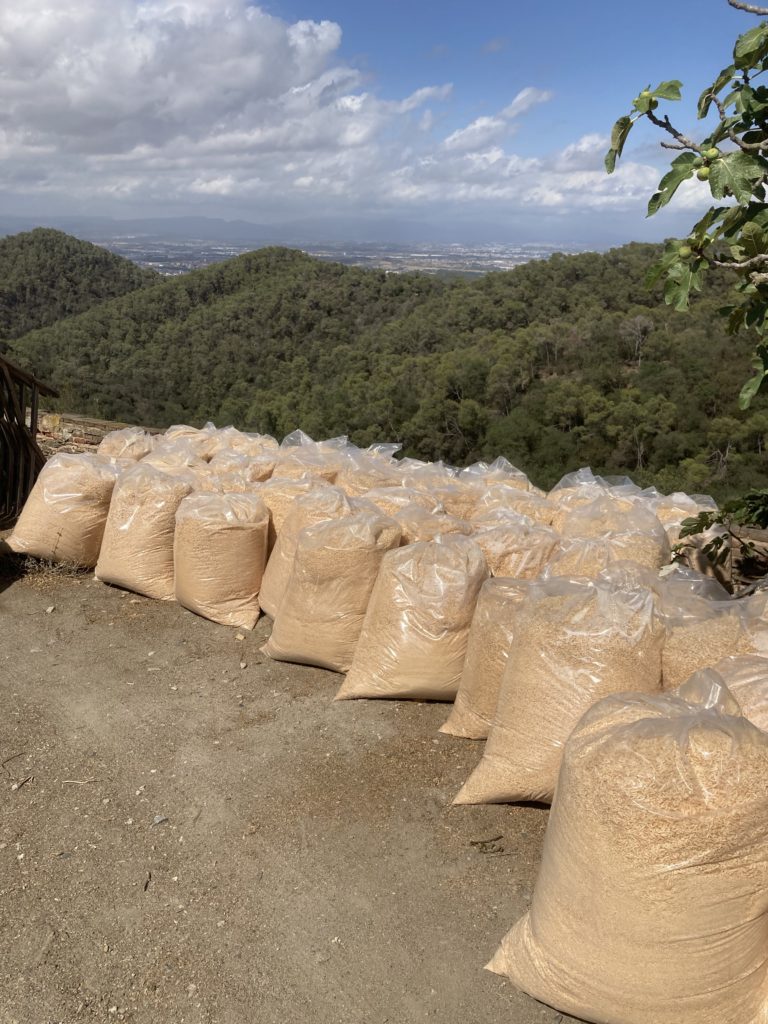
In total, nearly 200 bags of sawdust were produced during the construction process. Bags were secured with tape and removed for collection from a local farmer to use for animal beds. Each bag weighed around 12kg.
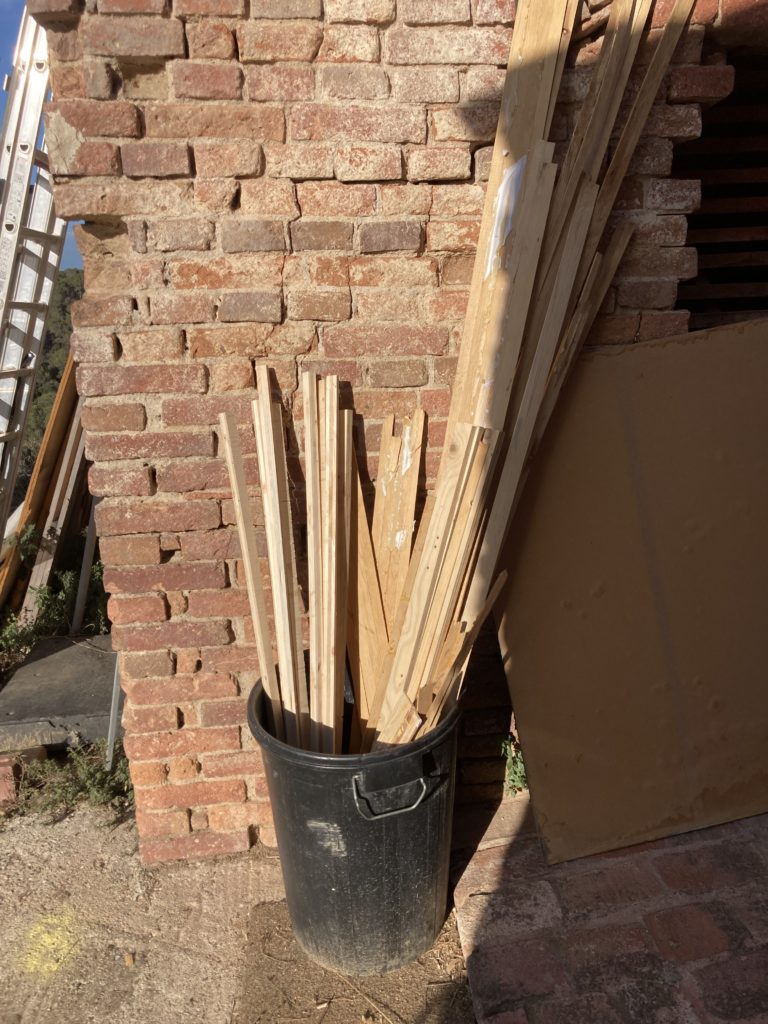
Glue waste collection barrel to separate non-glue wood from glue wood.
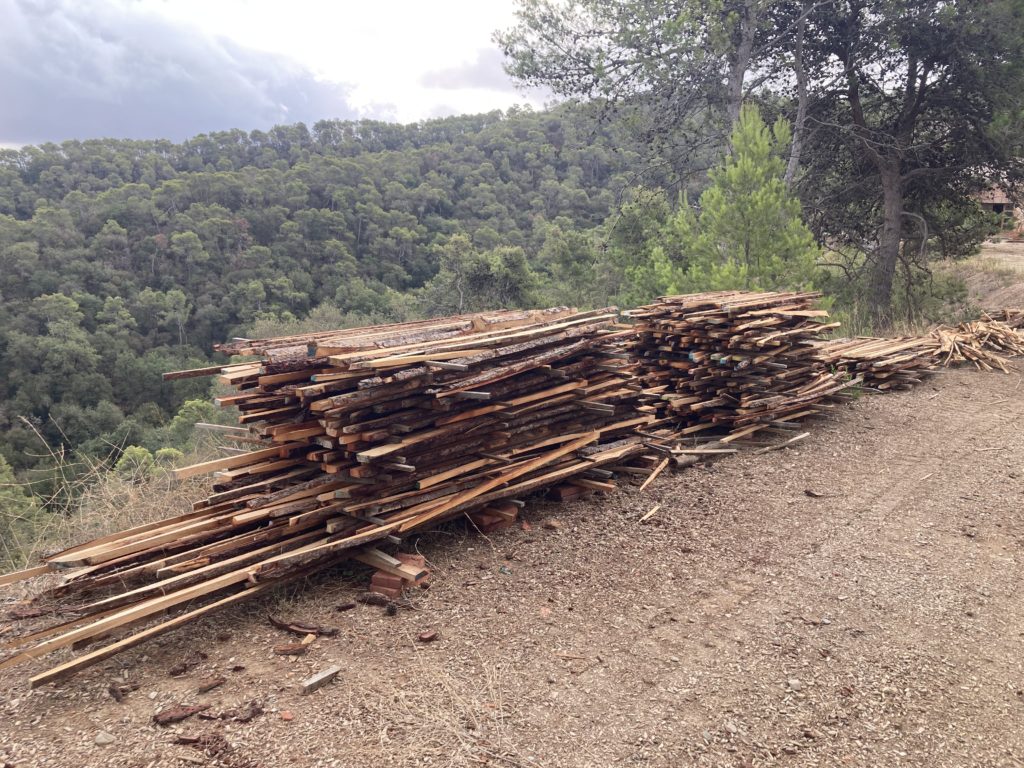
Edge offcuts stacked neatly for future projects.
Final Pictures

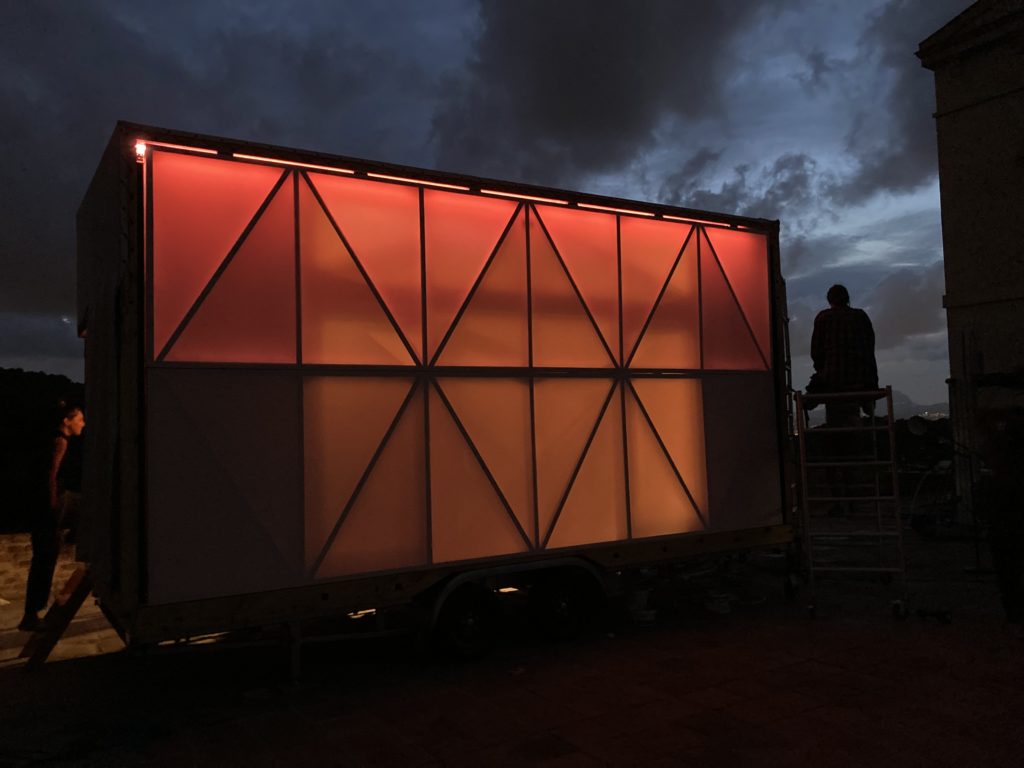
MO.CA at night
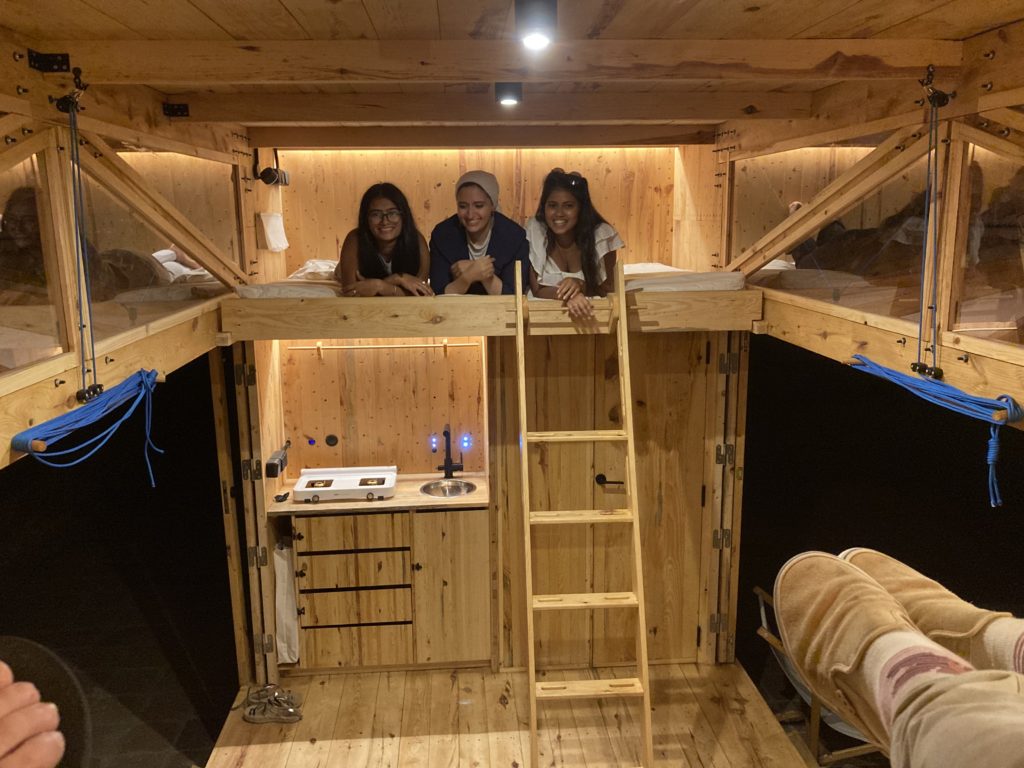
Enjoying MO.CA interiors. (Prati, Basant, Aishwarya)
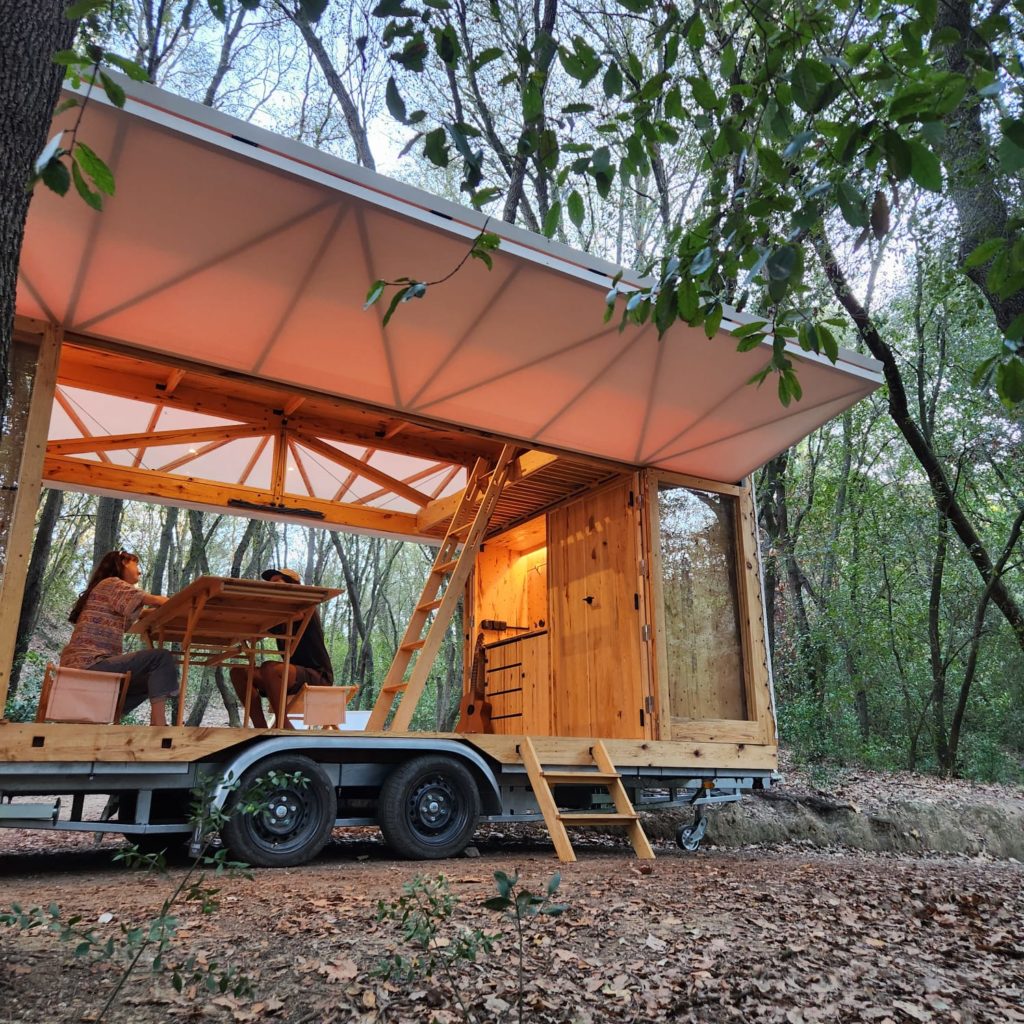
Jackie and Mariano sitting at the table.
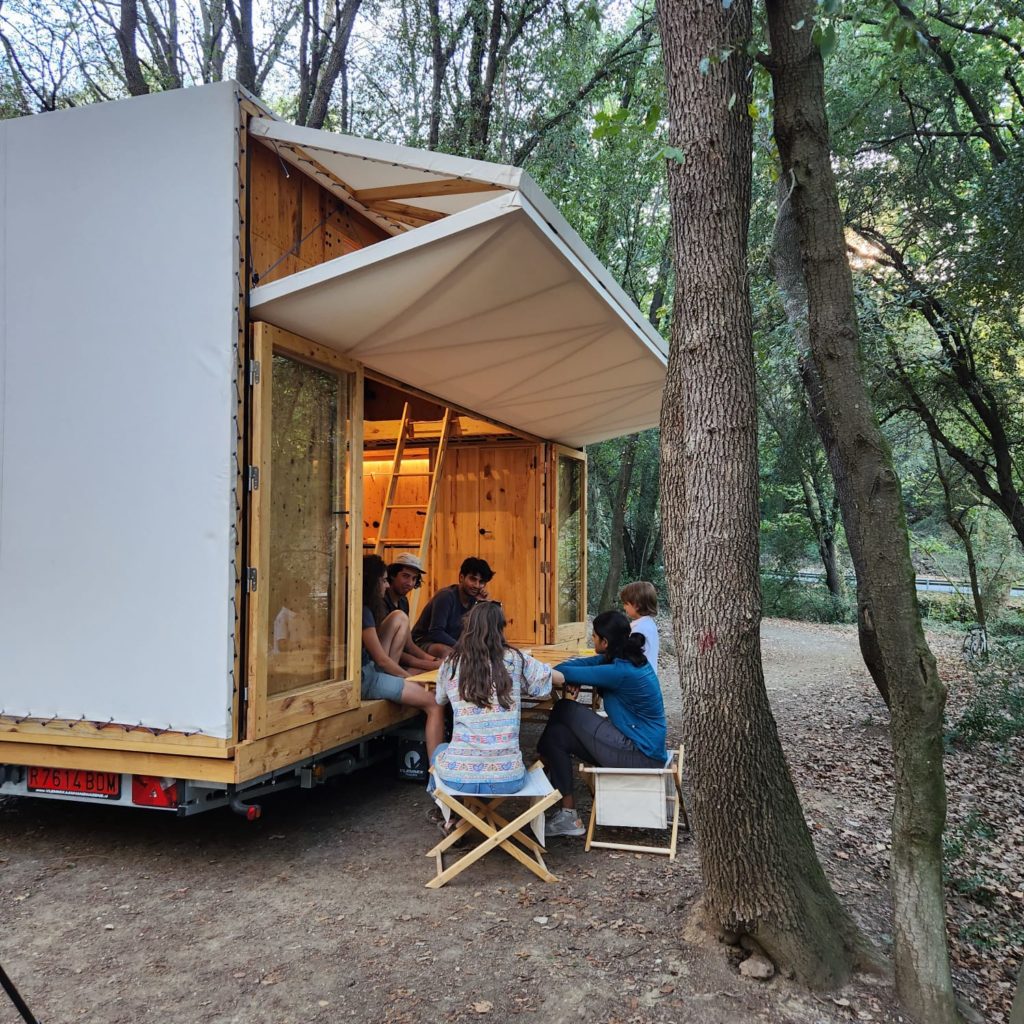
Laila, Mariano, Indraneel, Jackie, and Rujuta enjoying the open space of MO.CA.
